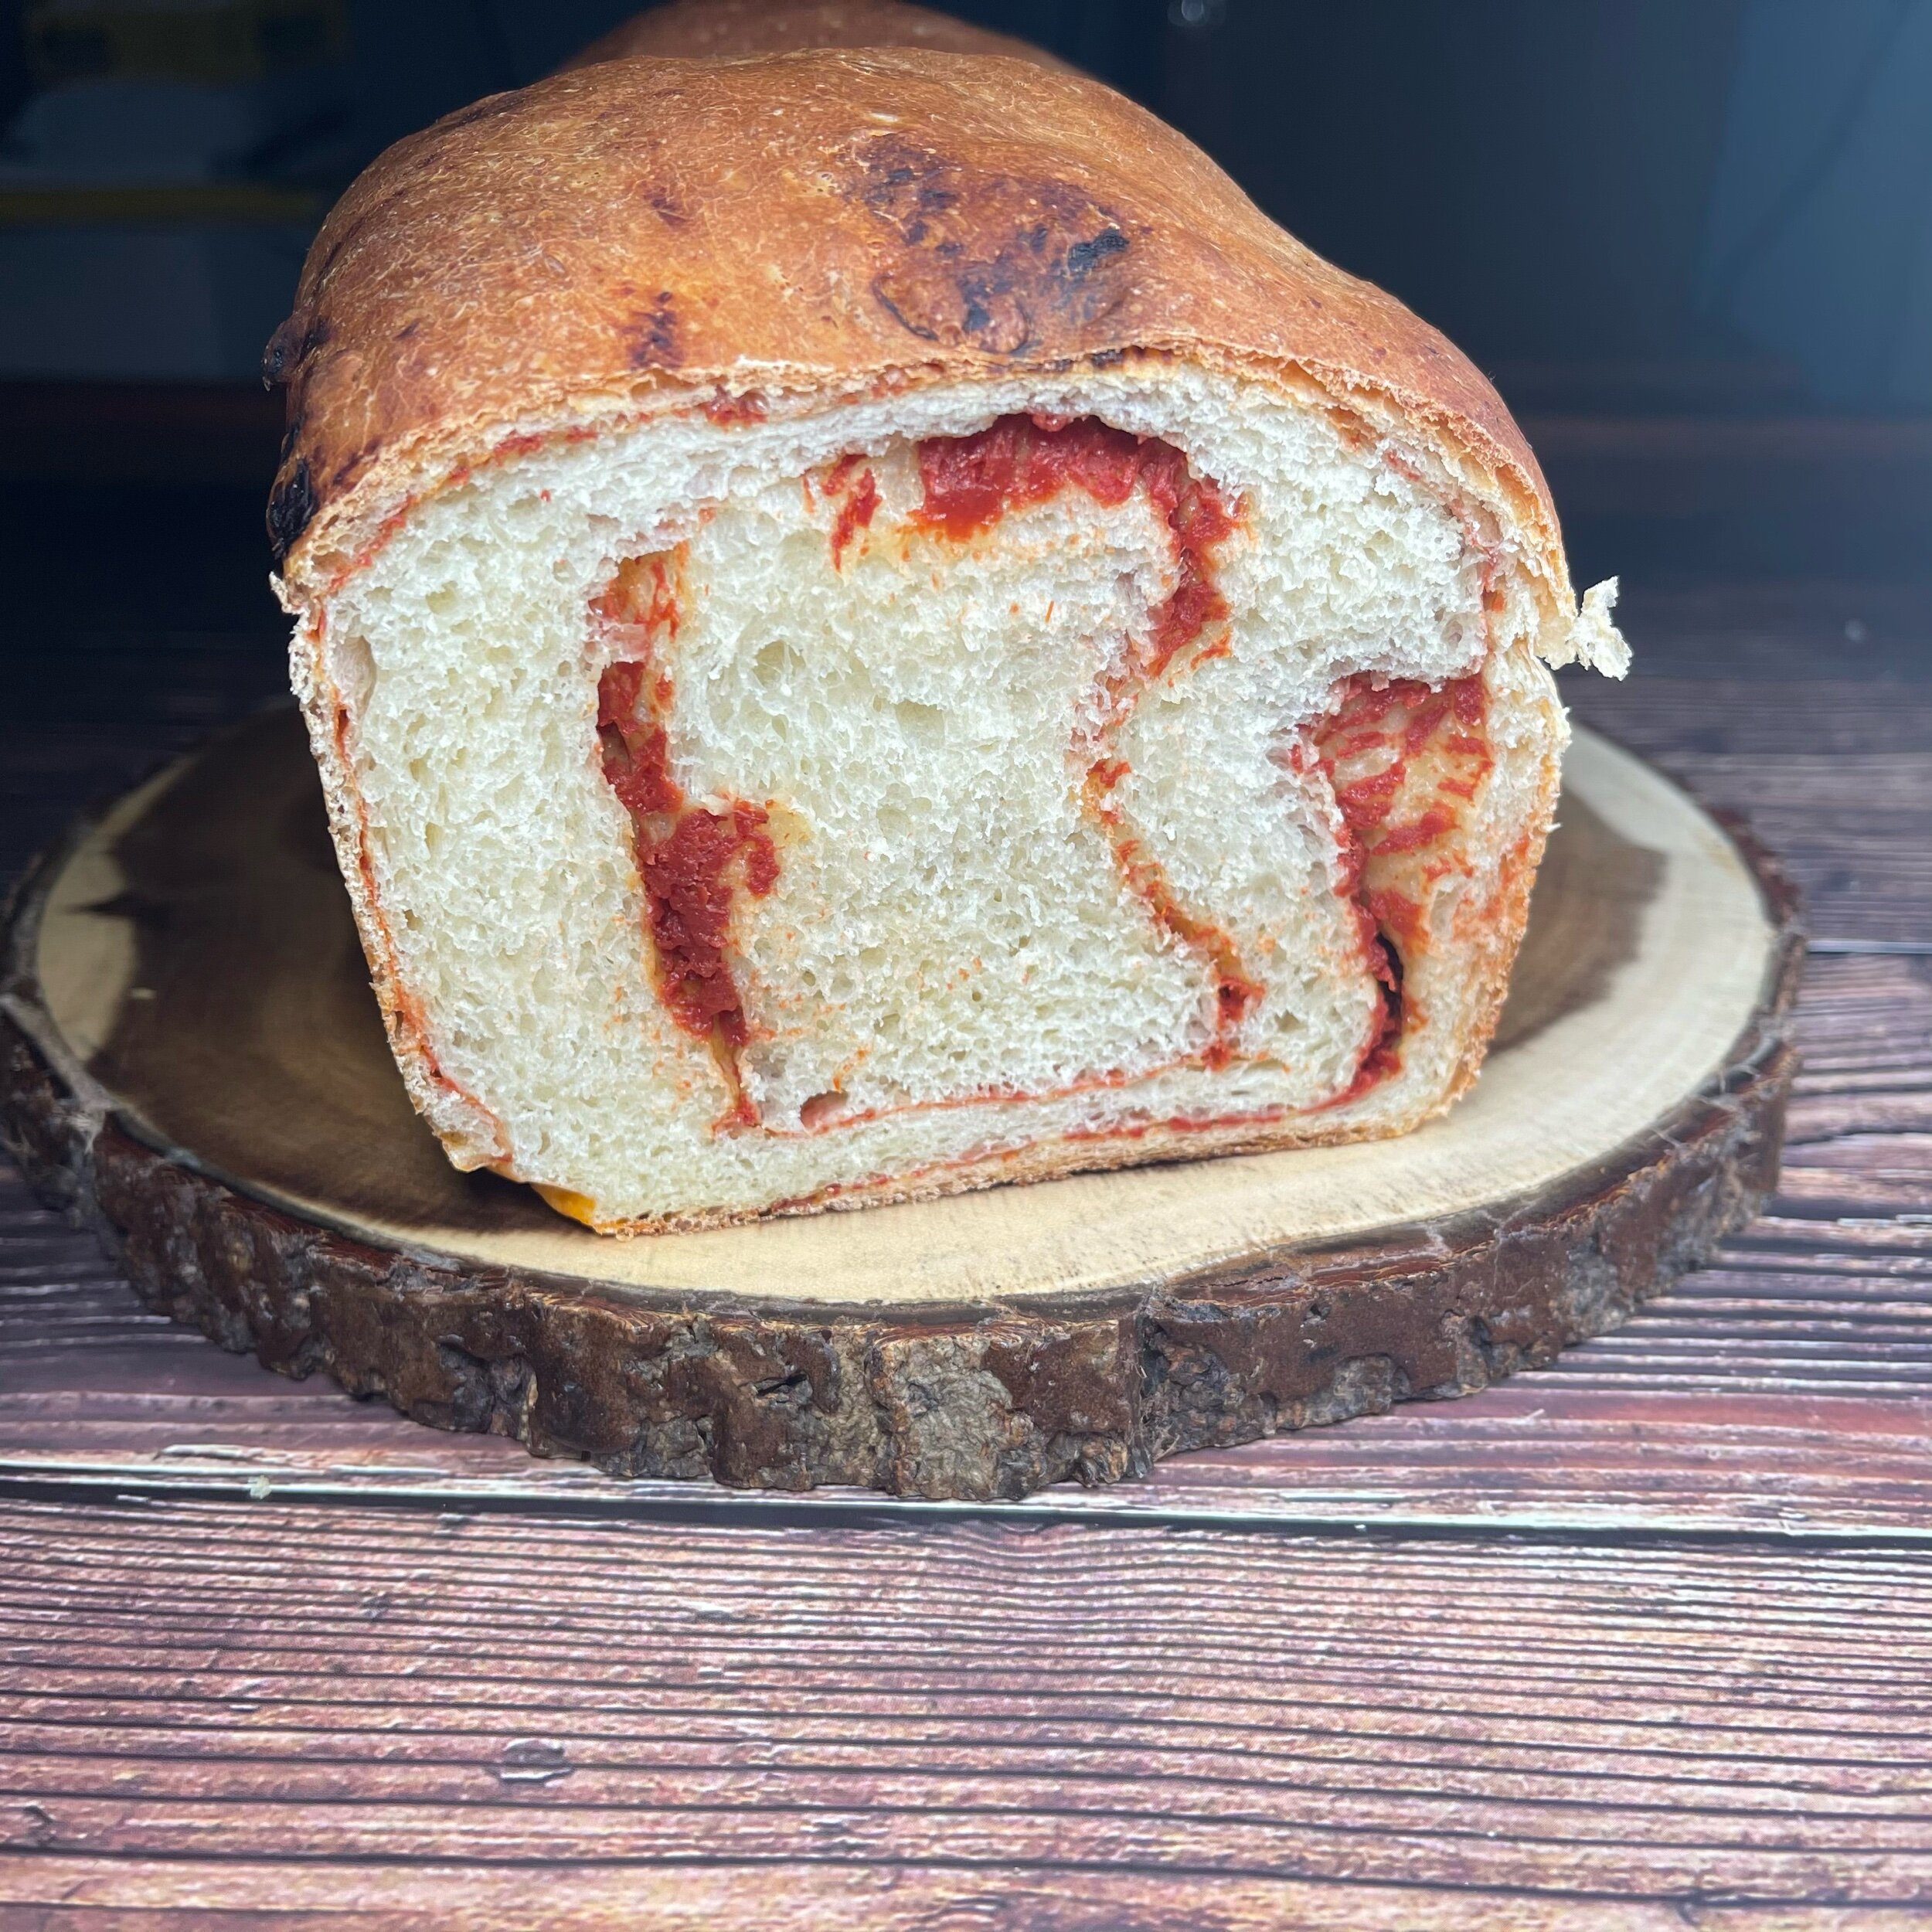
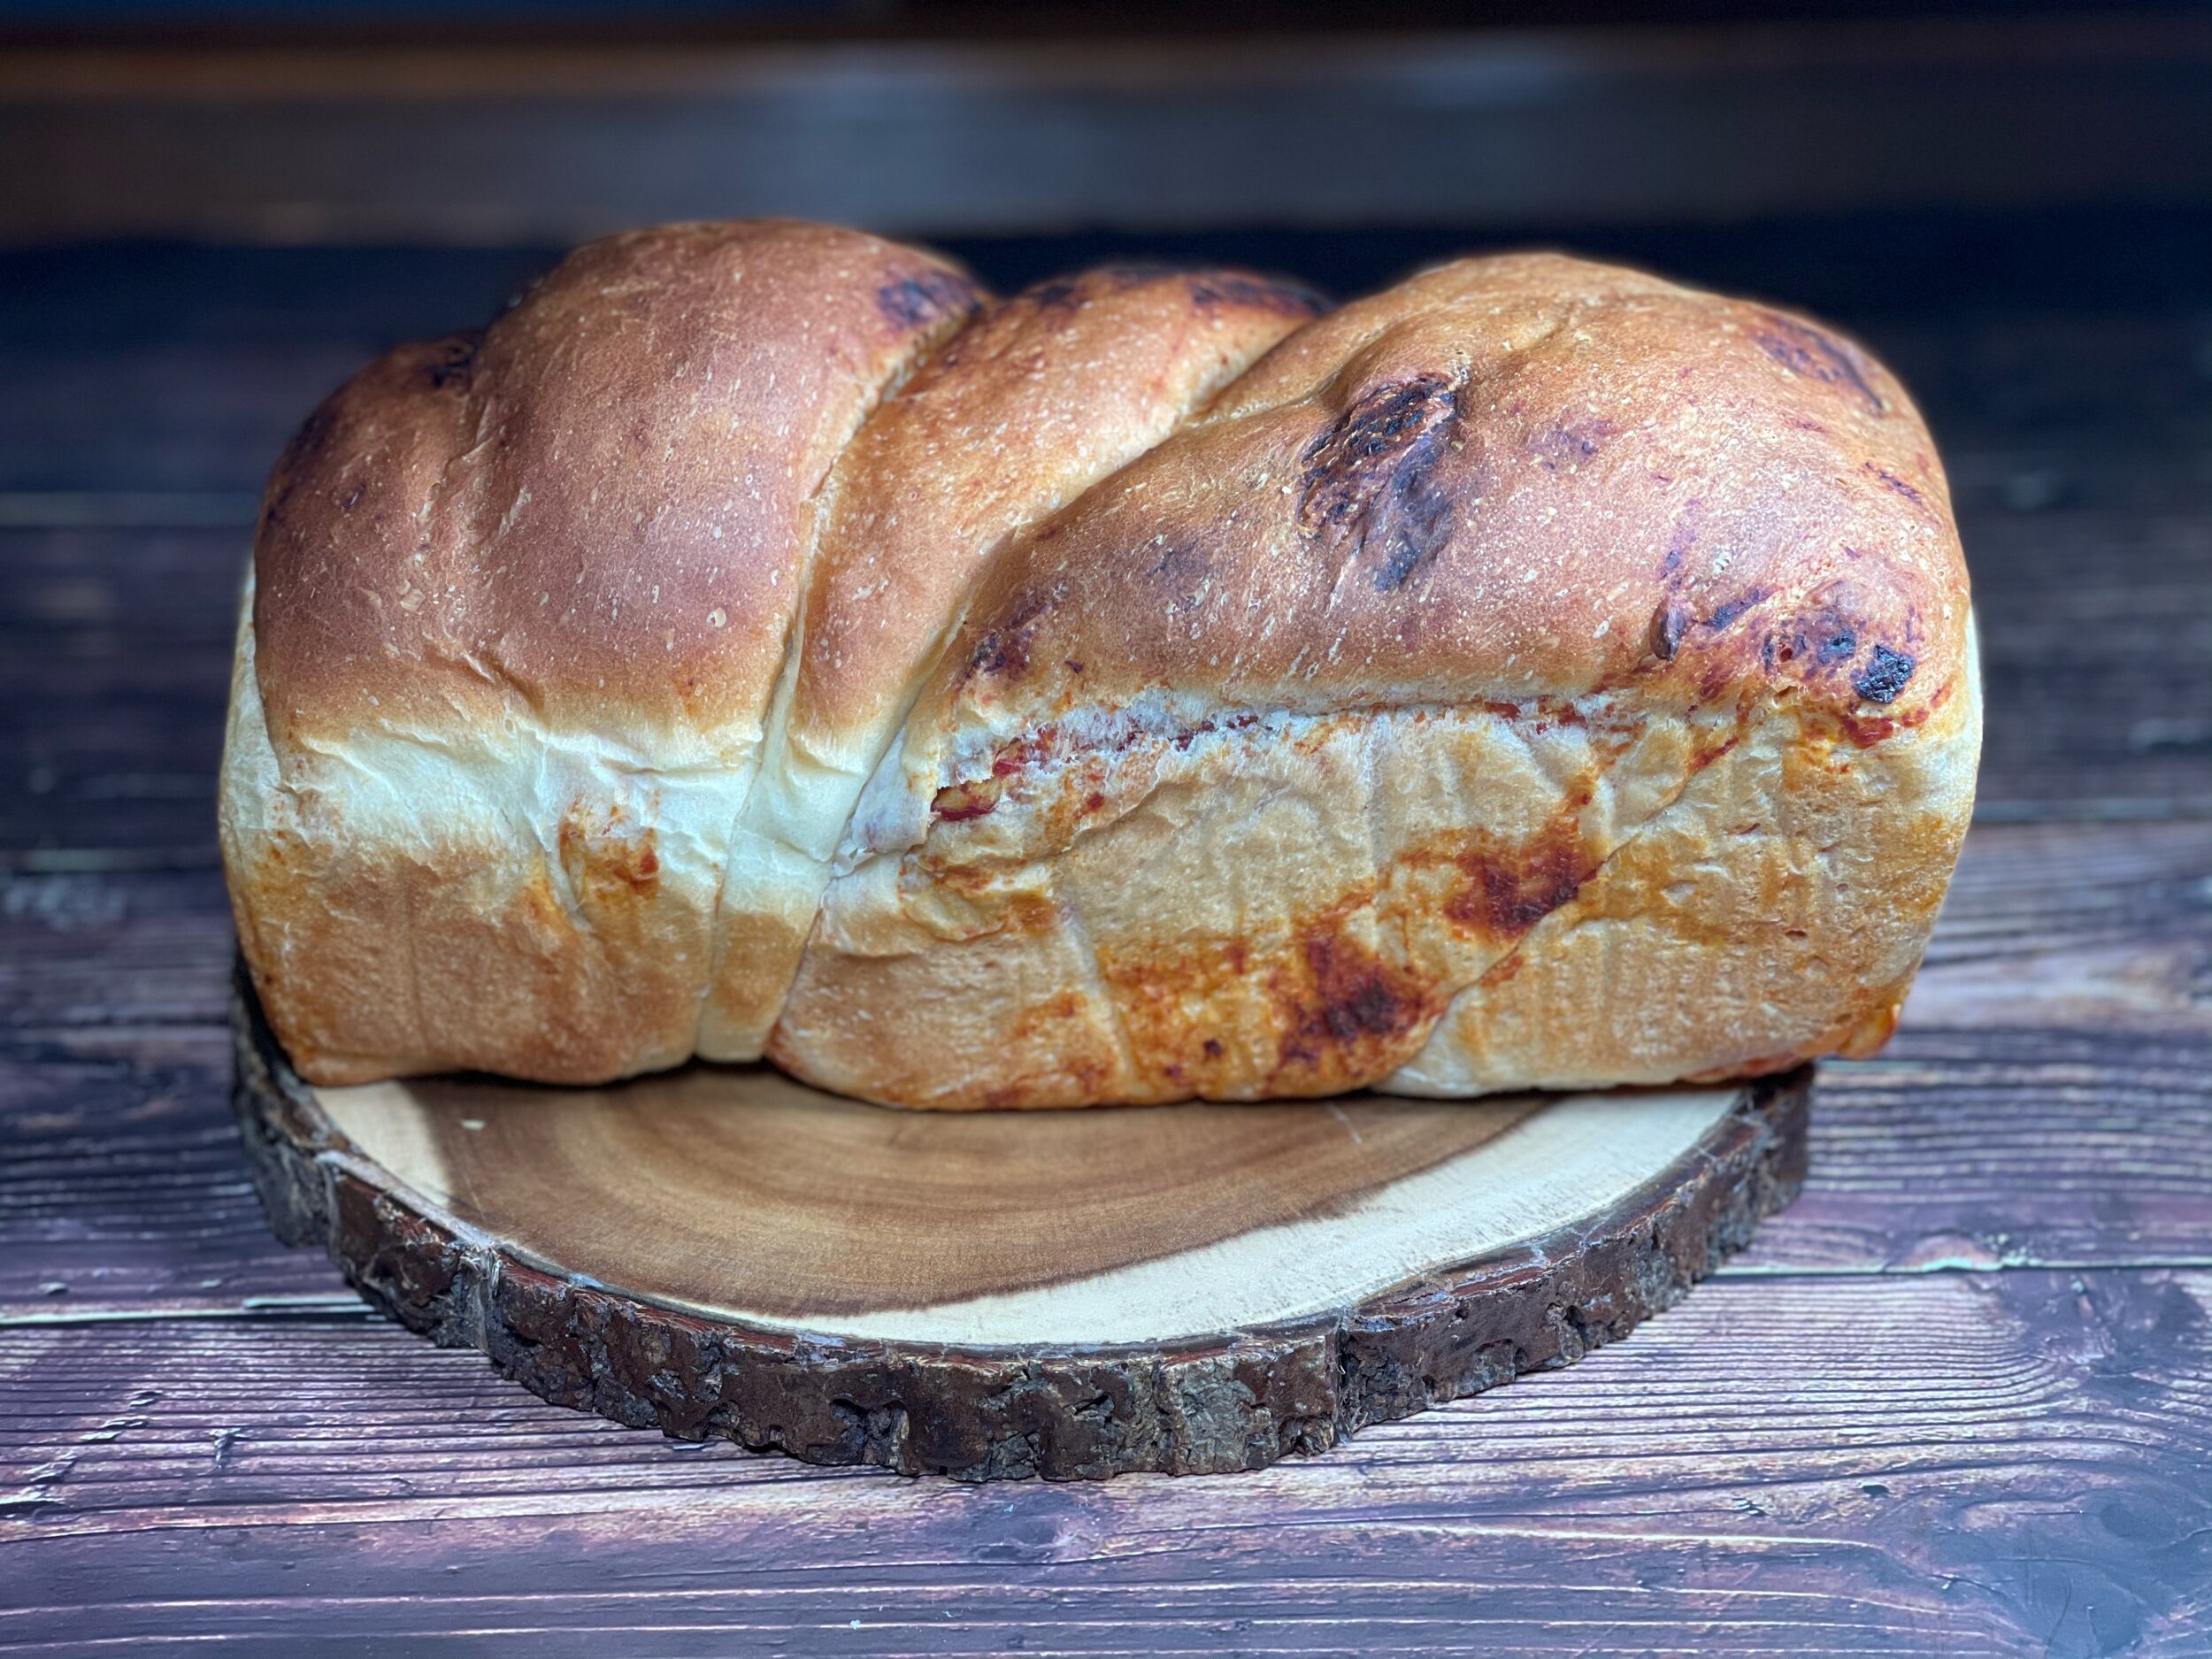
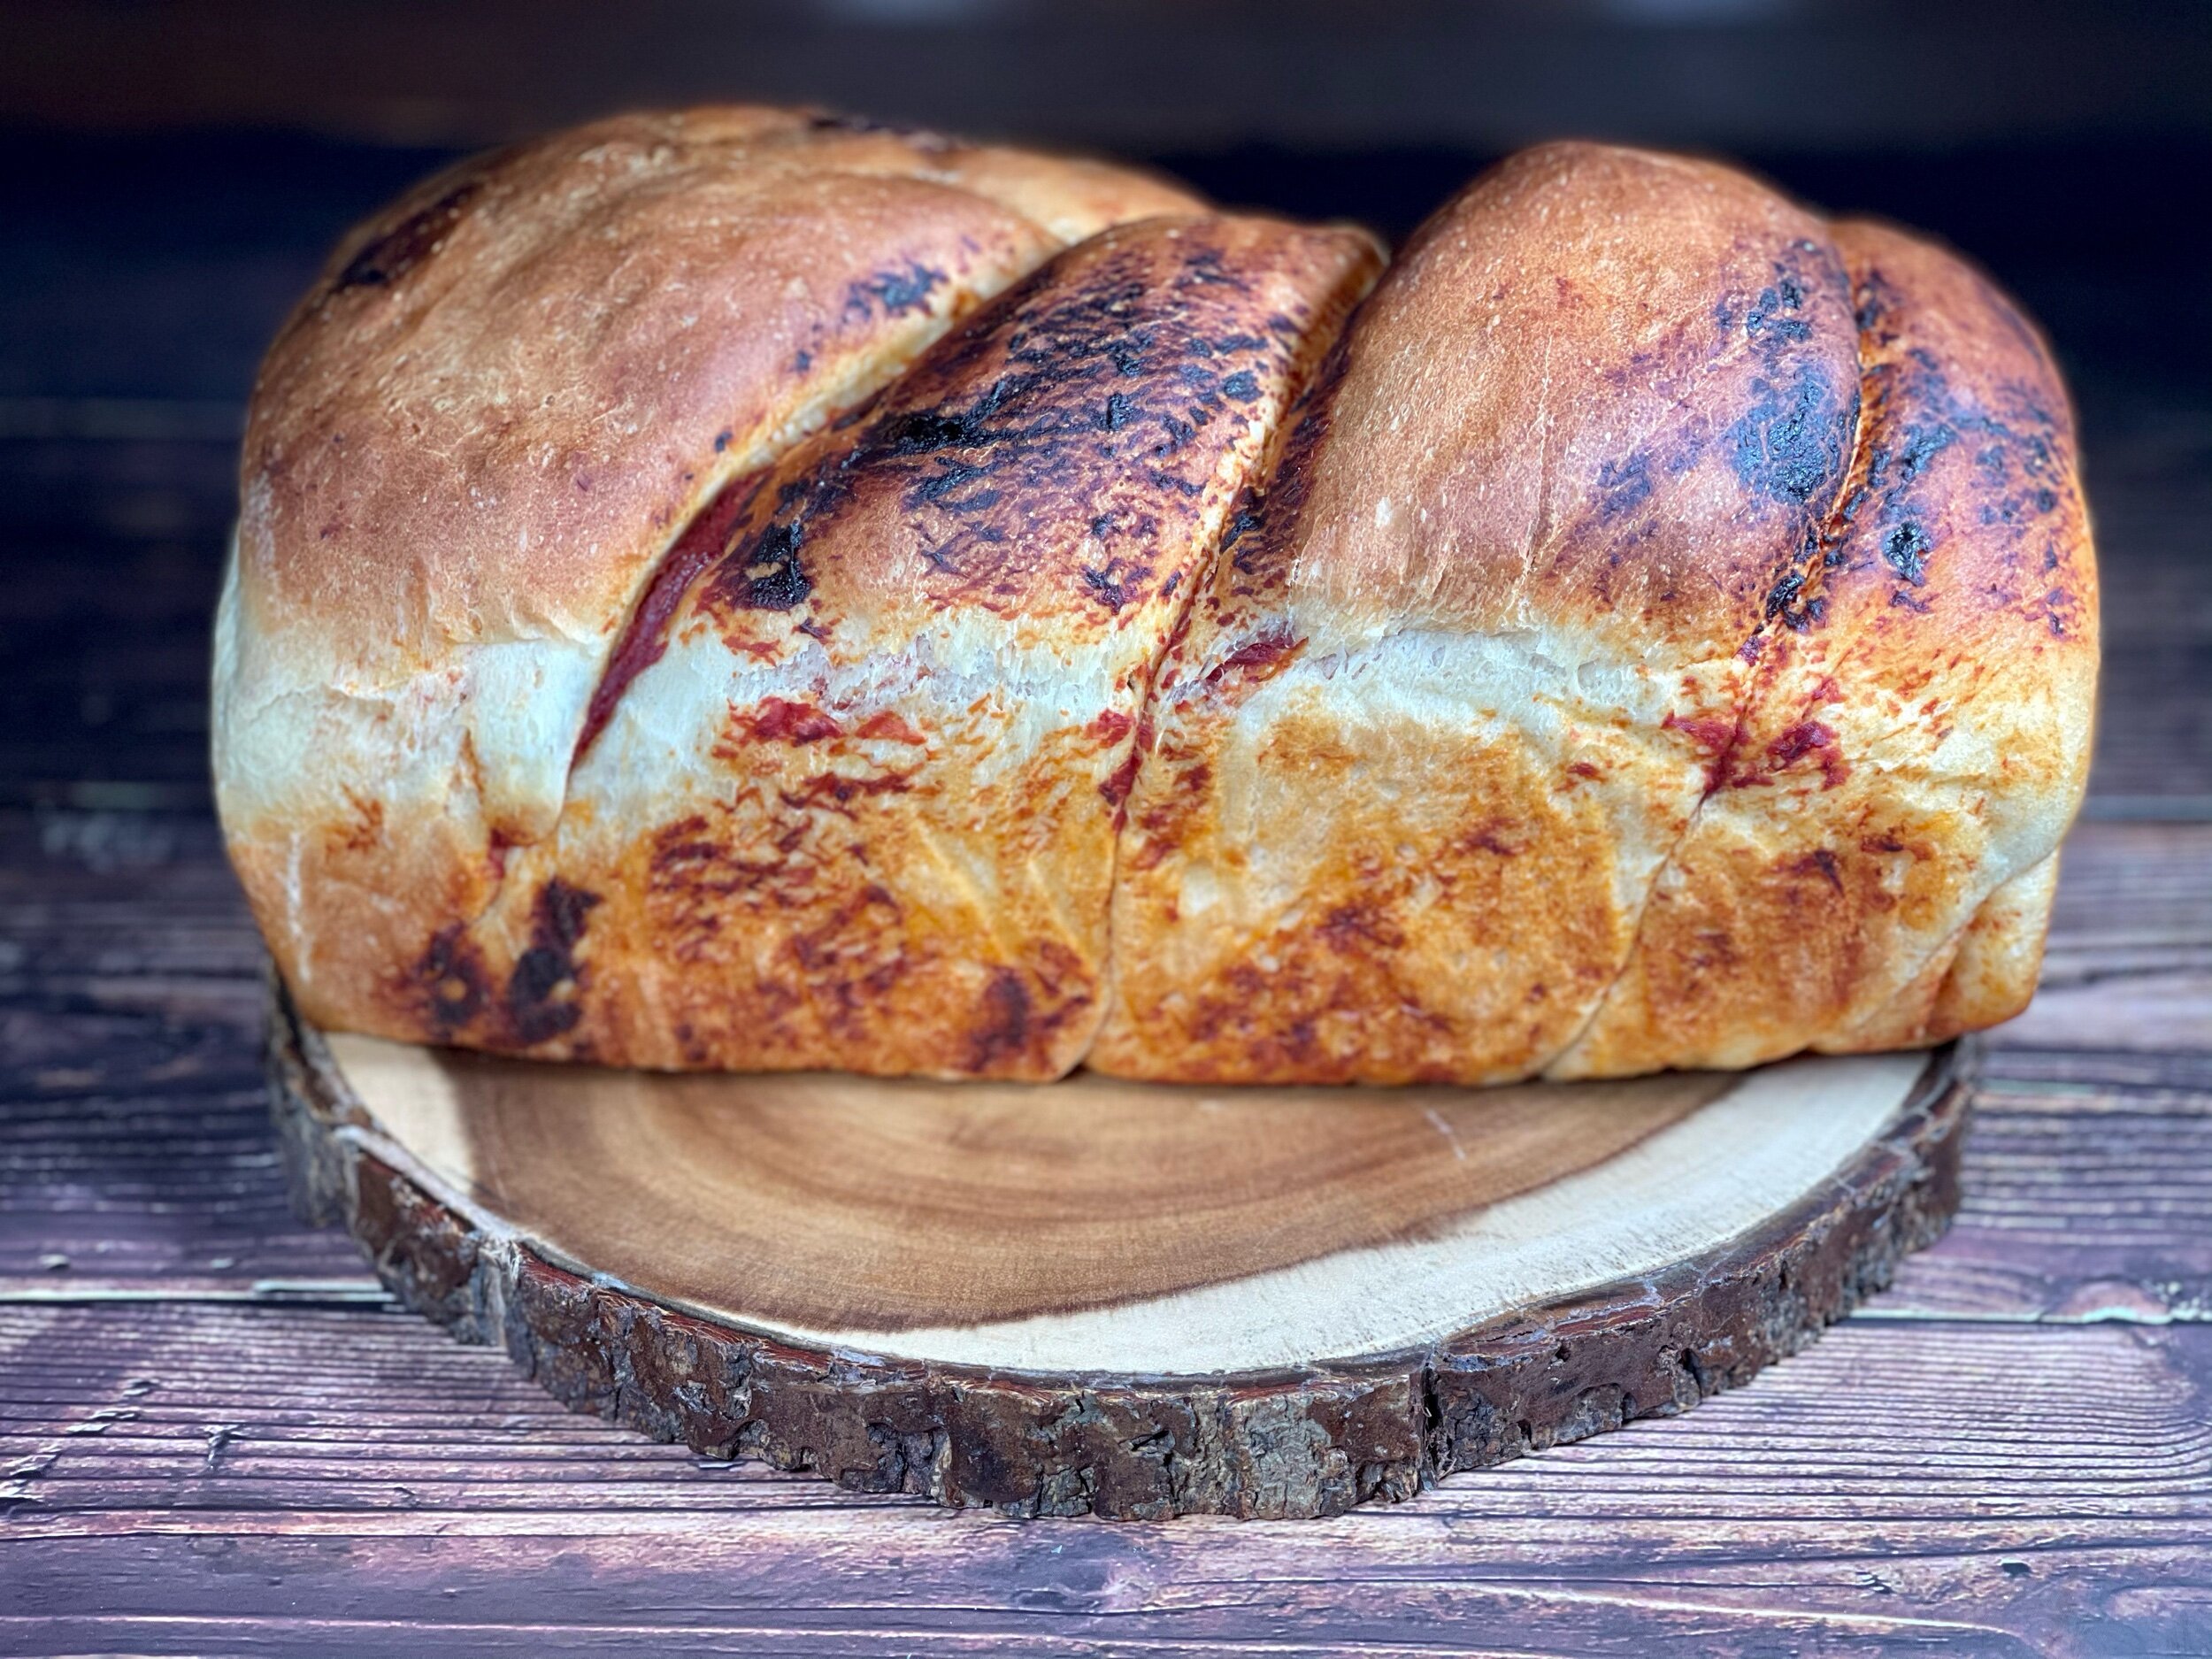
Tomato Swirl Bread

My husband loves soup. He would have it everyday during the winter if I would make it that often. I too like soup, but because of my allergies I am limited to the types of soup I can have. So frequently I make bisque type soups and many times they need an extra something to go with it. Enter…grilled cheese. Now there is nothing like the childhood comfort of slapping two pieces of white bread together with some American cheese or Velveeta in between, but I have learned that changing up the bread as well as the types of cheese can completely elevate the sandwich.
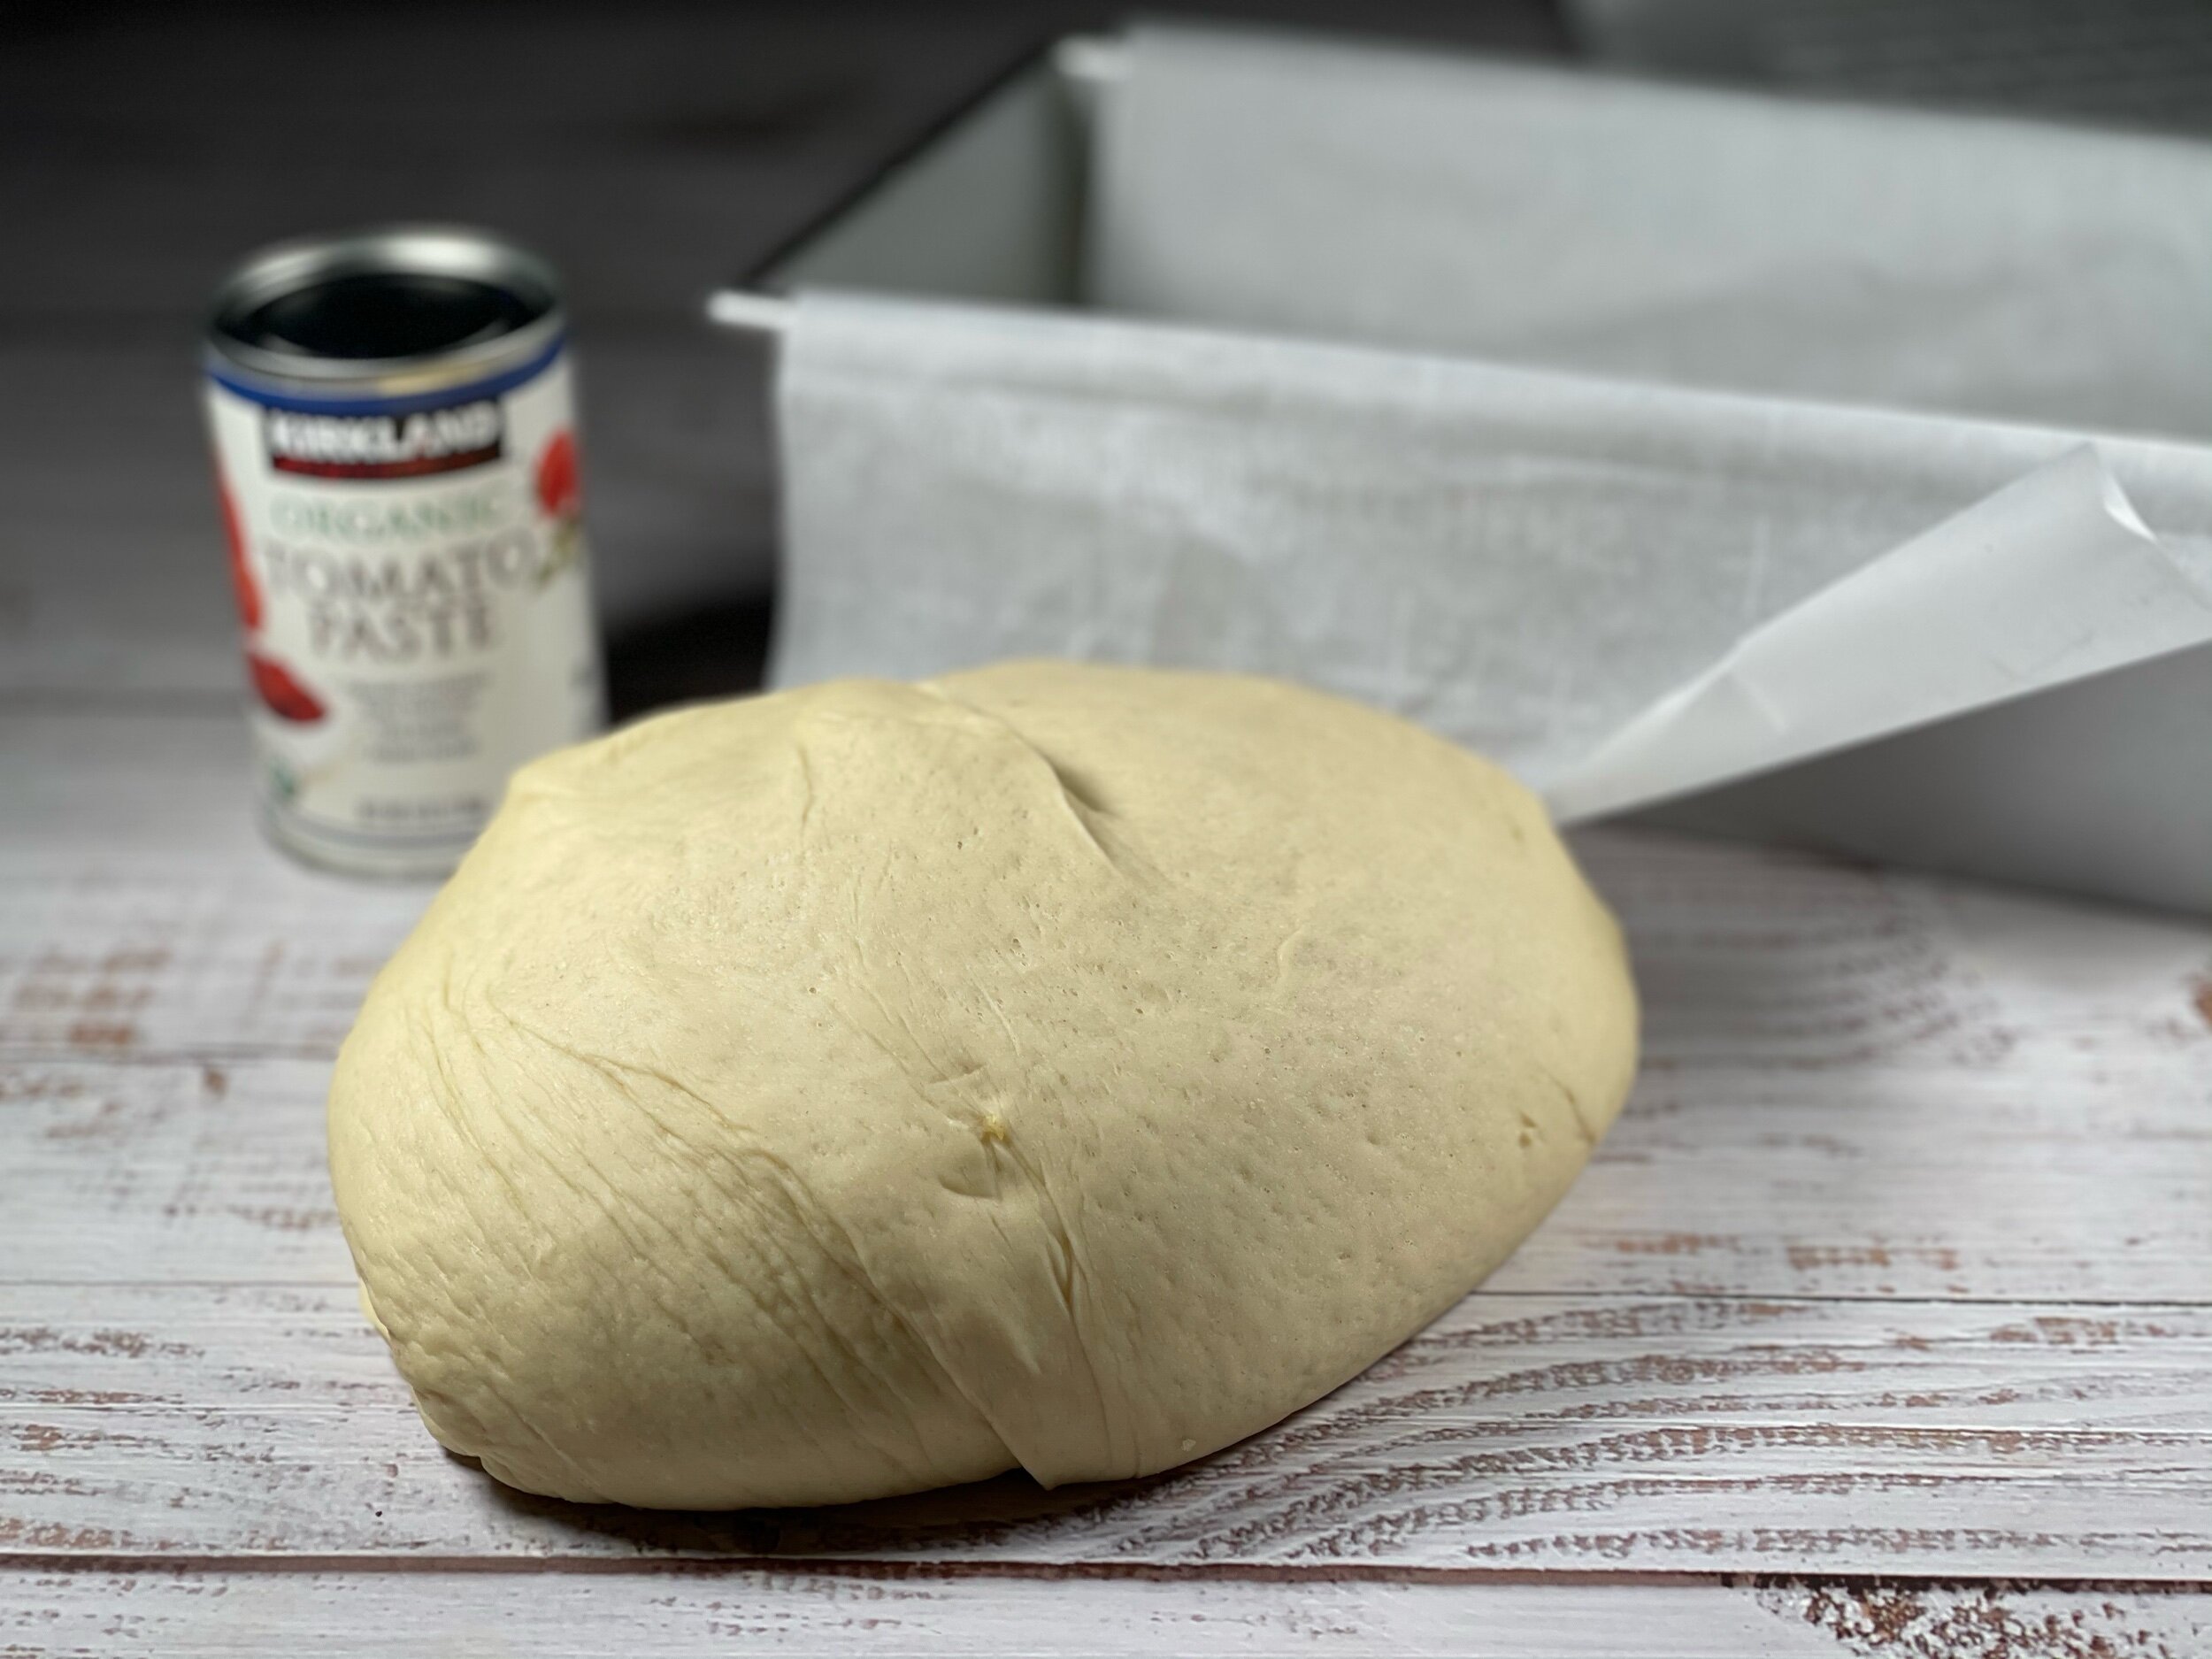
On a rather chilly day recently, the mood hit where I was craving the soup and sandwich combo and I knew I needed to make some bread as we didn’t have anything appropriate on hand. I personally love the tomato and cheese combo on a grilled cheese, except both Rob and I, dislike fresh tomatoes. Many times I work around this by adding bits of sun-dried tomato to my bread dough but I was fresh out of them, nor did I have fresh tomatoes that I could quickly dry in my dehydrator. I was about to give up as I rifled through the pantry in order to get inspired and then I spied the small cans of tomato paste and found my alternative.
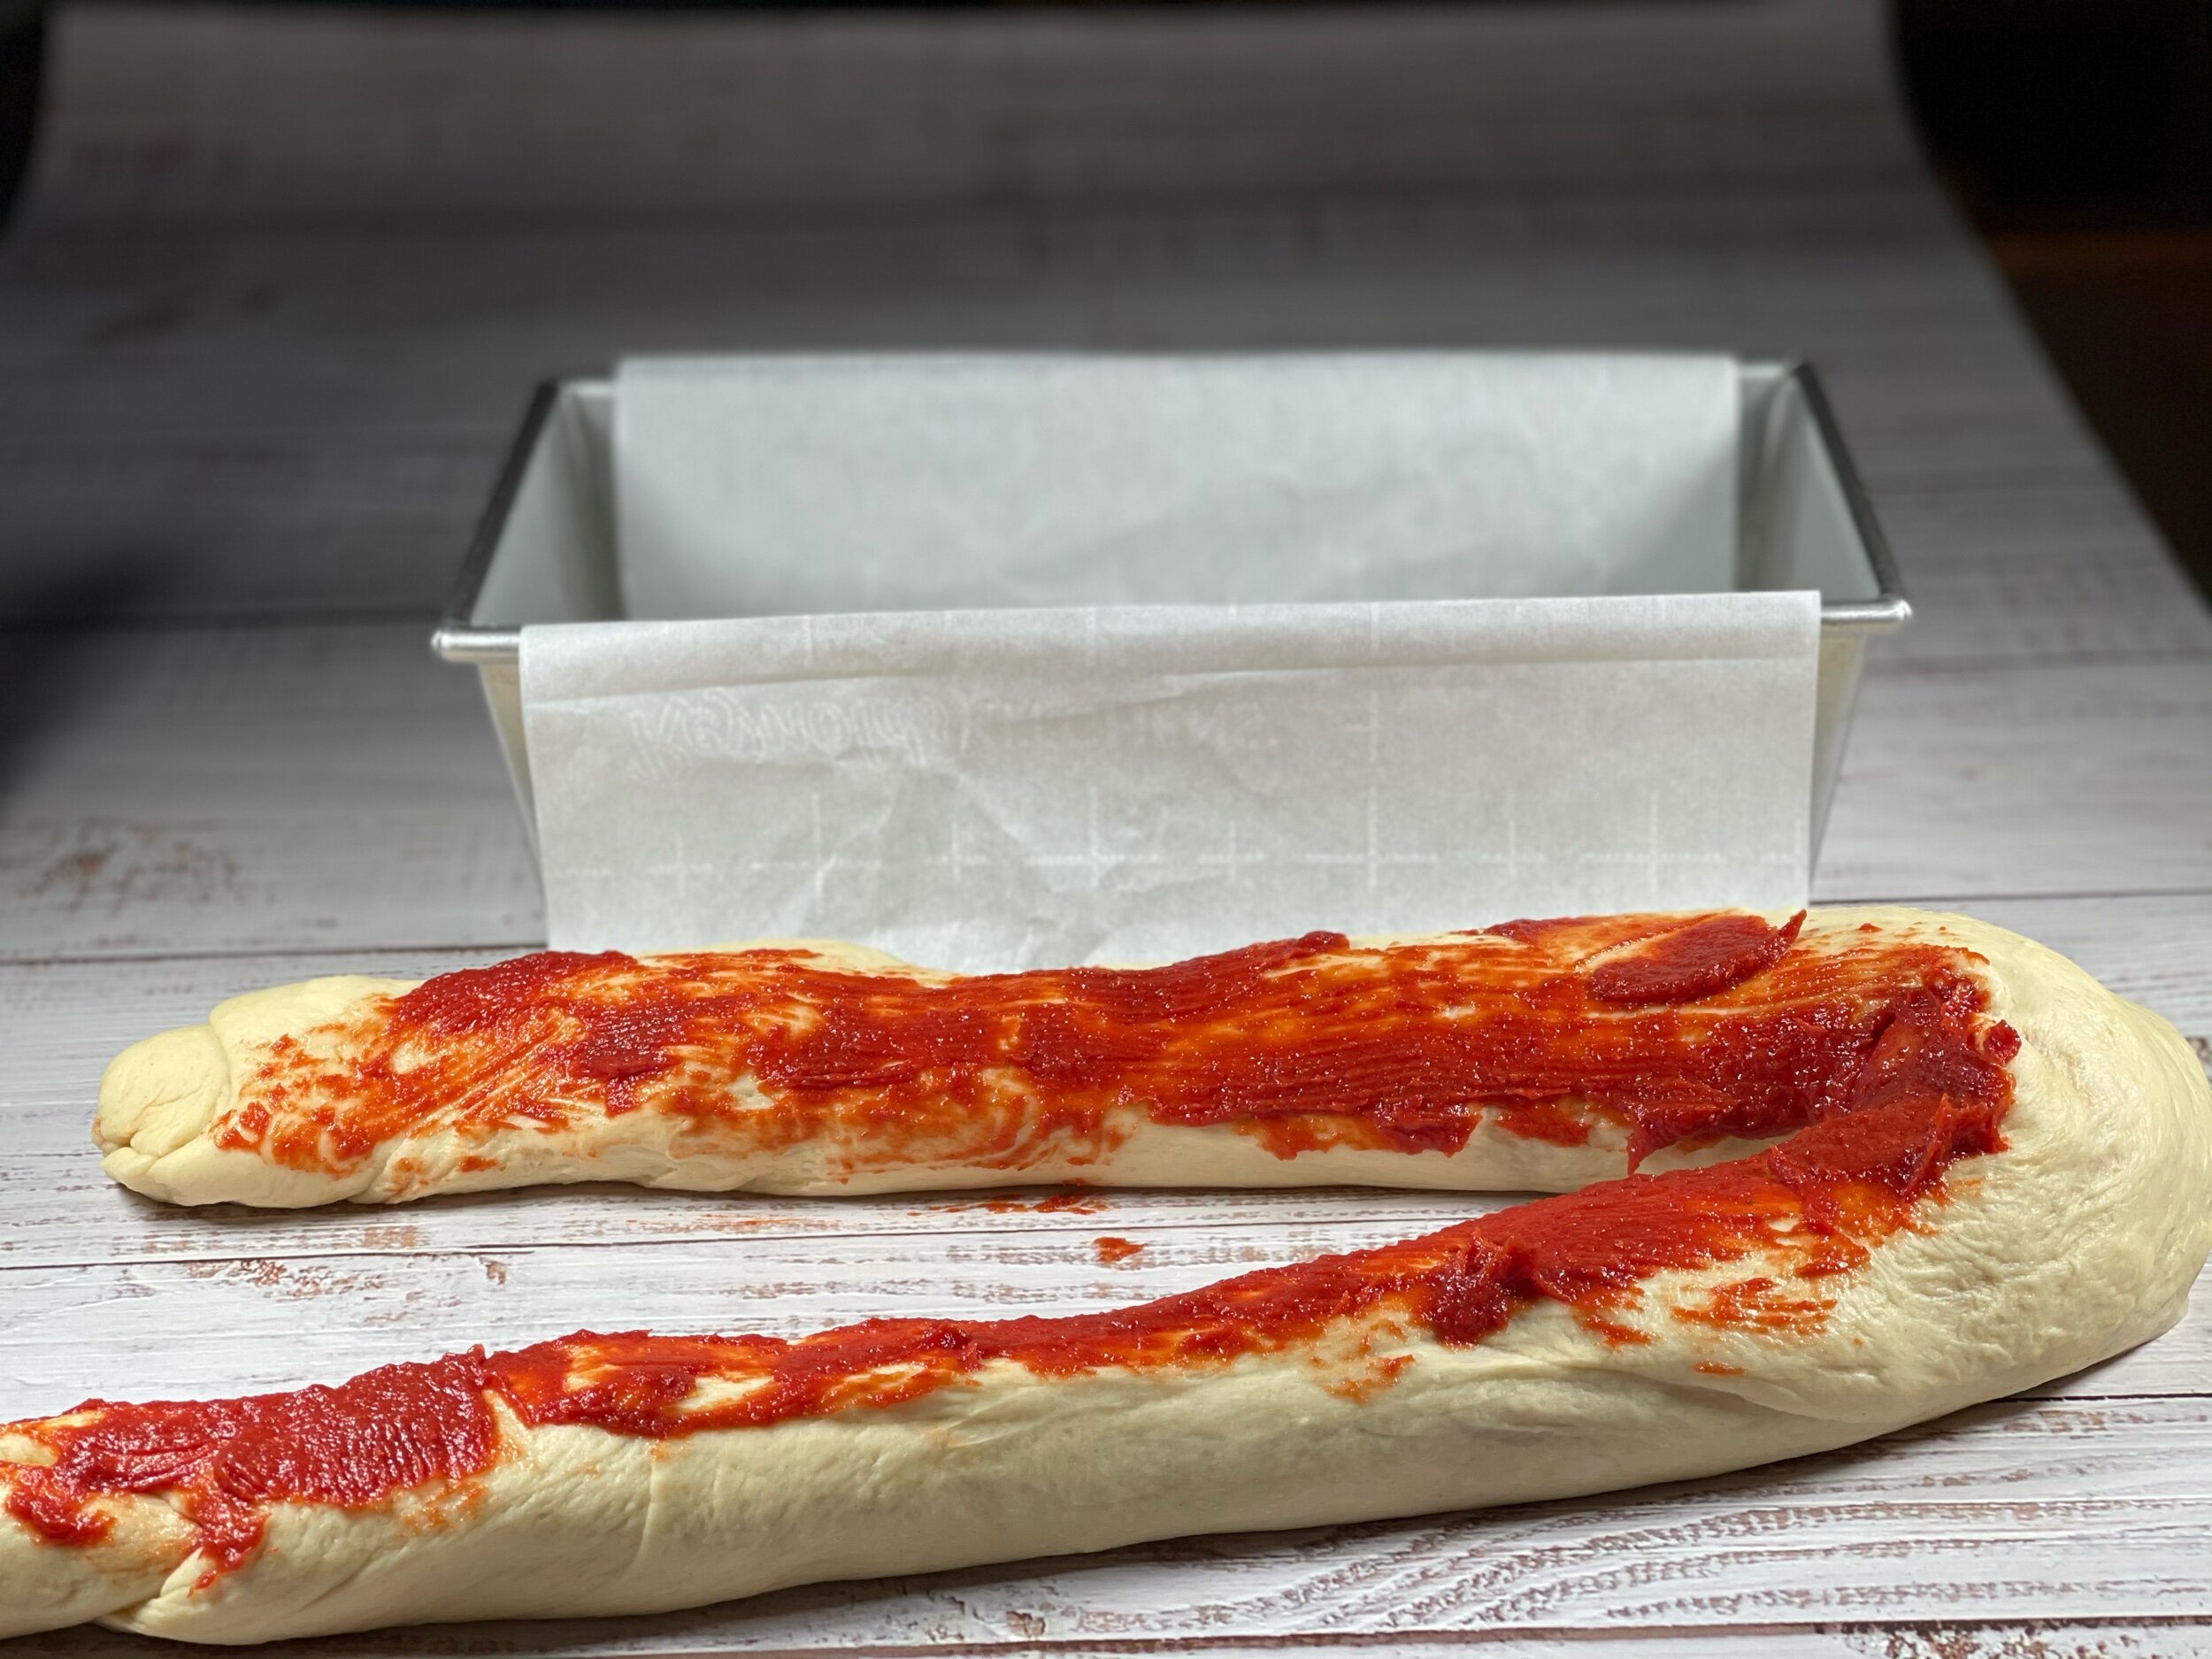
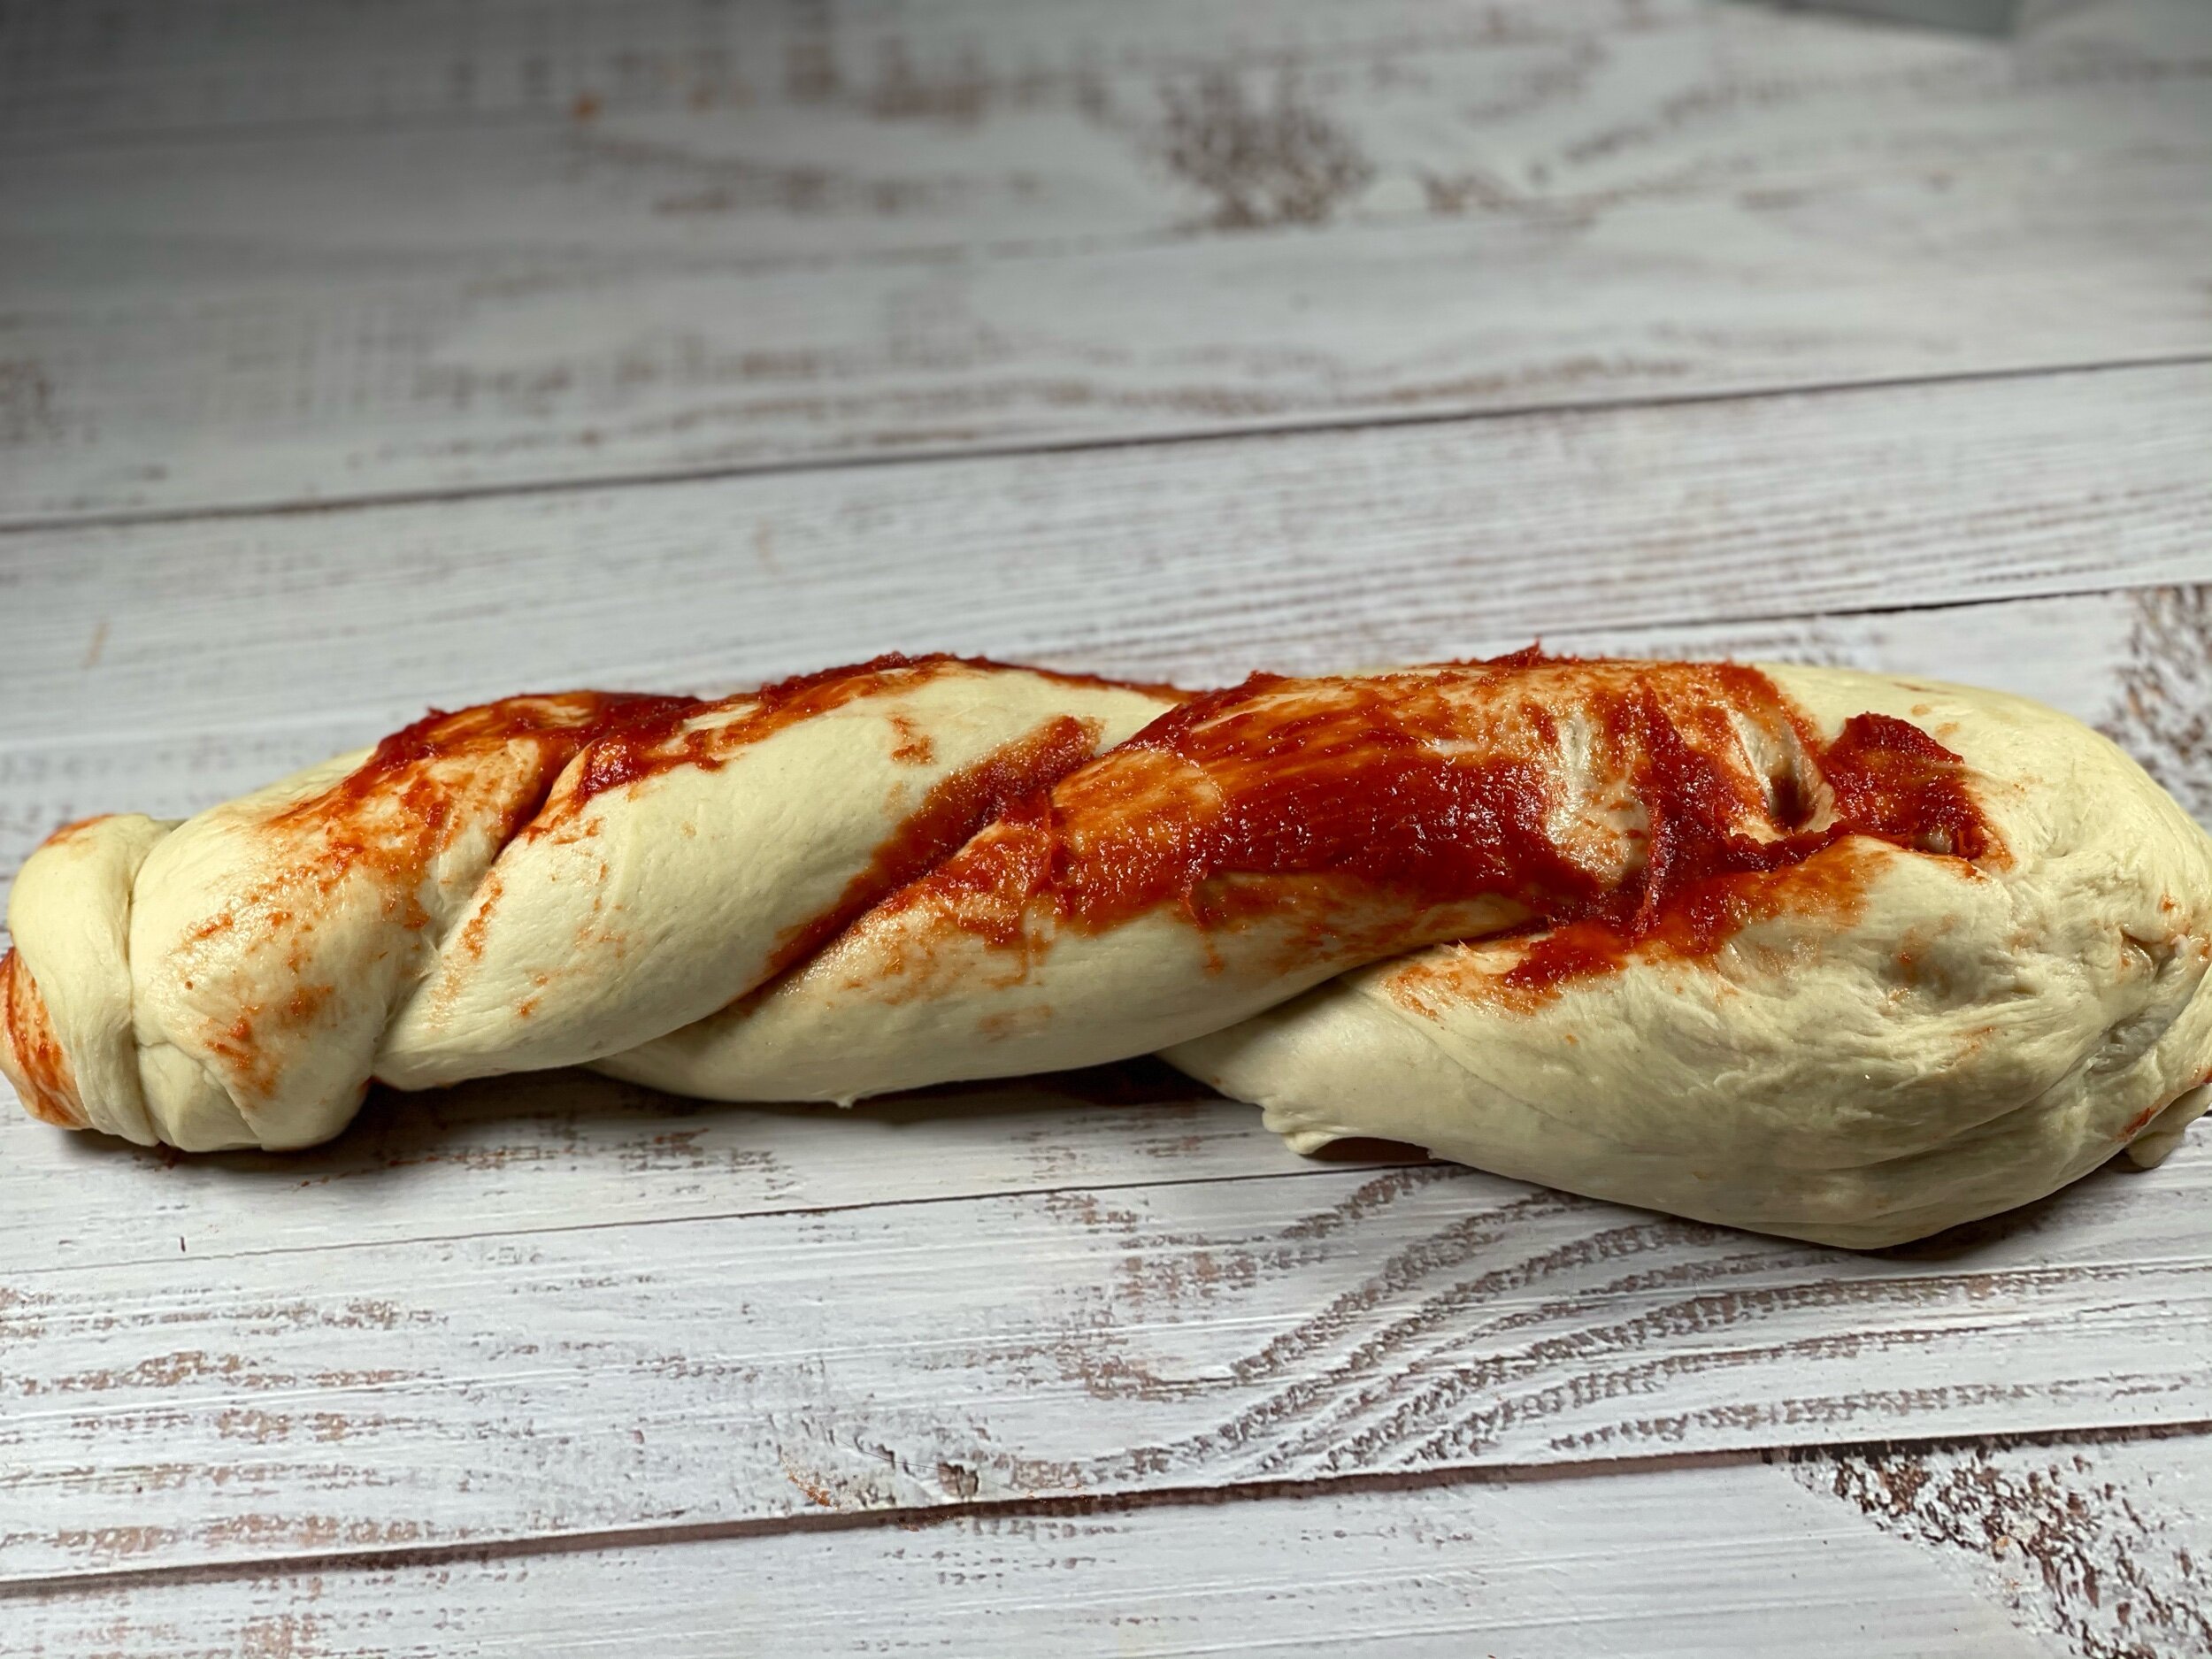
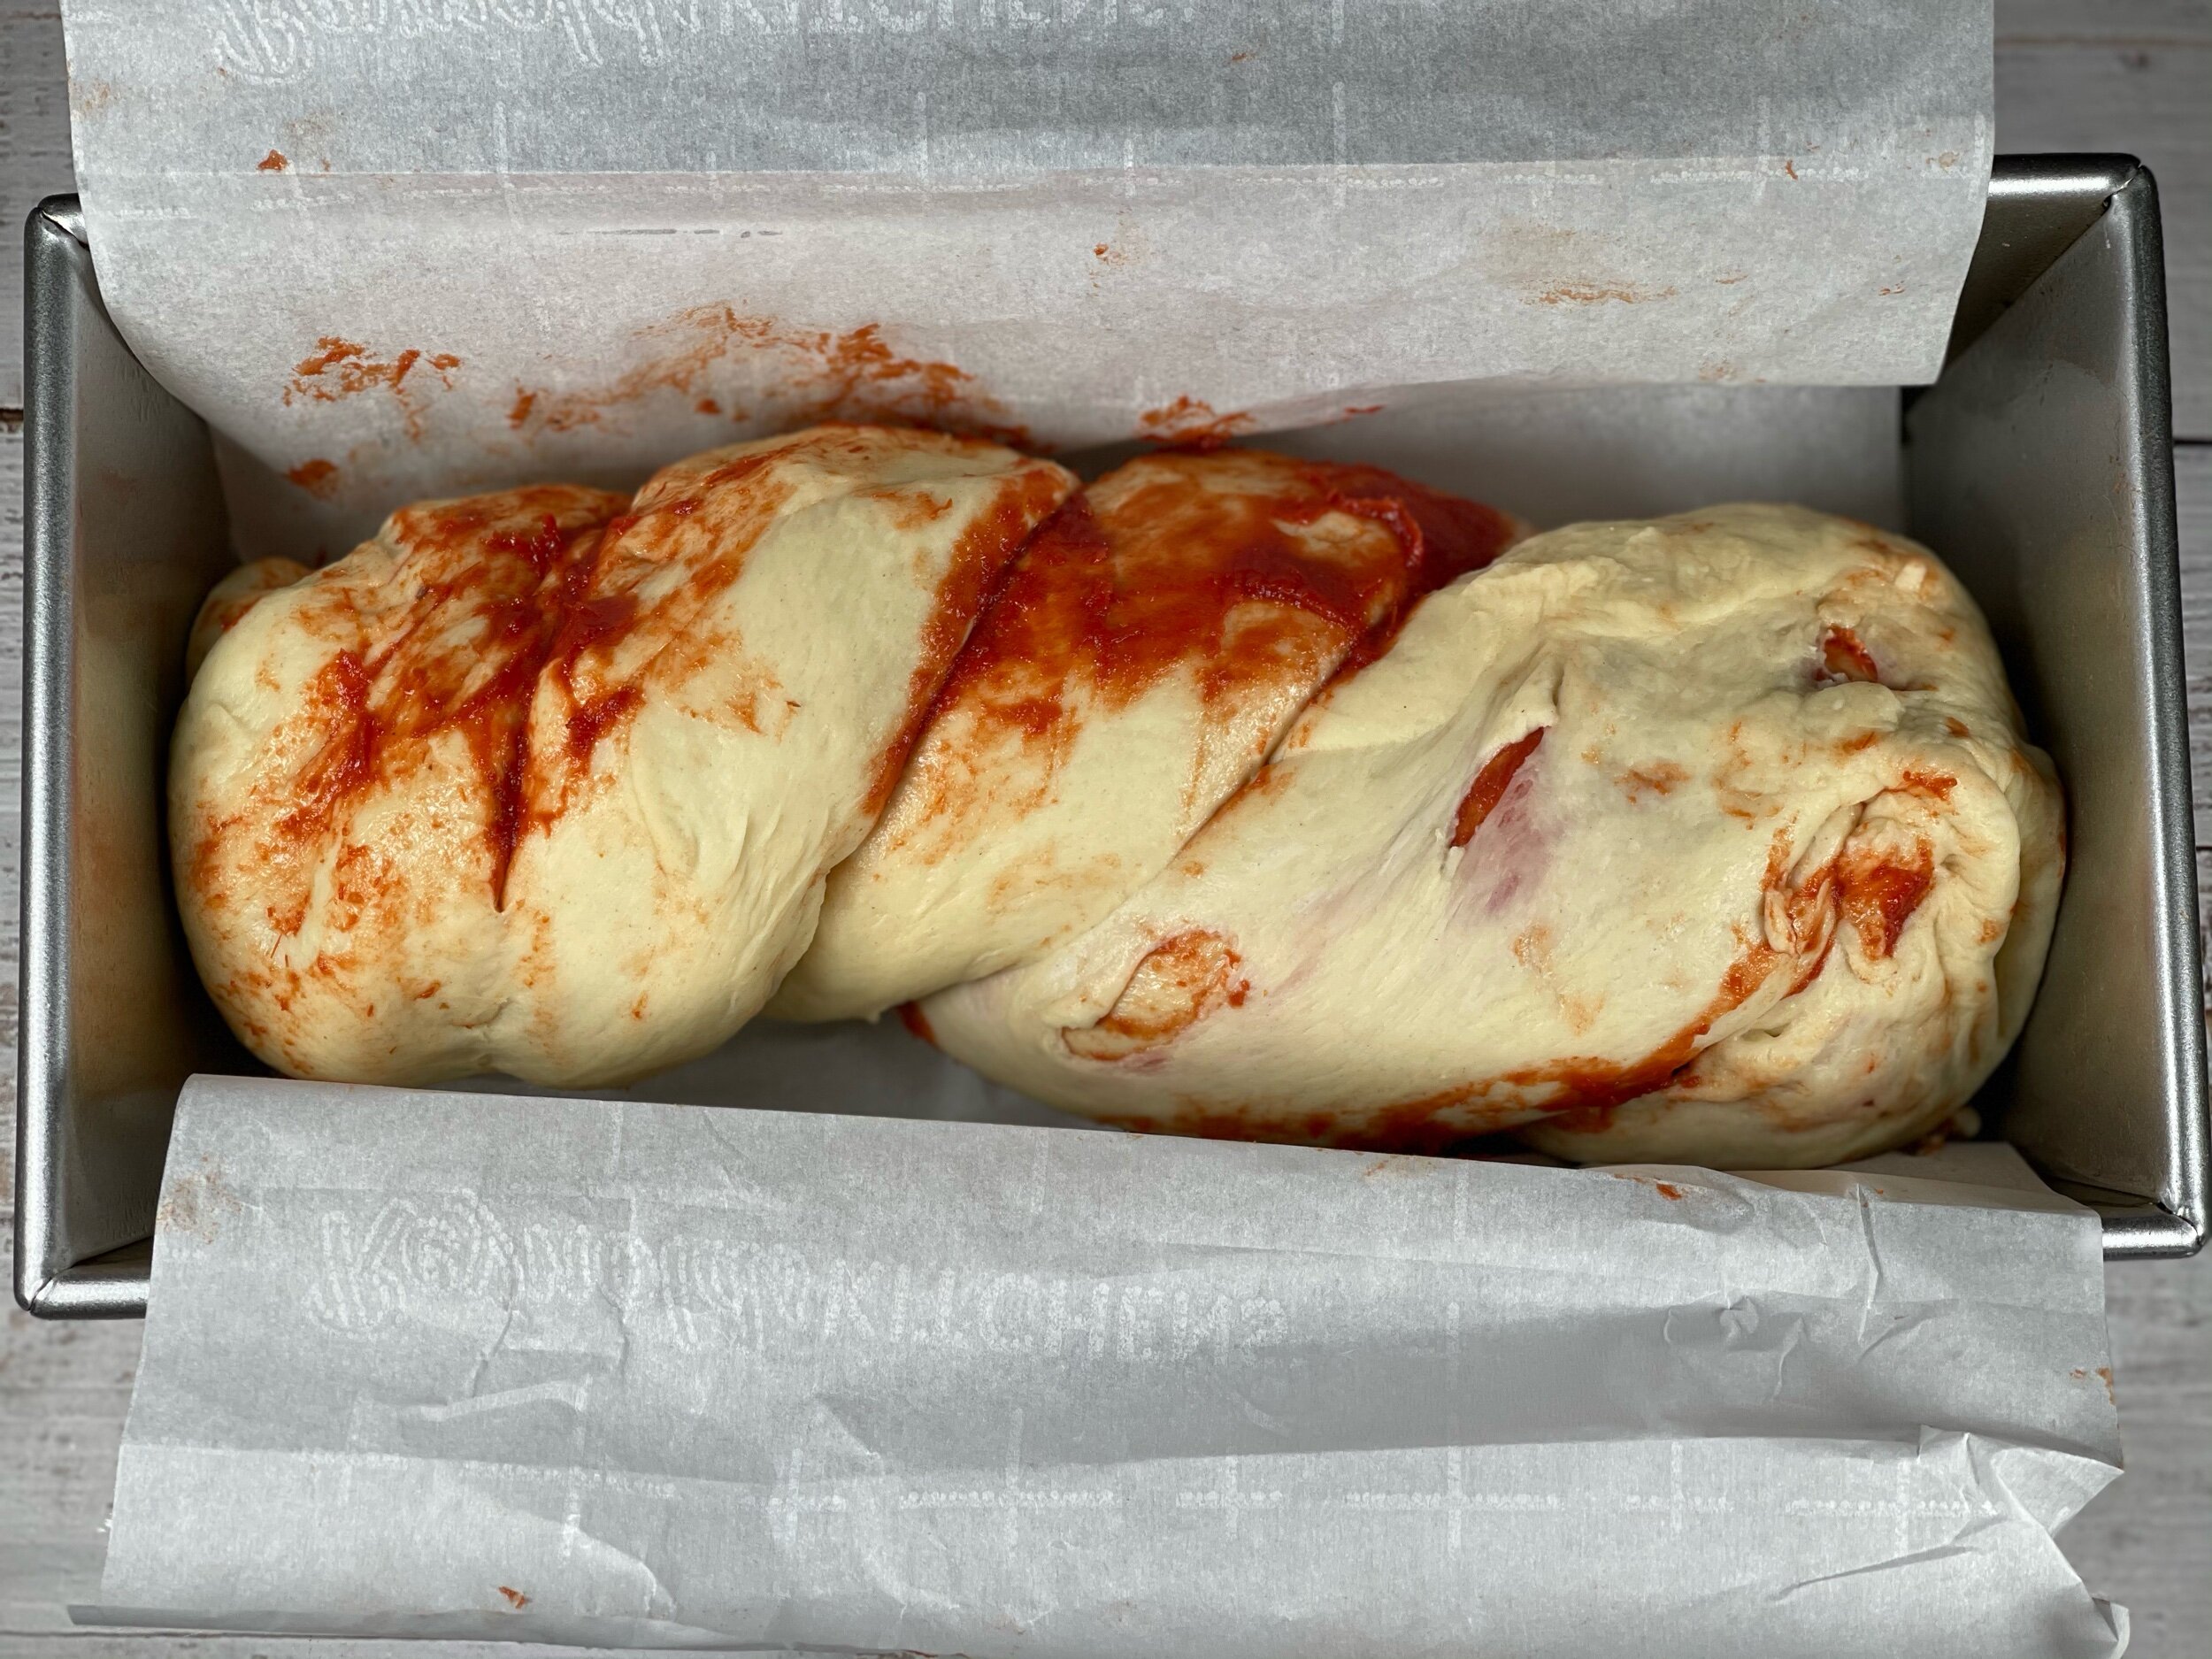

This bread comes together so quickly and despite it needing a few hours to complete start to finish, most of it is inactive time as the bread proofs. As far as the way the tomato paste twists and turns within the bread, there are endless ways to twist up your loaf. If you look at my Apple Butter Pull-Apart Bread you can see some other ways to introduce the tomato paste. In order to spread the flavor around, I have also tried: dividing the dough into 3 sections, rolling each out and adding the paste, rolling them up, and finally, braiding those three sections together or taking the single roll and elongating it to double the length of the tin and then folding in half and twisting it like in the slide show I have here of the process. The options are endless which is why you can end up with various designs when you cut open your loaf.
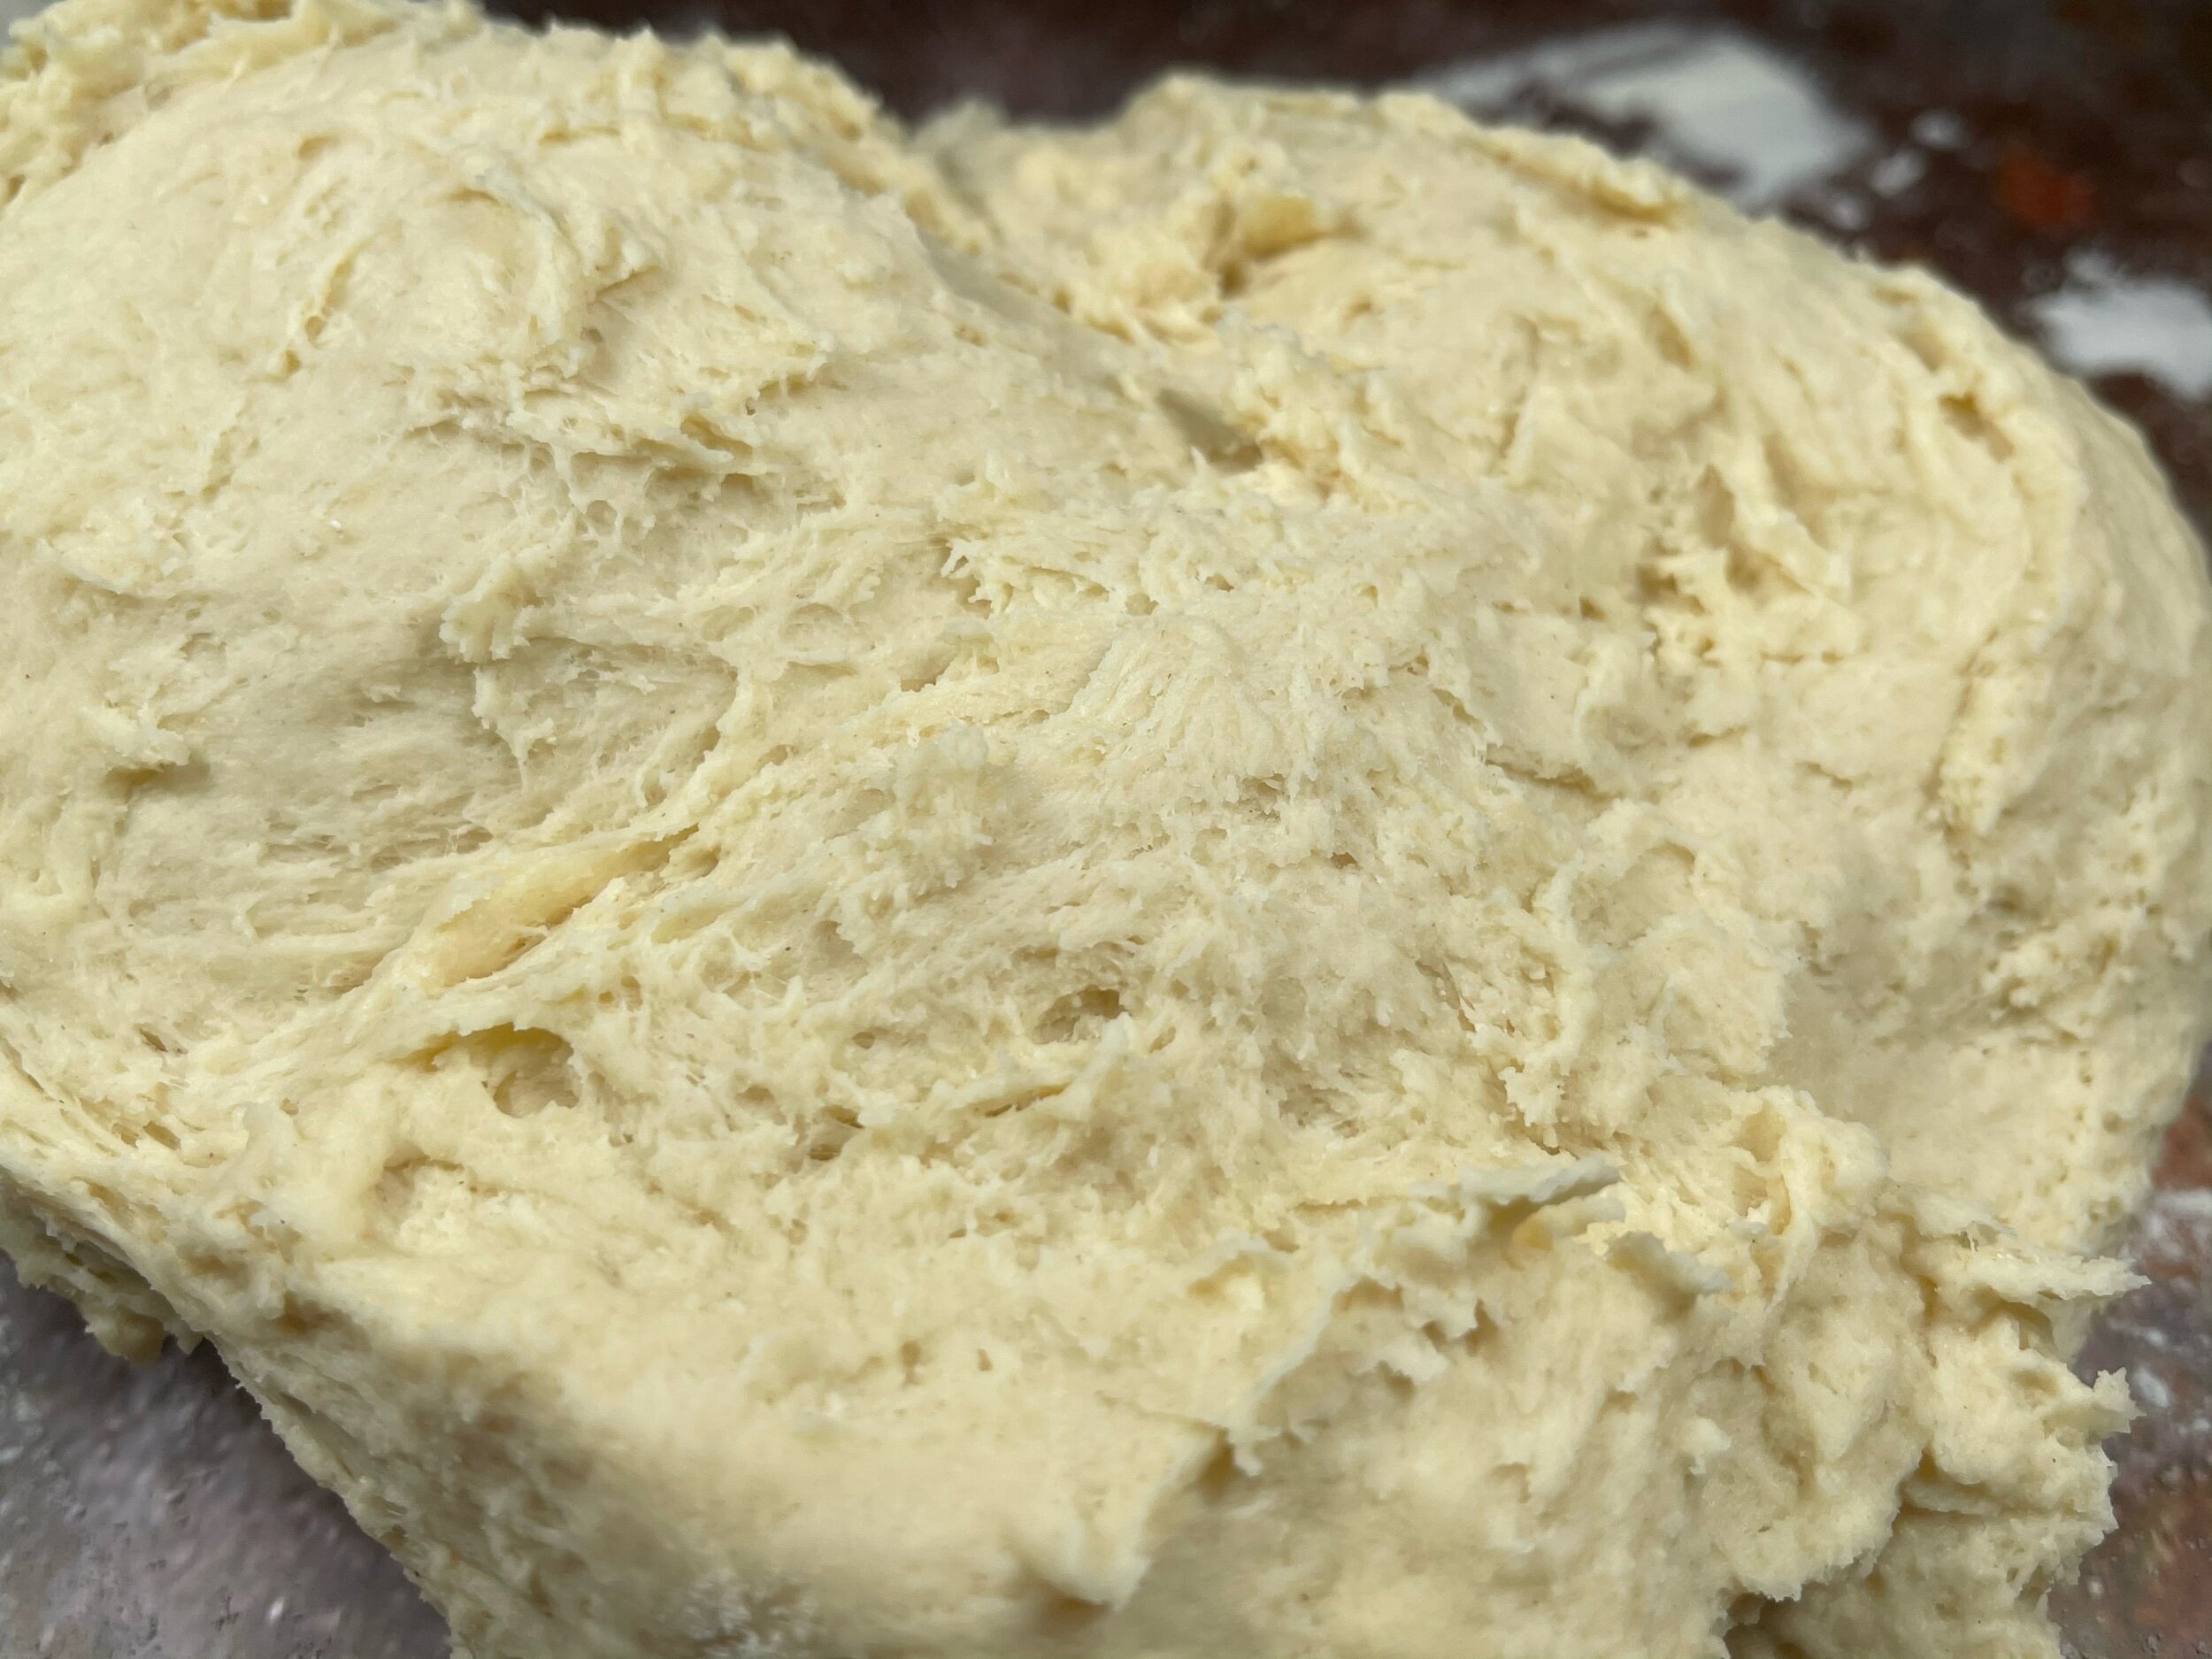
And few notes about kneading and cutting. First, kneading by hand can take a bit, especially on an enriched bread such as this. An enriched bread is a dough that has sugar or fats added to it such as honey, granulated sugar, maple syrup, etc, and/or eggs, milk, butter, and oil to name a few. Those fats impede gluten production a bit. When we knead the dough, we do so in order to allow the proteins to come together and arrange themselves in a line which is a gluten strand. These gluten strands are what support the loaf. It gives the dough structure so when the yeast expels carbon dioxide, it can be trapped within the dough and we get a nice airy loaf with a regular soft crumb when we cut into it. So don’t be afraid to beat that dough up! The more manipulation the better the structure. However, if you are using a machine to do the kneading, take care as yes, you can over knead the dough. Check the dough after 8 minutes of machine kneading (for this loaf) to see if it has reached the windowpane stage. If it has, stop.
Lastly, cooling. Nice warm bread fresh from the oven sounds delightful, doesn’t it? Well, there are some tricks to getting that warm bread. When a loaf of bread is baked it needs to fully cool to room temperature before being cut into. The cooling is part of the baking process. I won’t get into it here, but the starches need to “do their thing” and allow for finishing stage 1 of starch retrogradation before it is torn into. Now, if you wish to have warm bread, simply pop it back in the oven to warm after the cooling process and have at it! The starches have done what they needed to do and warming back up won’t have the same effect as not cooling to begin with. What will happen if you cut it too early? For one, it’s harder to cut but more importantly, it makes the crumb of the bread gummy and dense. The one caveat to this is if it’s still warm, tearing the bread by hand won’t allow it to get as gummy as cutting with a knife.
Now, go off and make yourself some delicious bread! Don’t have tomato paste or don’t like it? No problem, leave it out! The bread tastes wonderful on its own. just shape it and place it into the loaf tin as is.
Recipe Card
Note: I highly suggest having a digital scale in your kitchen. It takes the guesswork out and makes baking recipes a lot more successful. All of my recipes are written in metric weights. If you do not have a scale and need to convert a recipe or ingredient to volume, you can use the buttons to the right and copy /paste the recipe into the handy recipe conversion tool or the single ingredient conversion.

Tomato Swirl Bread
Ingredients
Method
- Combine flour, yeast, and salt into a large bowl or into the bowl of your stand mixer and stir to evenly distribute.
- Add the eggs, oil, and water and mix to combine with a dough whisk, wooden spoon, or in the mixer fitted with a paddle attachment until the dough comes together.
- Turn the dough out onto a clean work surface and begin to knead it by hand or switch to a dough hook attachment if using the mixer.
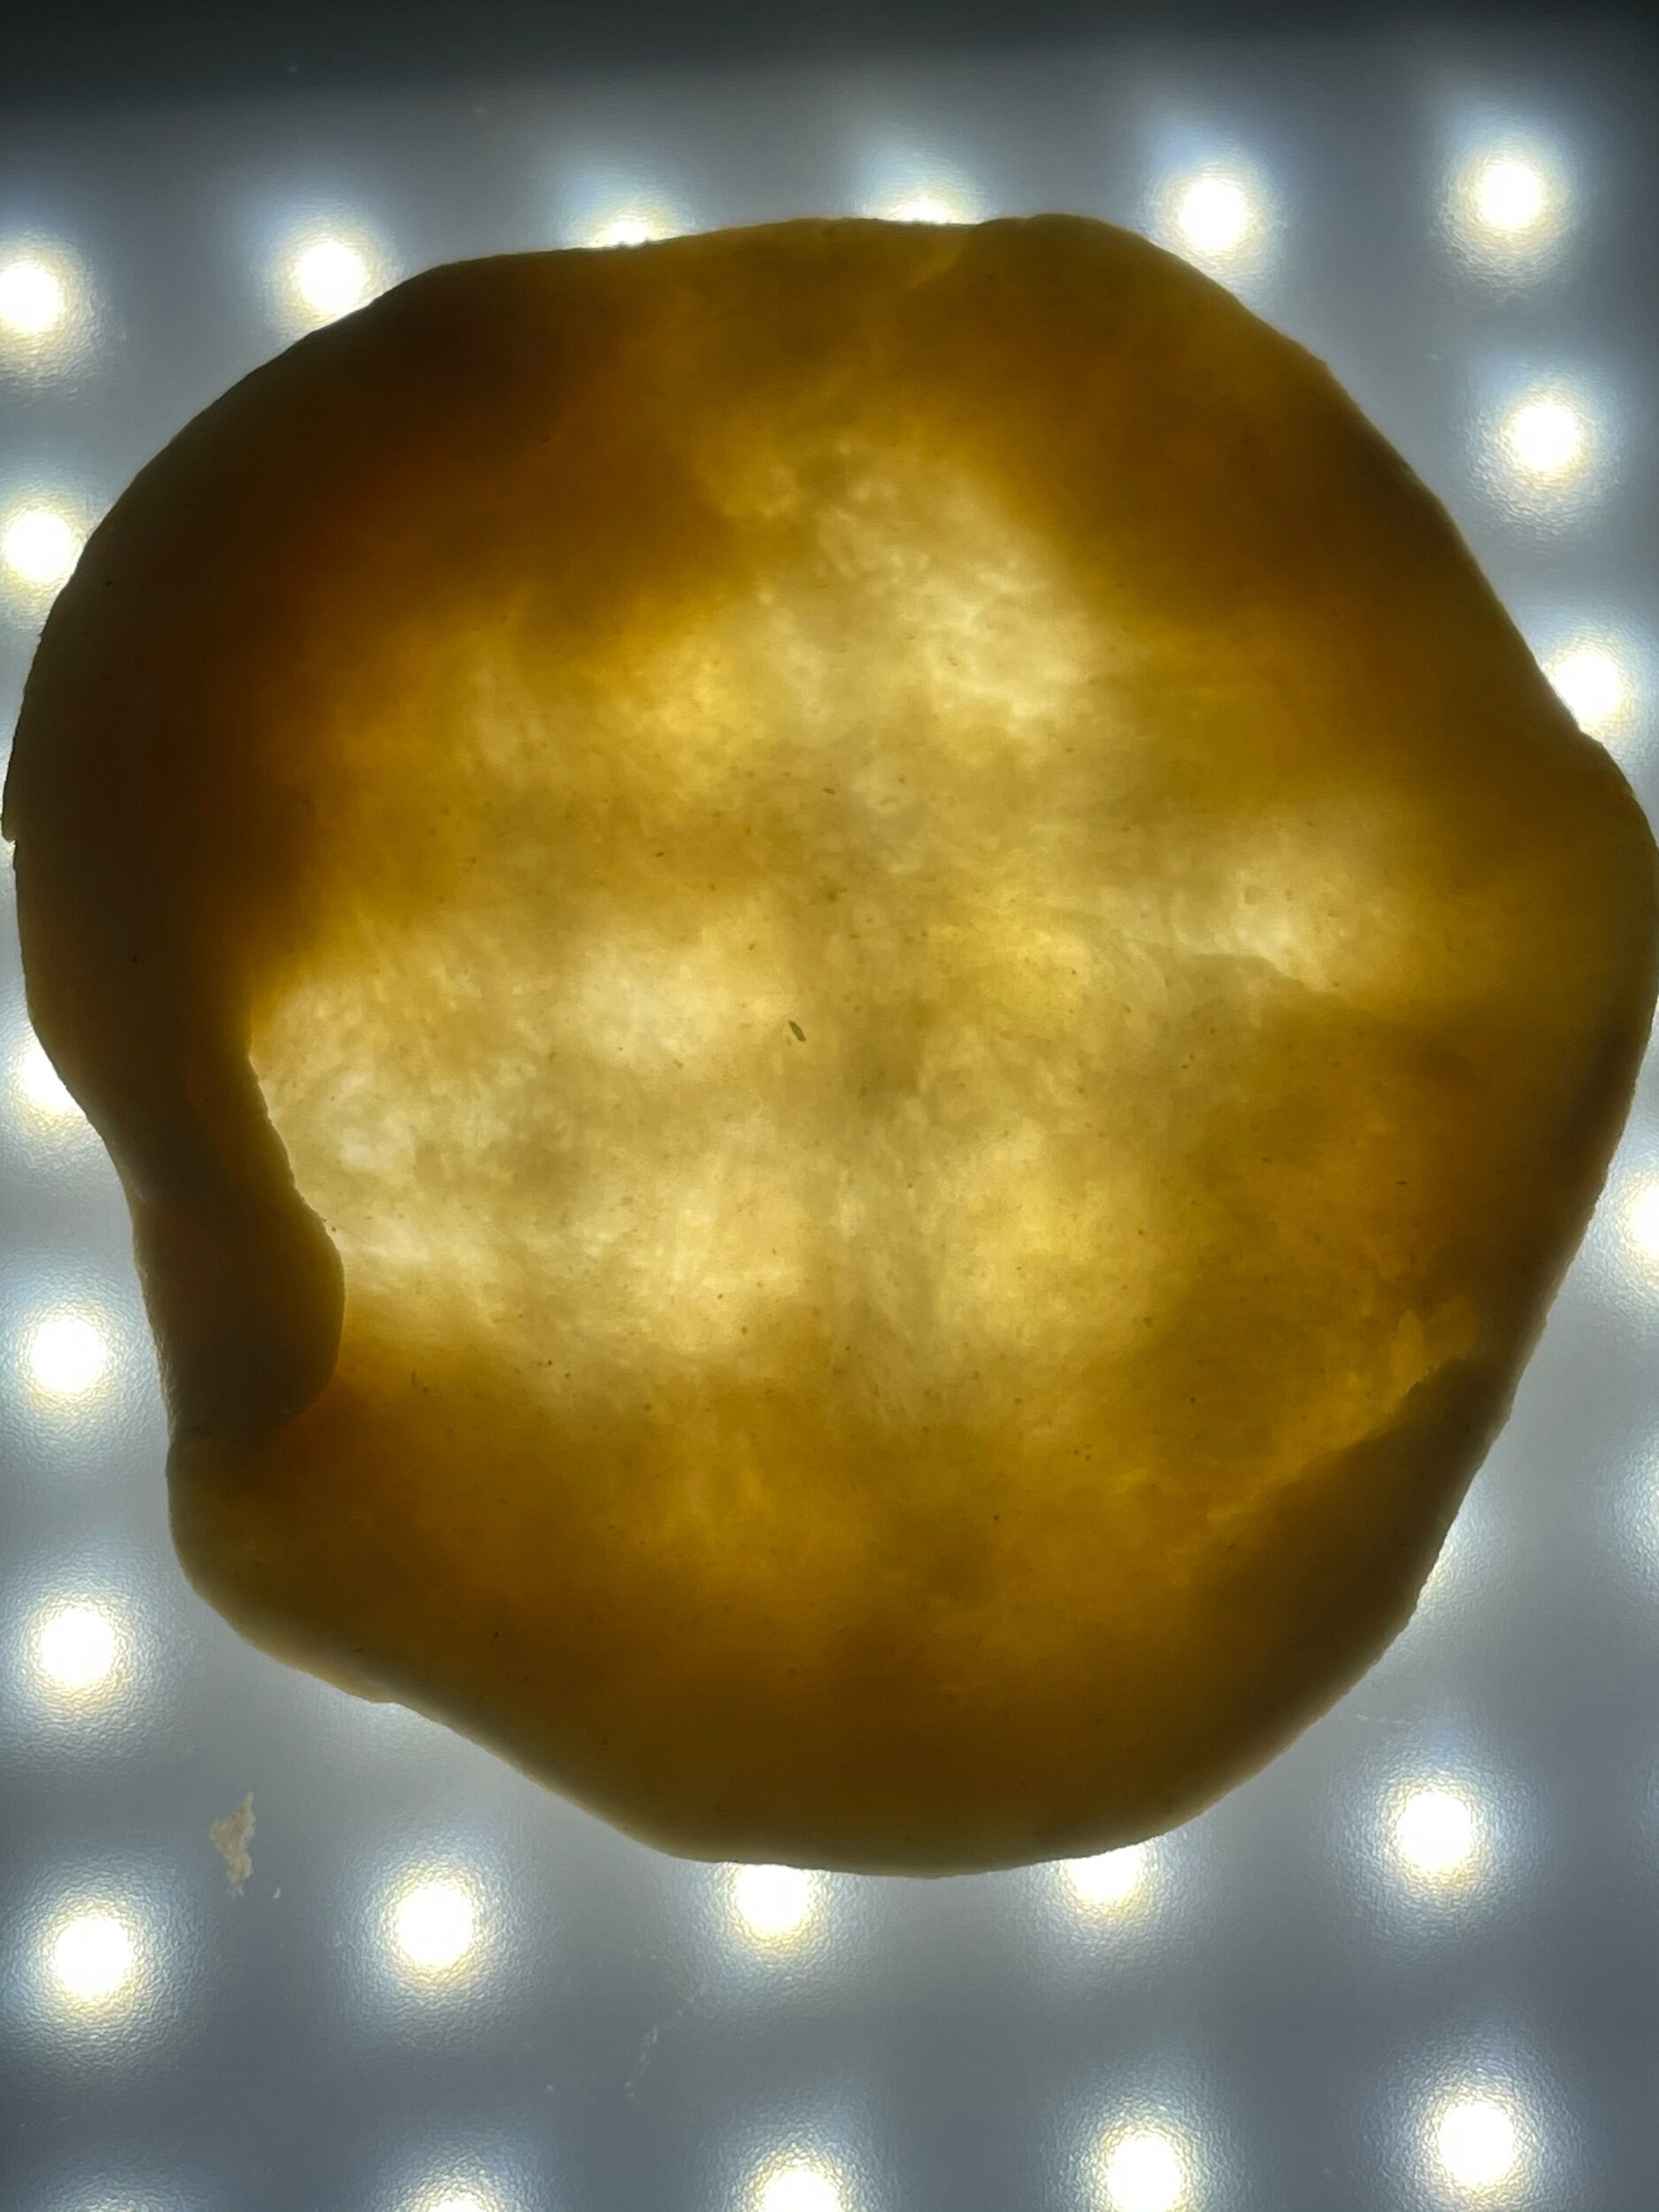
- Knead the dough until it is soft and smooth and it passes the "windowpane test"* This is about 15-20 minutes by hand or approximately 10-12 minutes using the mixer.
- Shape the dough into a ball and place it in a clean bowl that has been lightly oiled and cover it with cling film* and a tea towel. Set it in a warm part of your kitchen.
- Let the dough proof for 45-60 minutes until it is doubled in size.
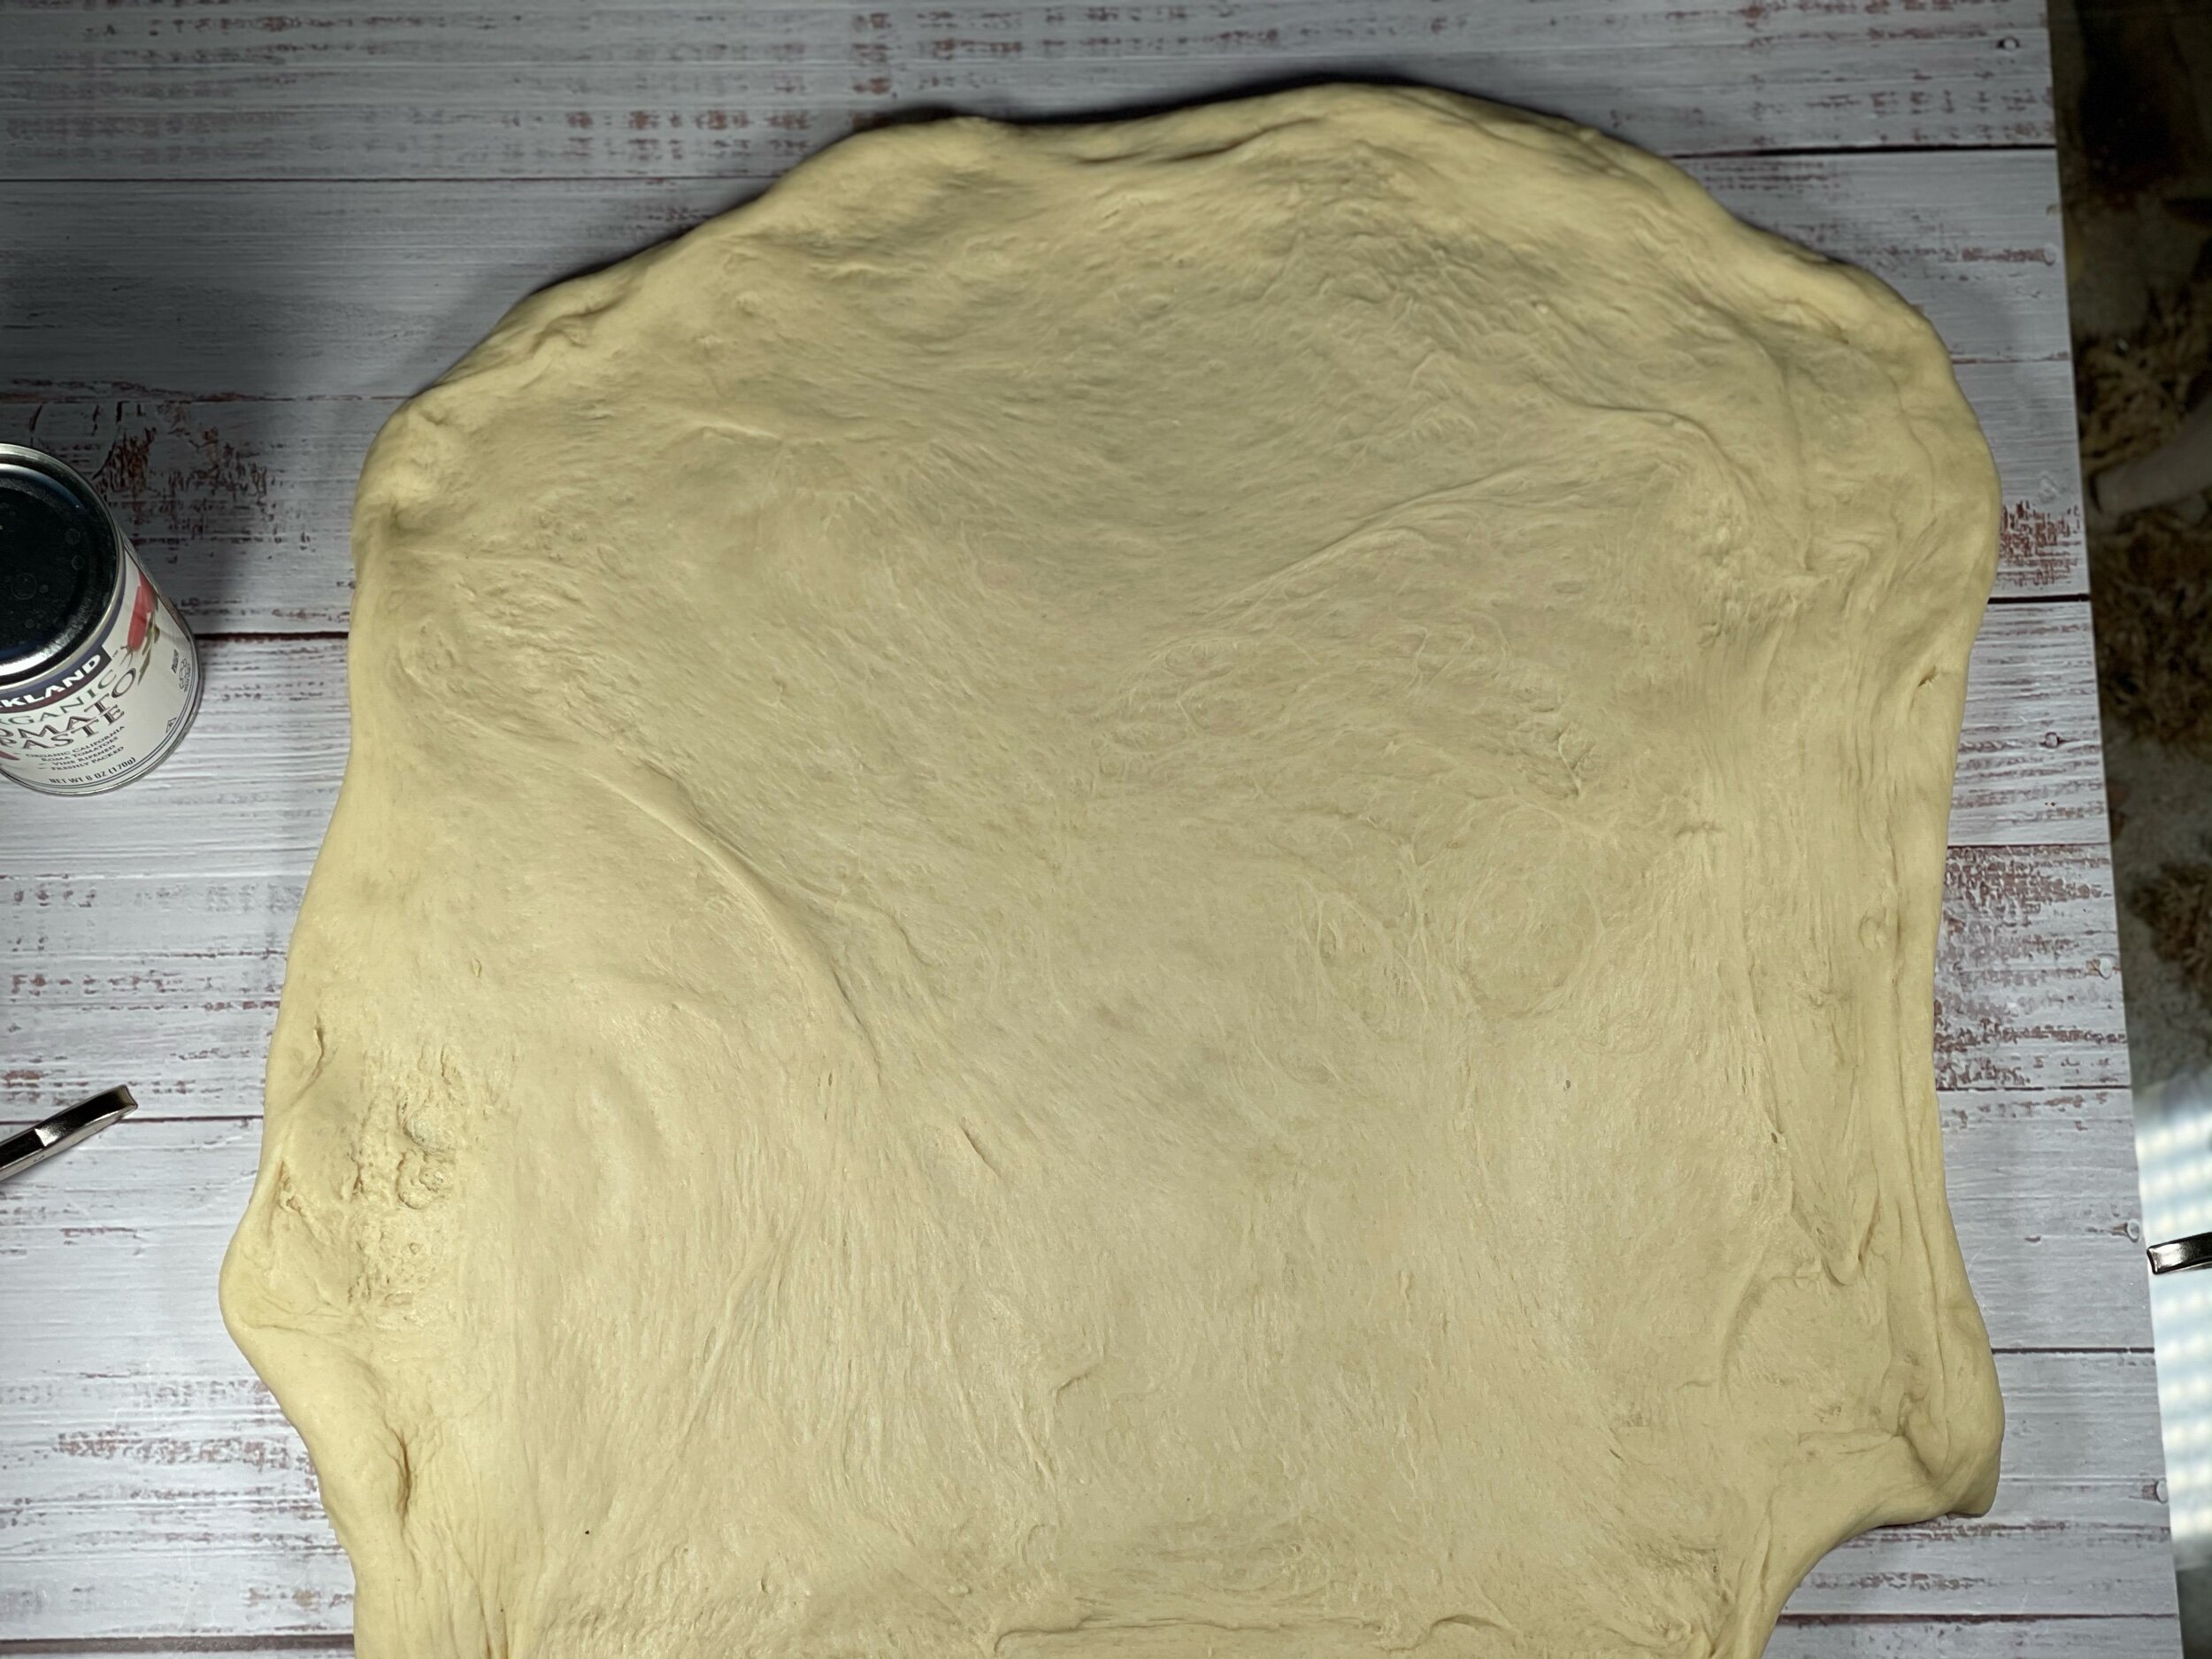
- After it has doubled, tip the dough onto a clean work surface and roll it out into a large rectangle, roughly 10"X 20"
- Using a pastry brush or the back of a spoon, spread a thin layer of the tomato paste over the entire rectangle, leaving 1/2" uncovered at the end of the length of the dough.
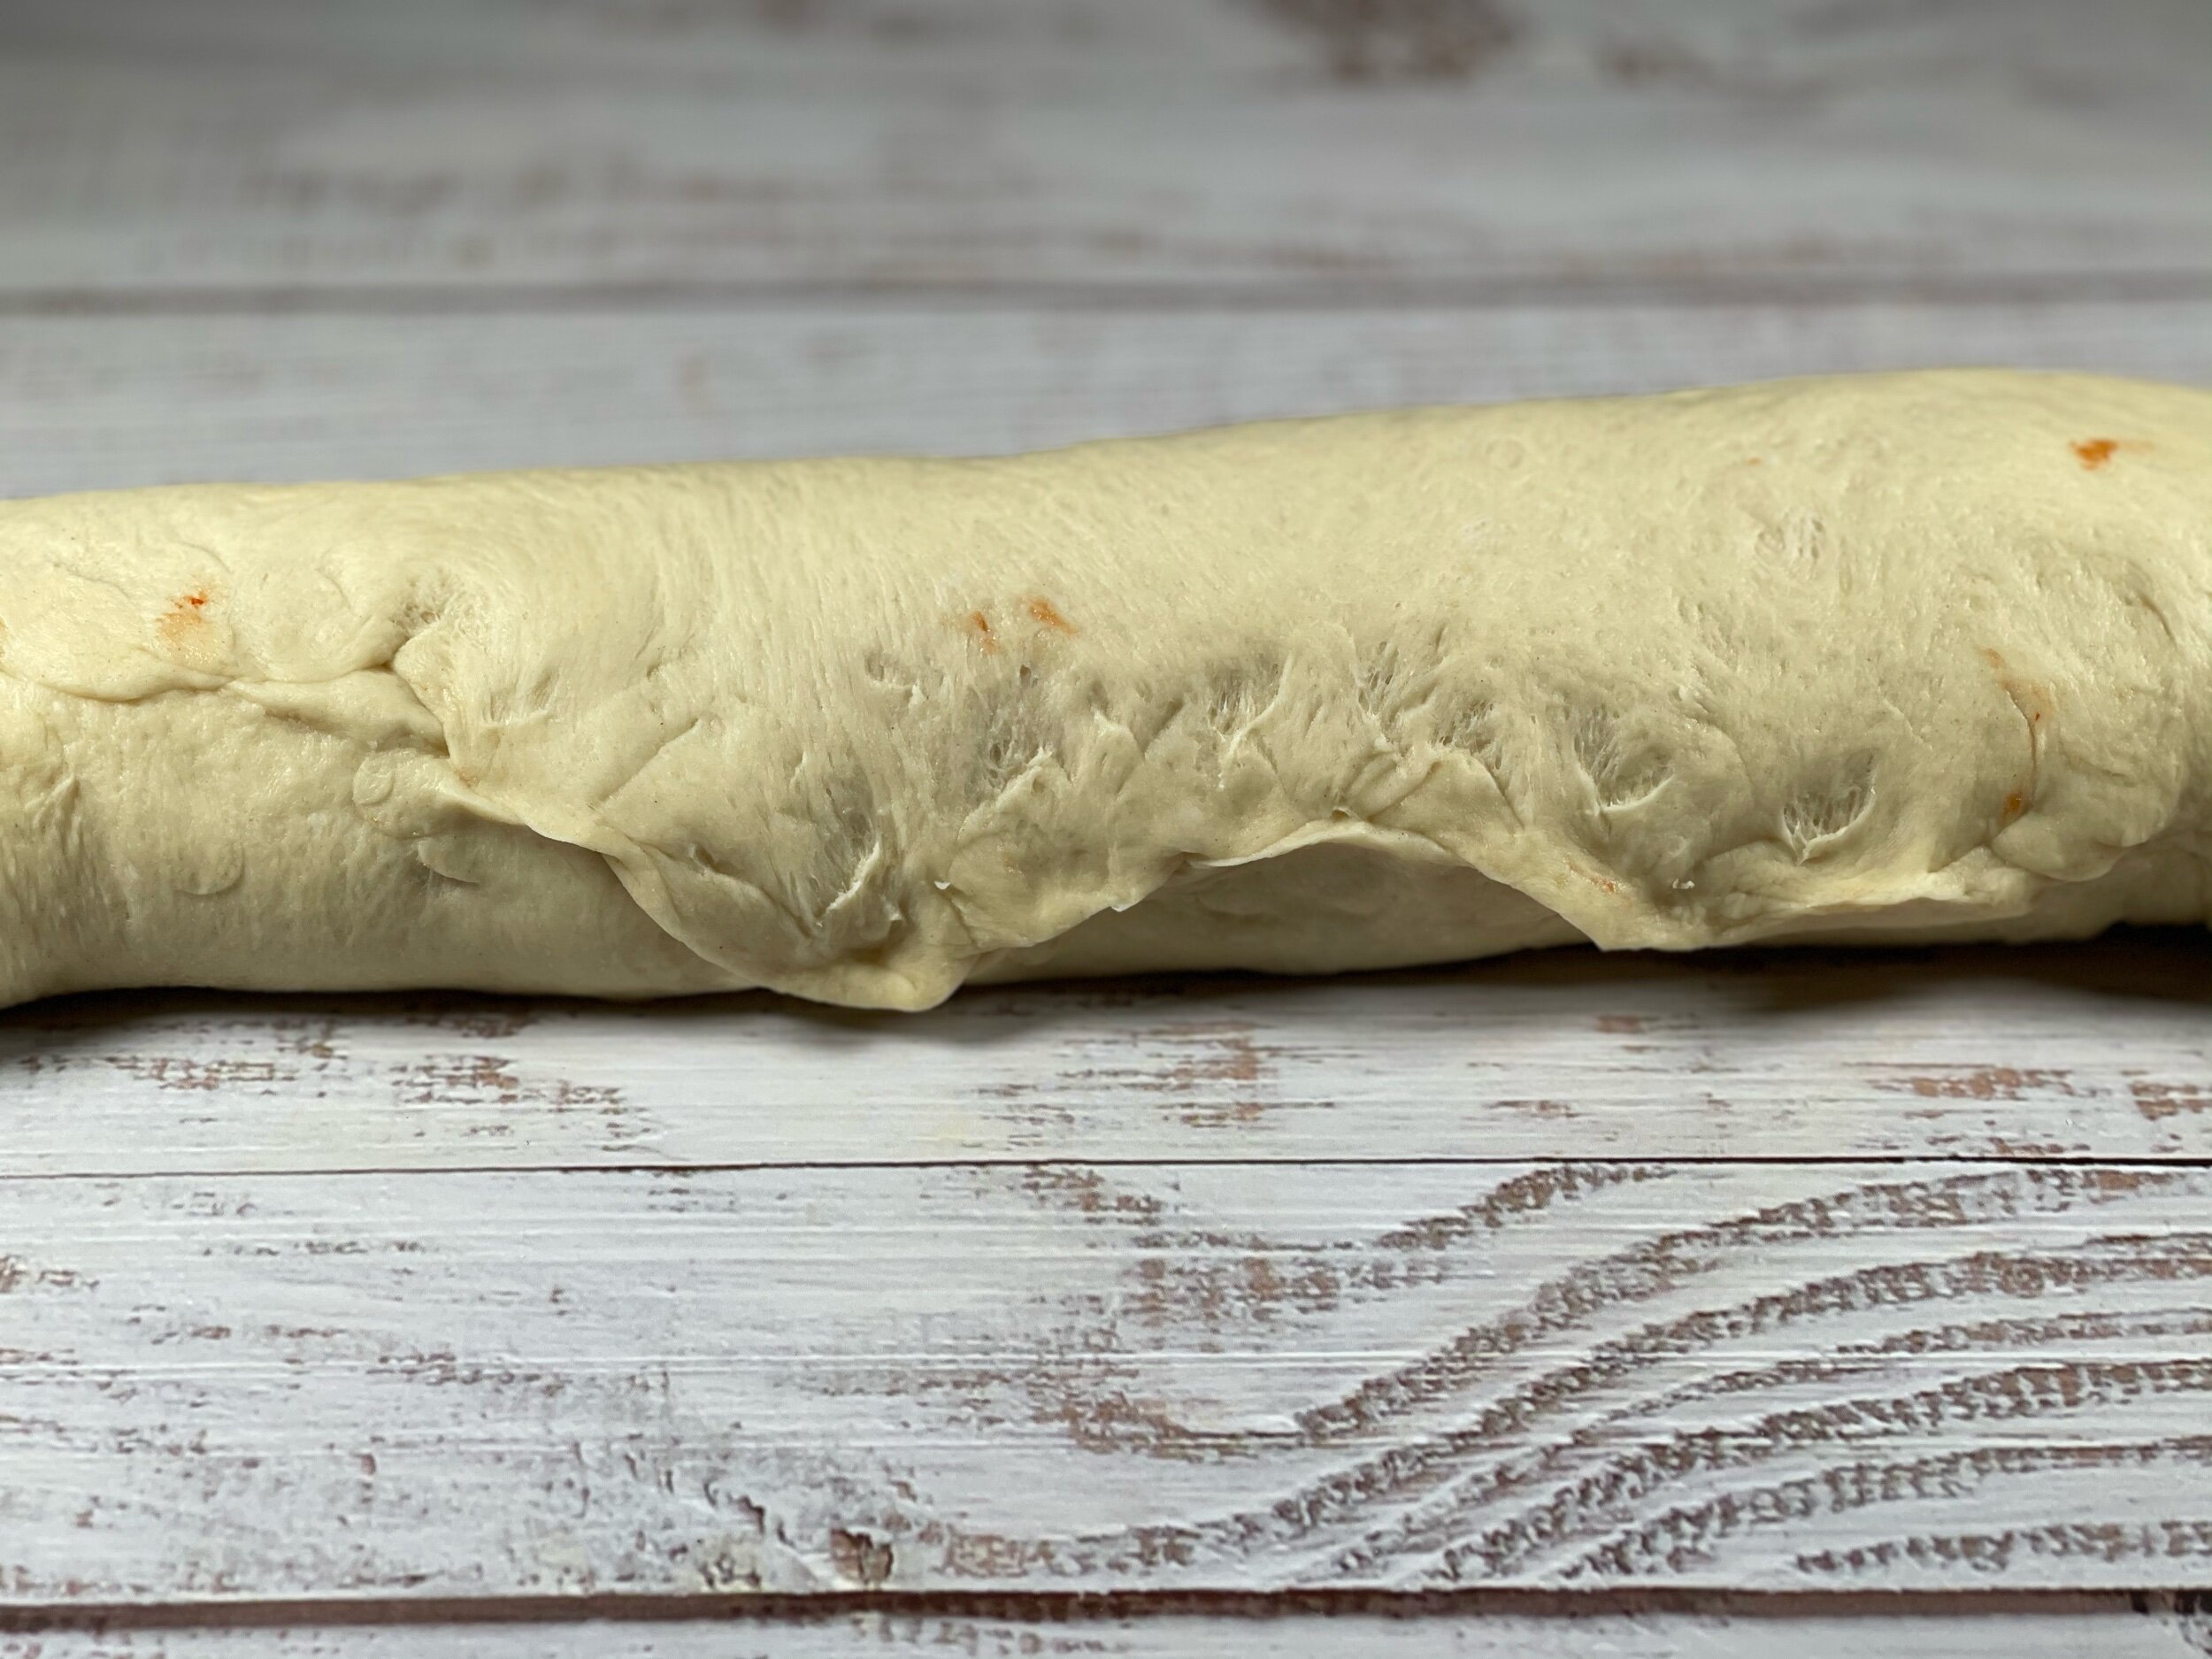
- Roll the dough up lengthways into a tight swirl. Pinch the 1/2" untreated end with the dough it touches in order to seal it.
- Place the roll, seam side down into a greased 10"X 5" loaf tin. Cover with a piece of clip wrap that has been greased or into a proofing bag and allow it to proof a second time. It is ready when it is doubled in size, filling out the loaf tin, roughly 30-60 minutes.
- Preheat your oven to 375℉
- Bake the loaf for 30-35 minutes. The top should be a nice deep golden brown and if you have a thermometer, the internal temperature should reach 200℉
- Let the loaf cool for 10-15 minutes before removing it from the tin. Let the loaf cool completely to room temperature before slicing.
* Notes (if you see an * please check here):
- The window pane test is when you take a small piece of dough and stretch it, without it tearing and can see light shine through it.
- Enriched dough such as this, take longer to build up gluten due to the fats present so do not skimp in the kneading.
- instead of cling film, I use a reusable shower cap. I don't allow it to touch the dough since its not food grade material (although you can buy proofing caps and bags) but it allows me to use it over and over, creating less waste.