Apple Butter Pull-Apart Bread
A few months ago I had several projects going in the kitchen at once. The scents of autumn were permeating through the house as I preserved apples in various ways. I had a pot of apple butter which was close to being ready after several hours simmering on the stovetop. I walked into the pantry to grab some canning jars and discovered that I had several jars of apple butter leftover from last year! Now properly canned products can last for several years but I thought it prudent to figure out a way to use some up. Also at the time, I had dough proofing, as I had intended on making a cinnamon swirl bread for the following day’s breakfast, and the apple bread was born.
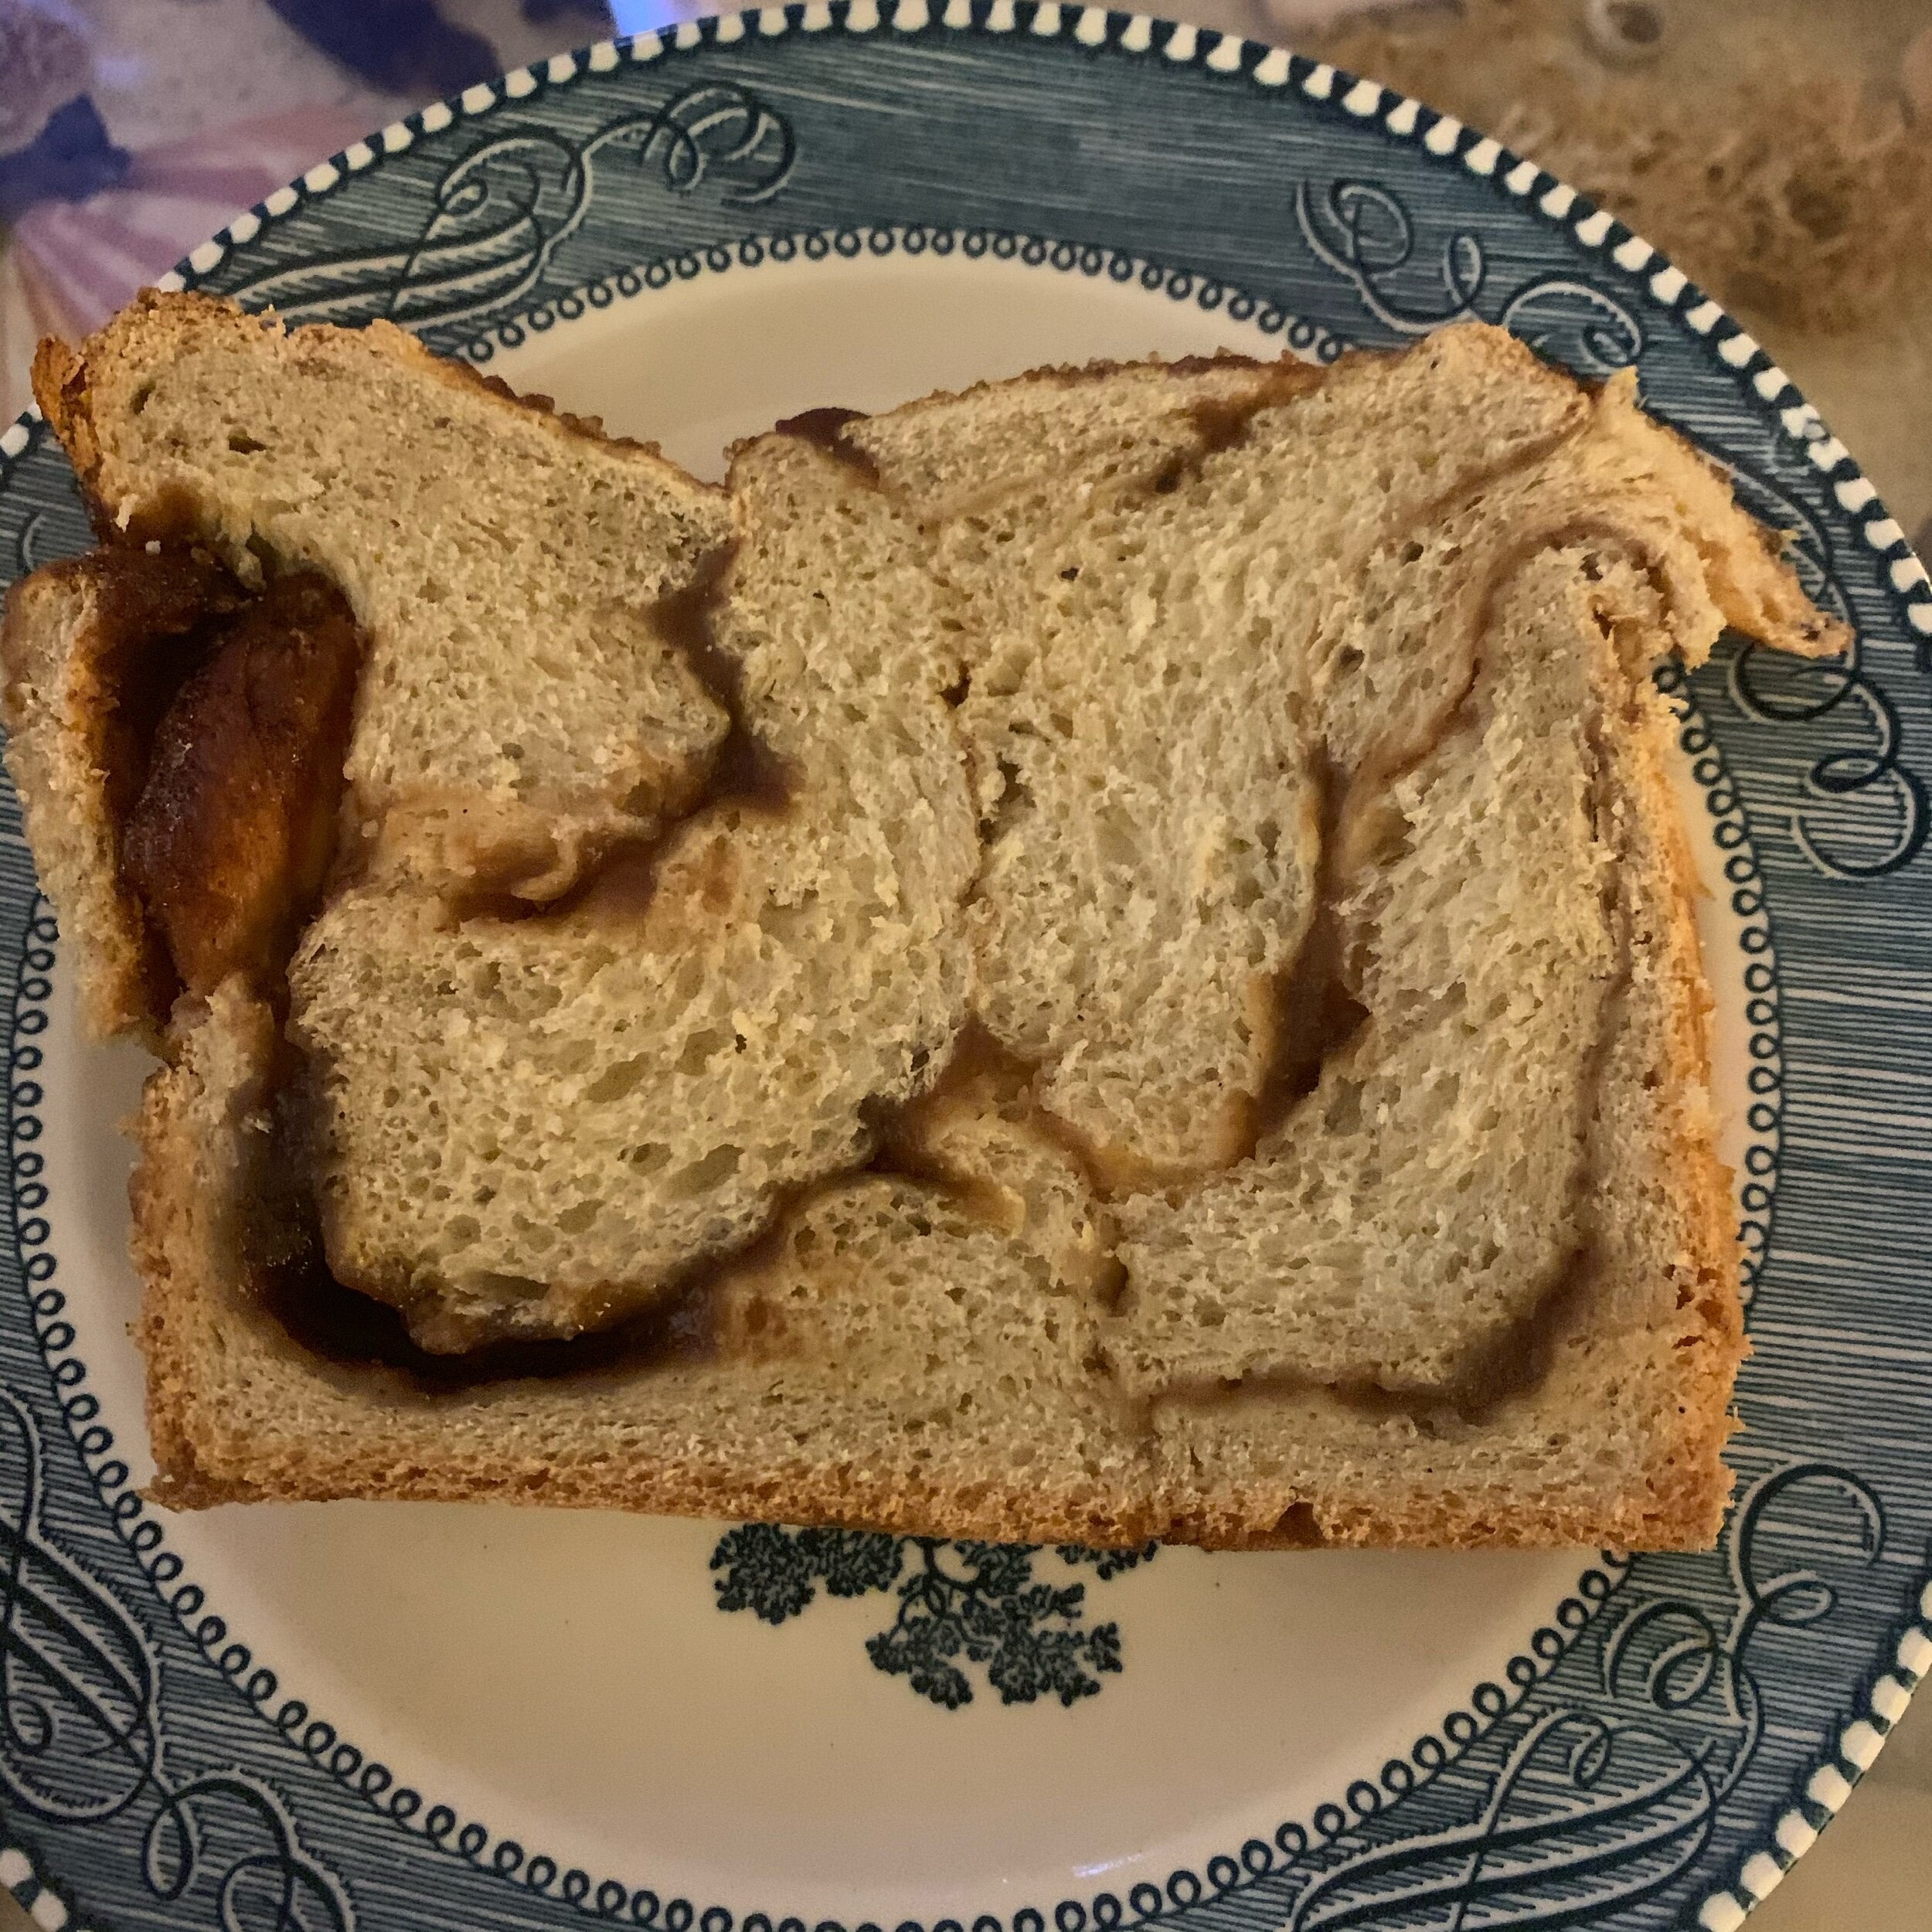
The overall dough recipe took a few tries to perfect but that gave me the opportunity to try different shaping methods. There are many ways that you can assemble this loaf and each have their positives depending on your goals, but I detailed two of my preferred methods in the actual recipe. One is a basic swirl. It is simple to do and whilst it isn’t a traditional “pull apart” loaf, it is great for slicing. Just having a simple slice of toast with butter or even more apple butter is a delightful start to one’s day. Do you want something a bit more hearty? Try making it into French Toast and thank me later!
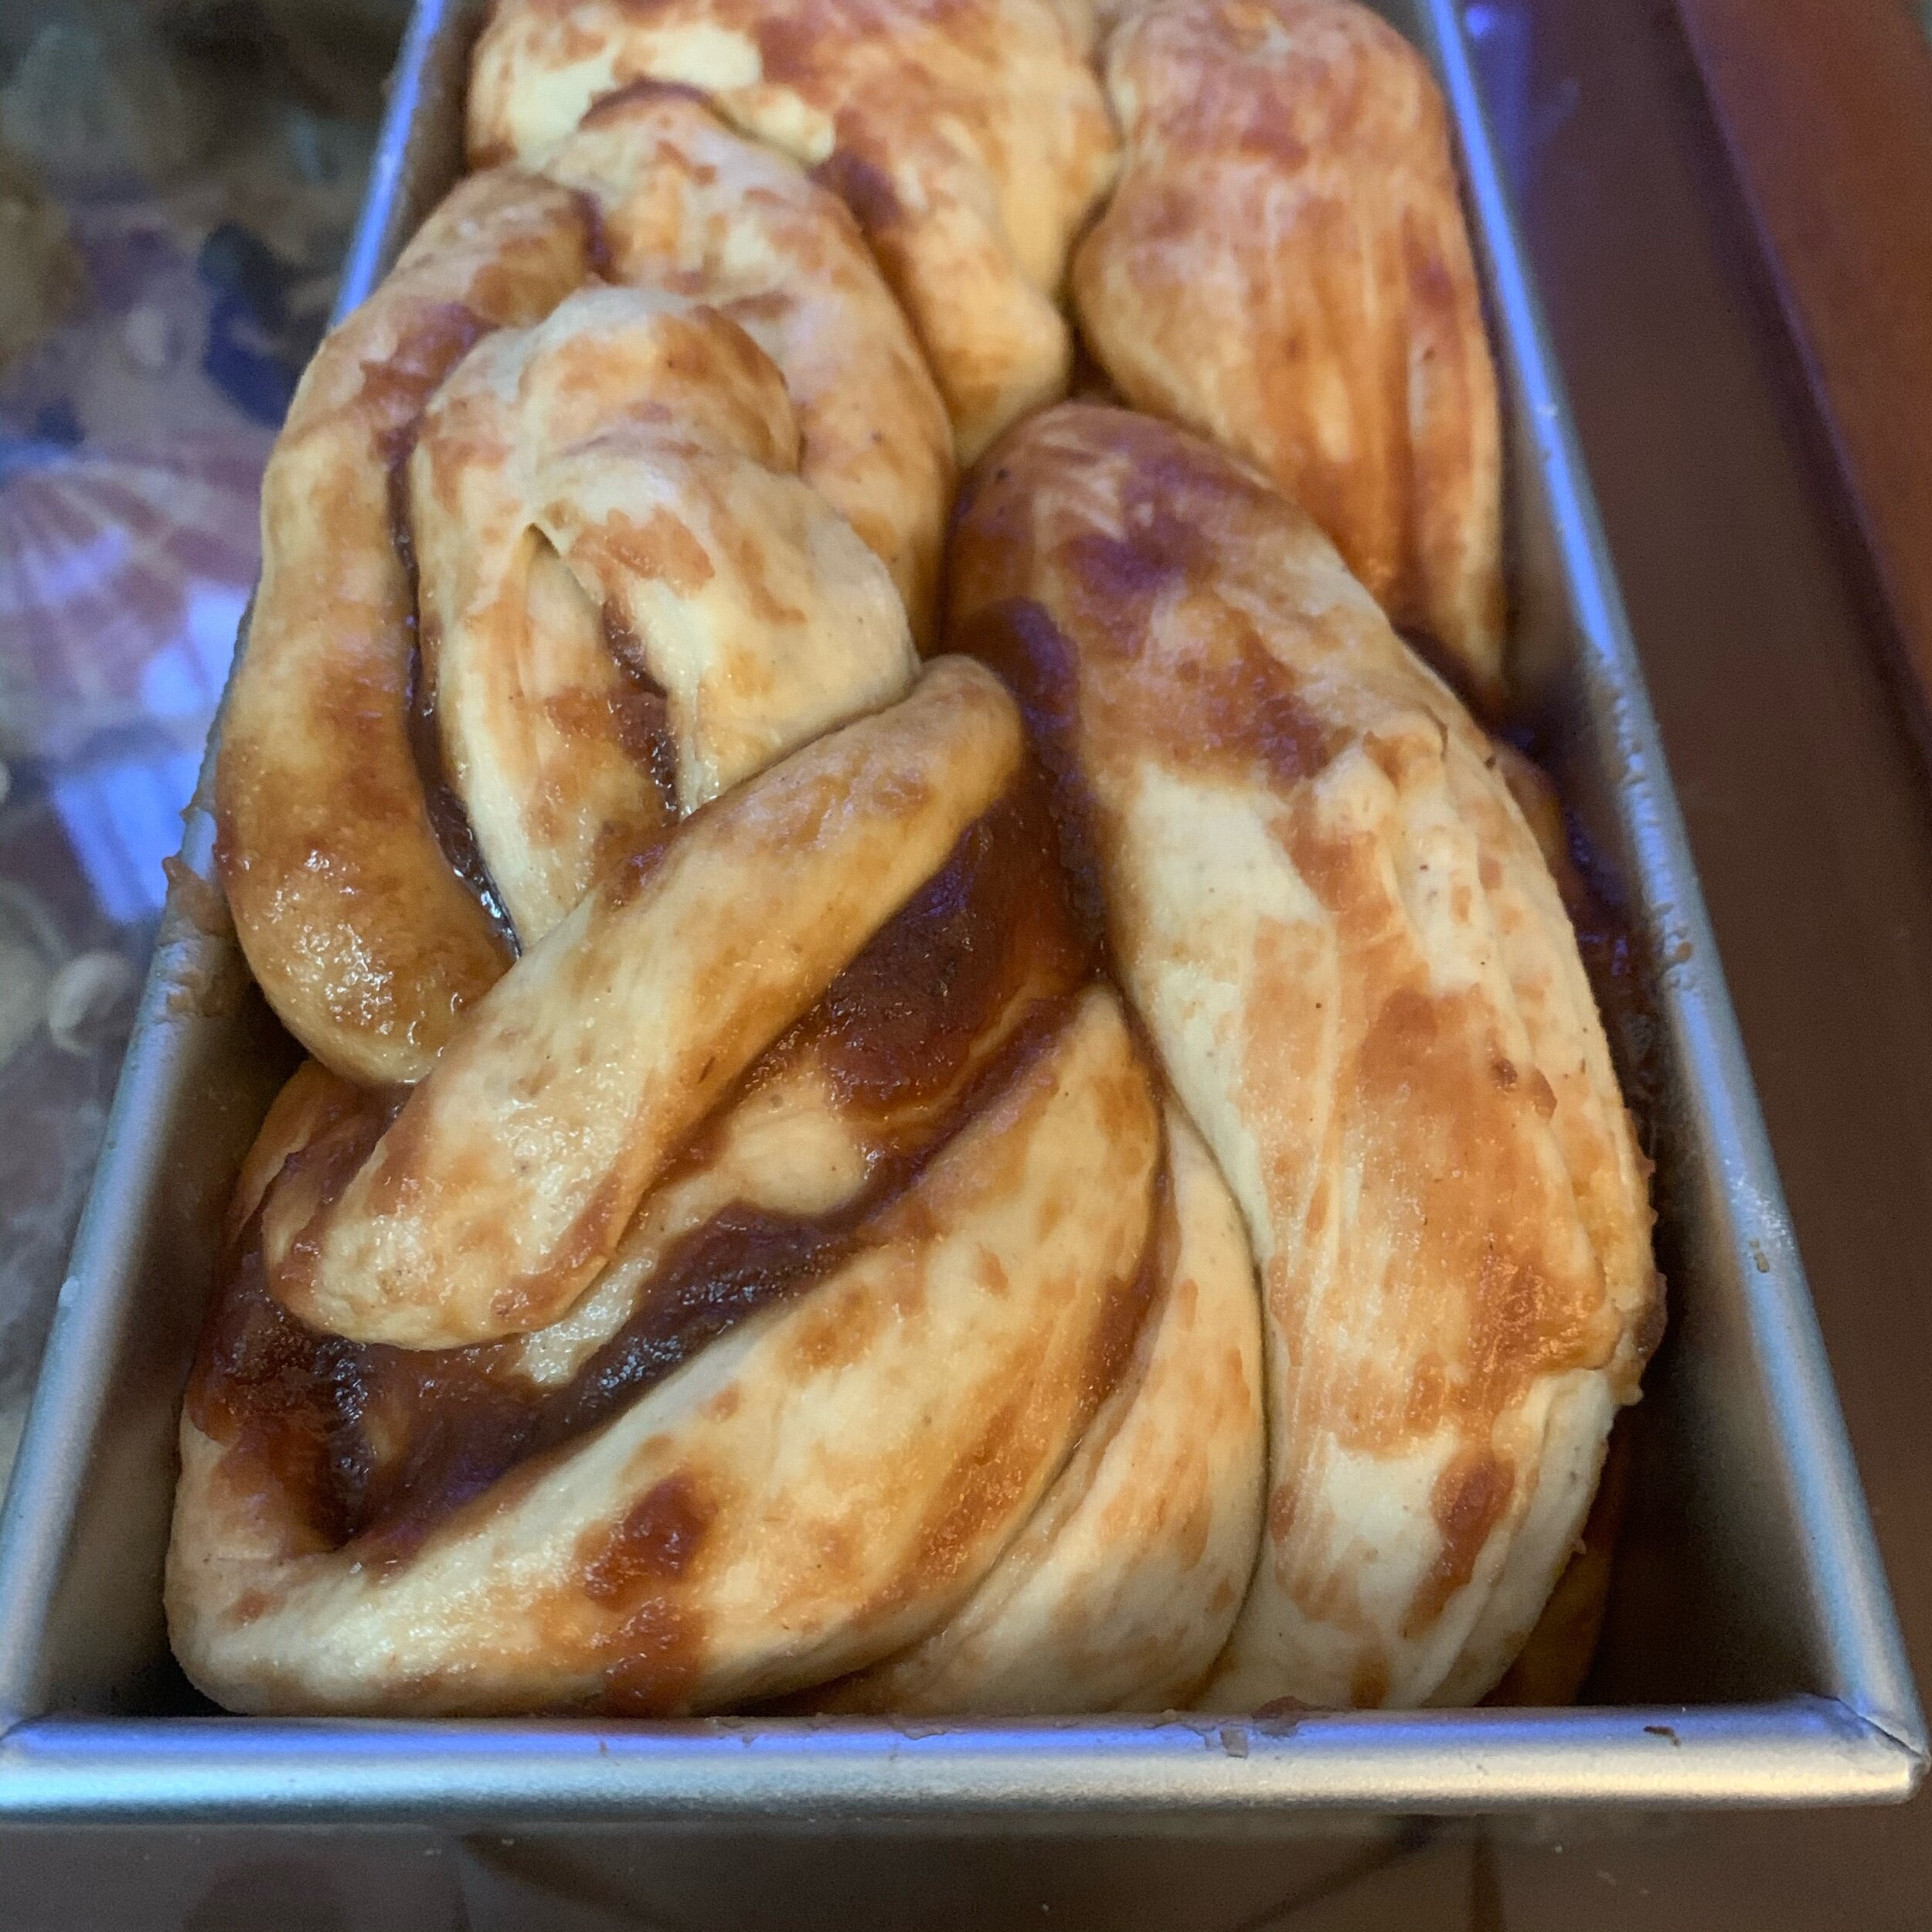
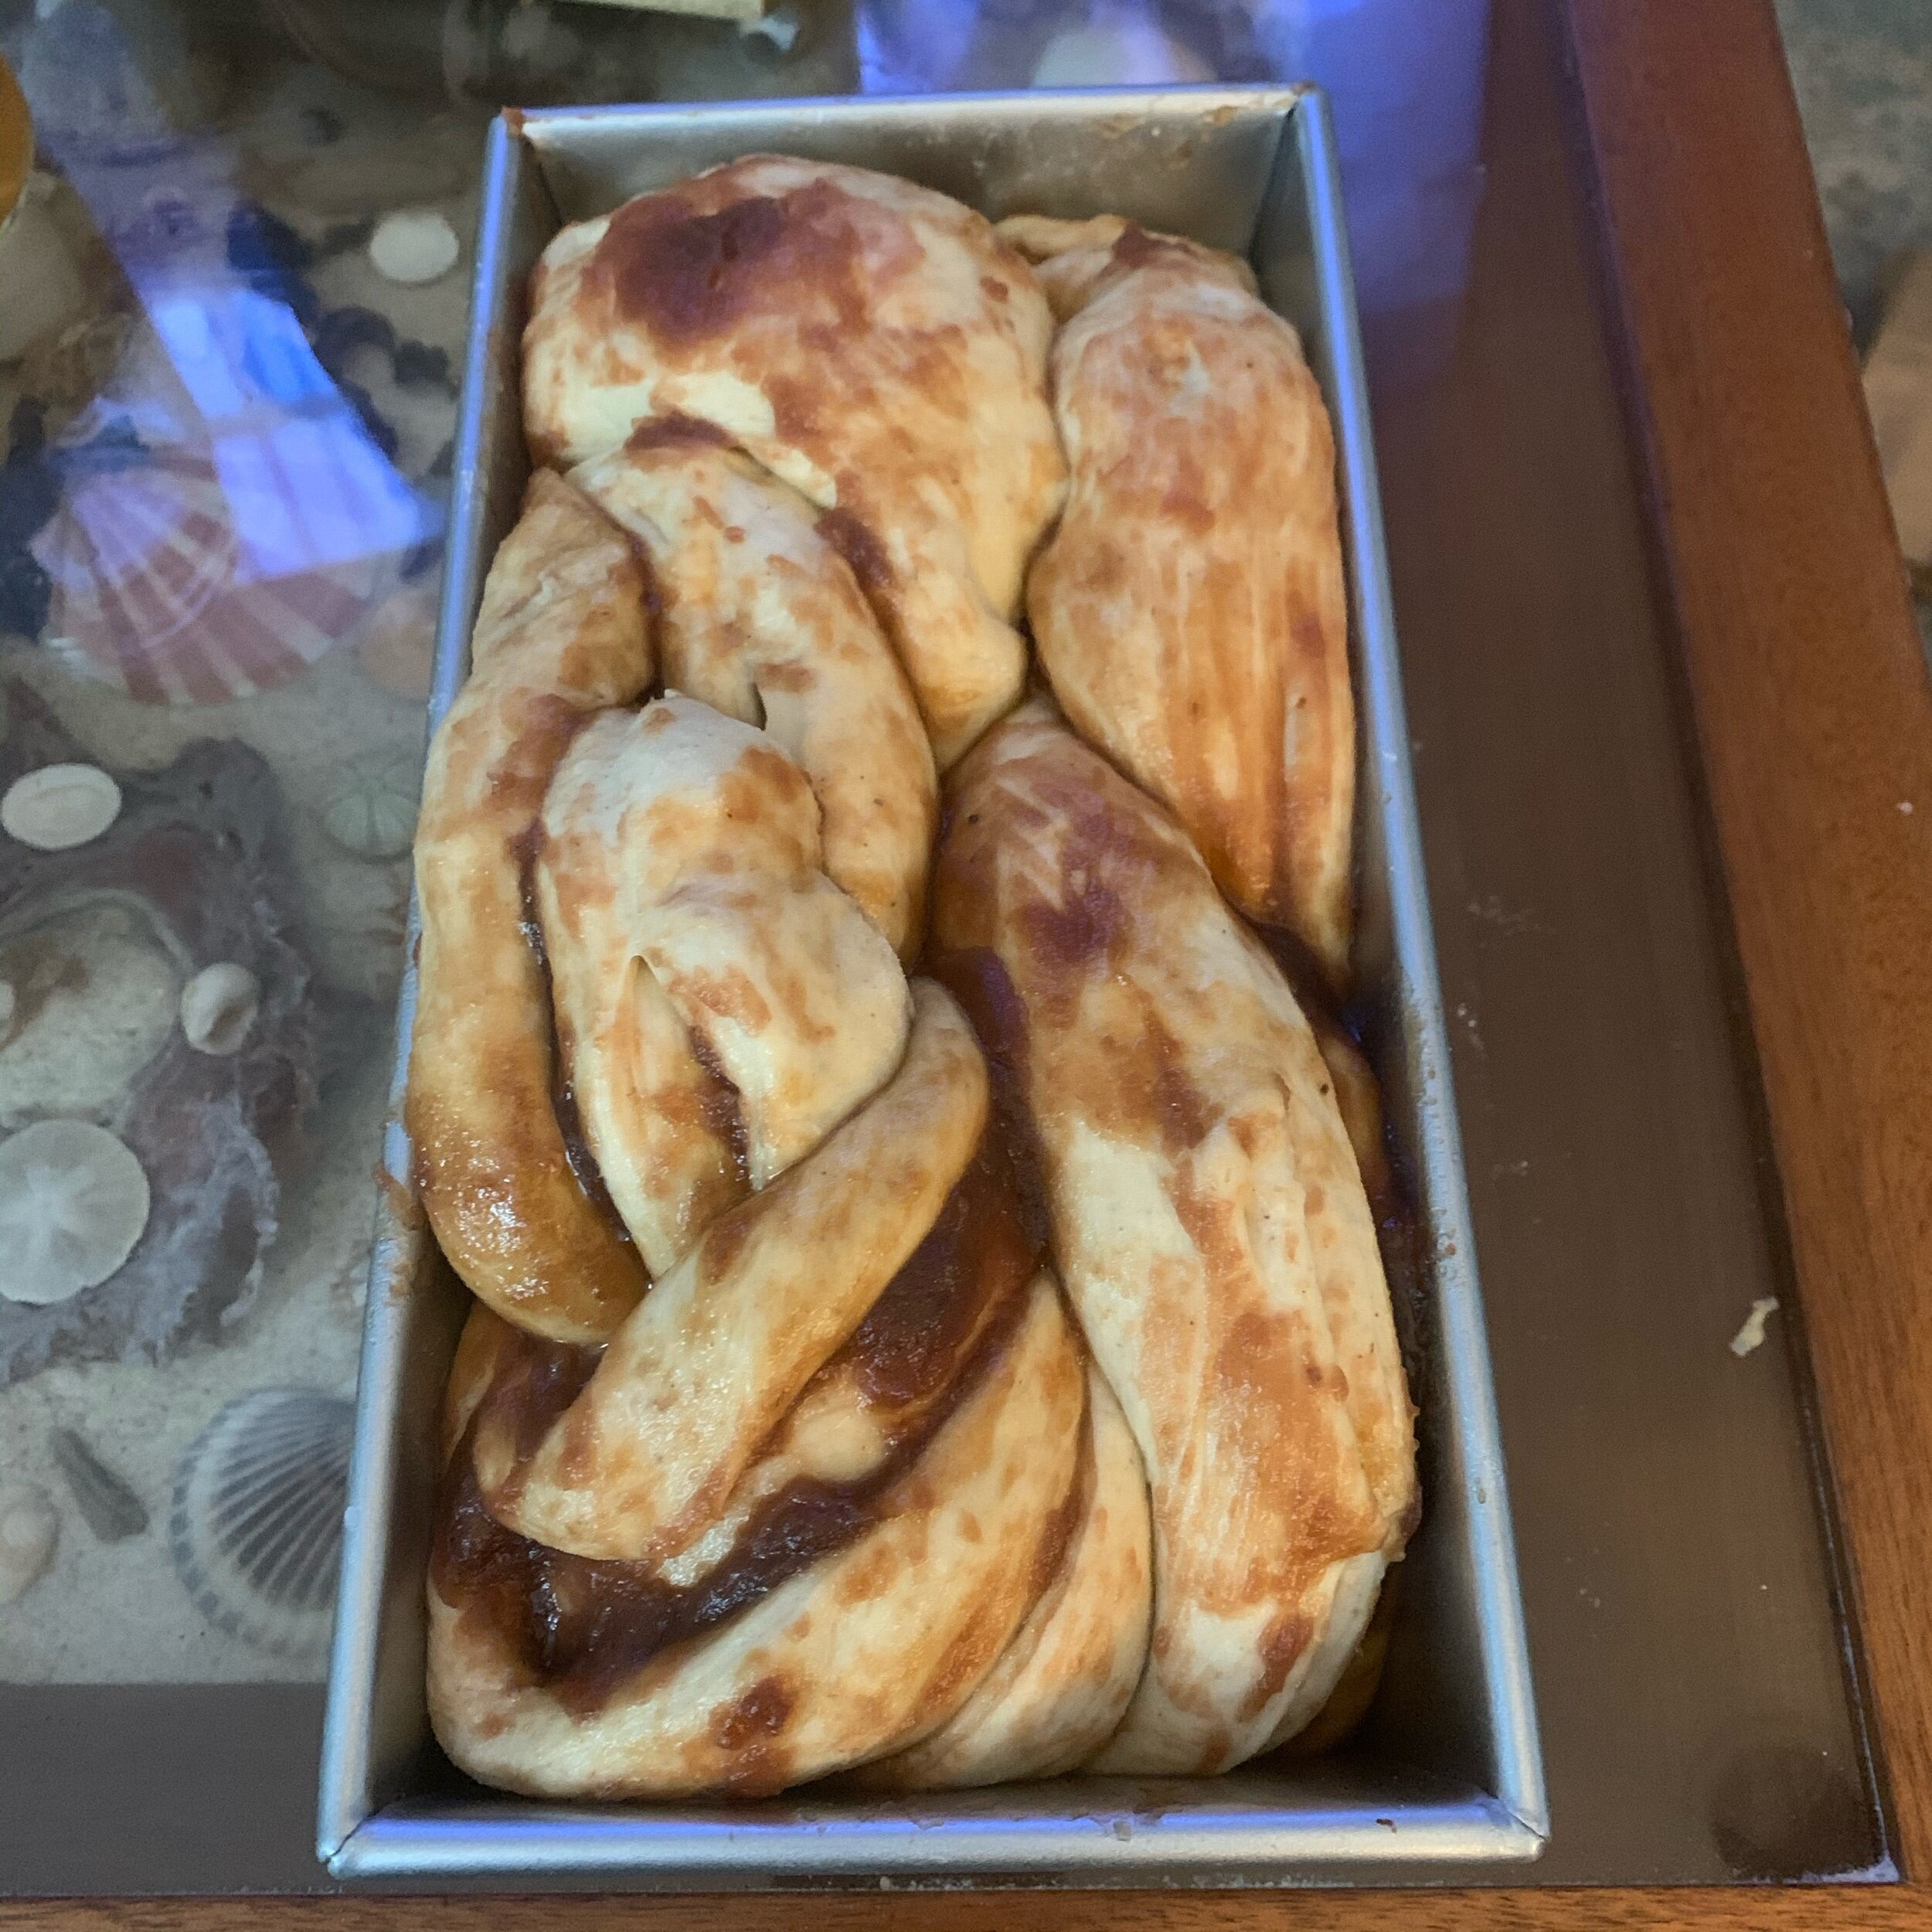


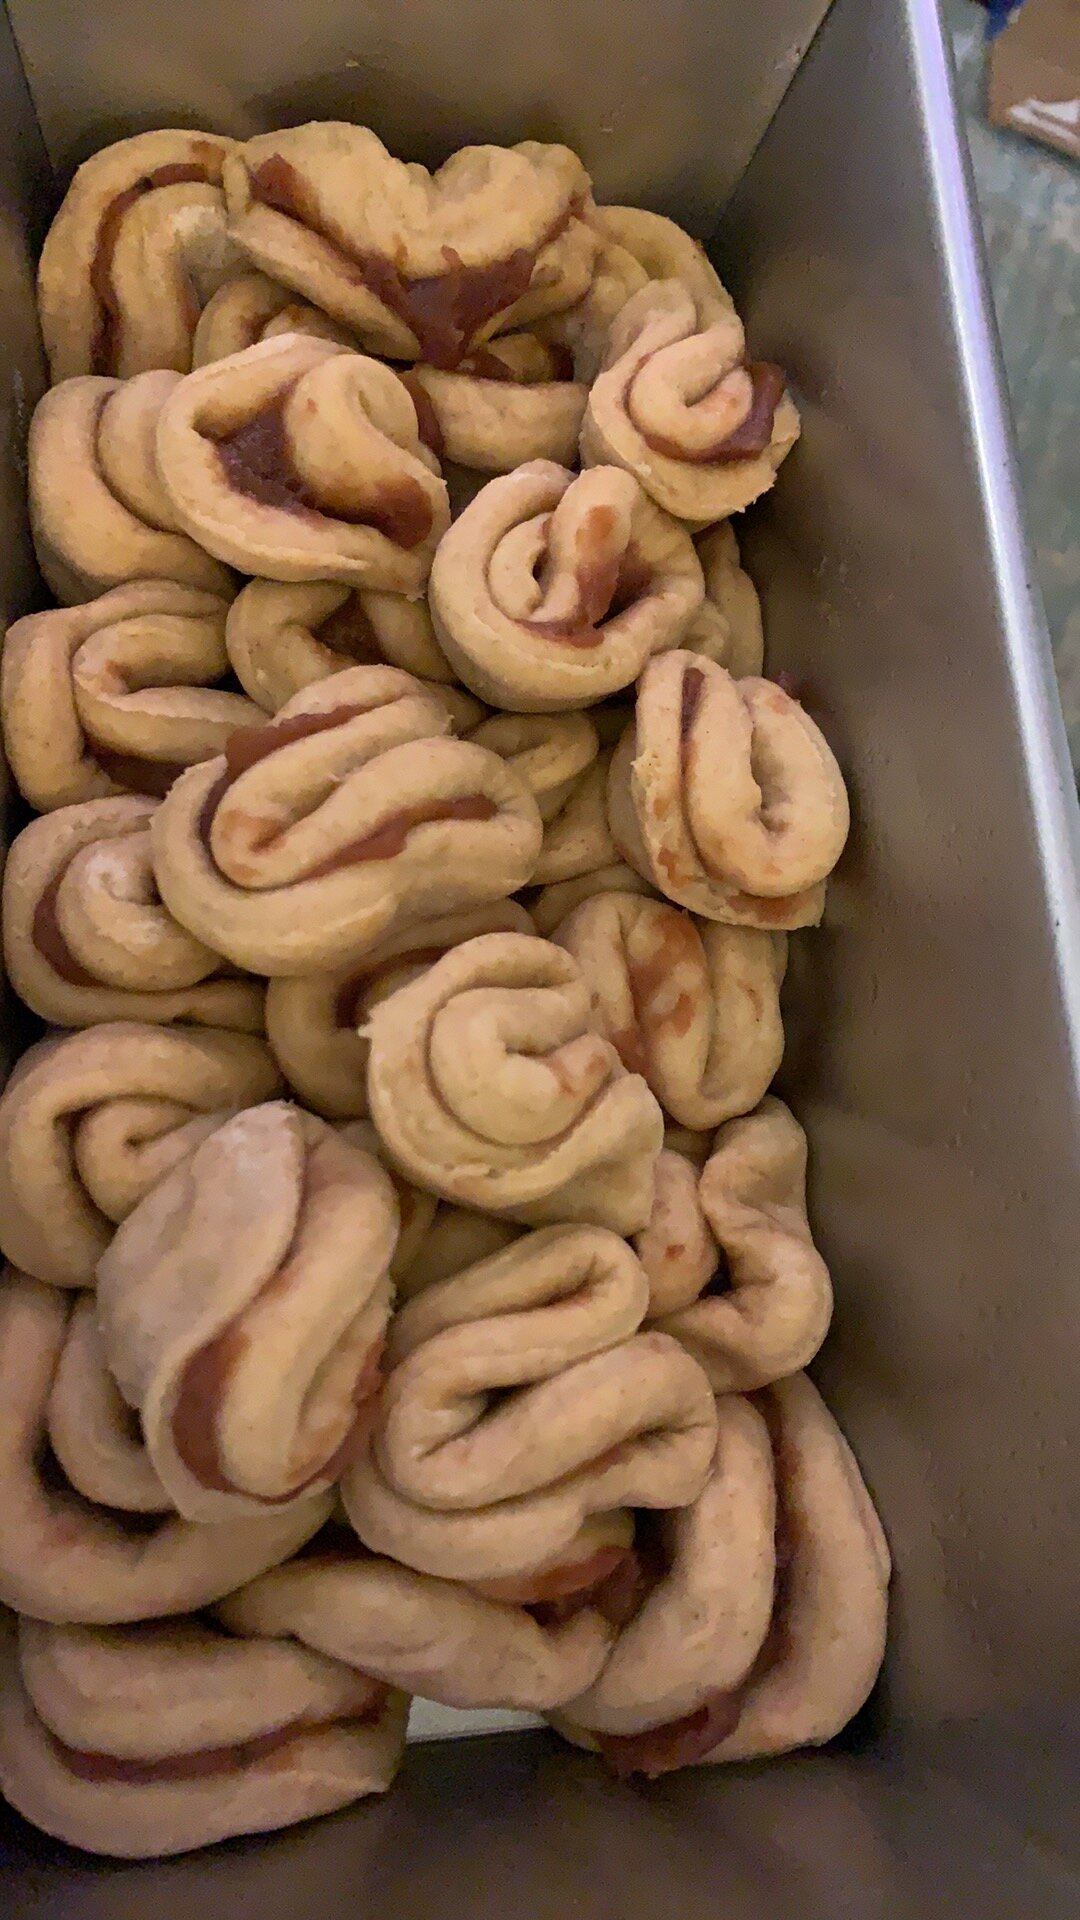
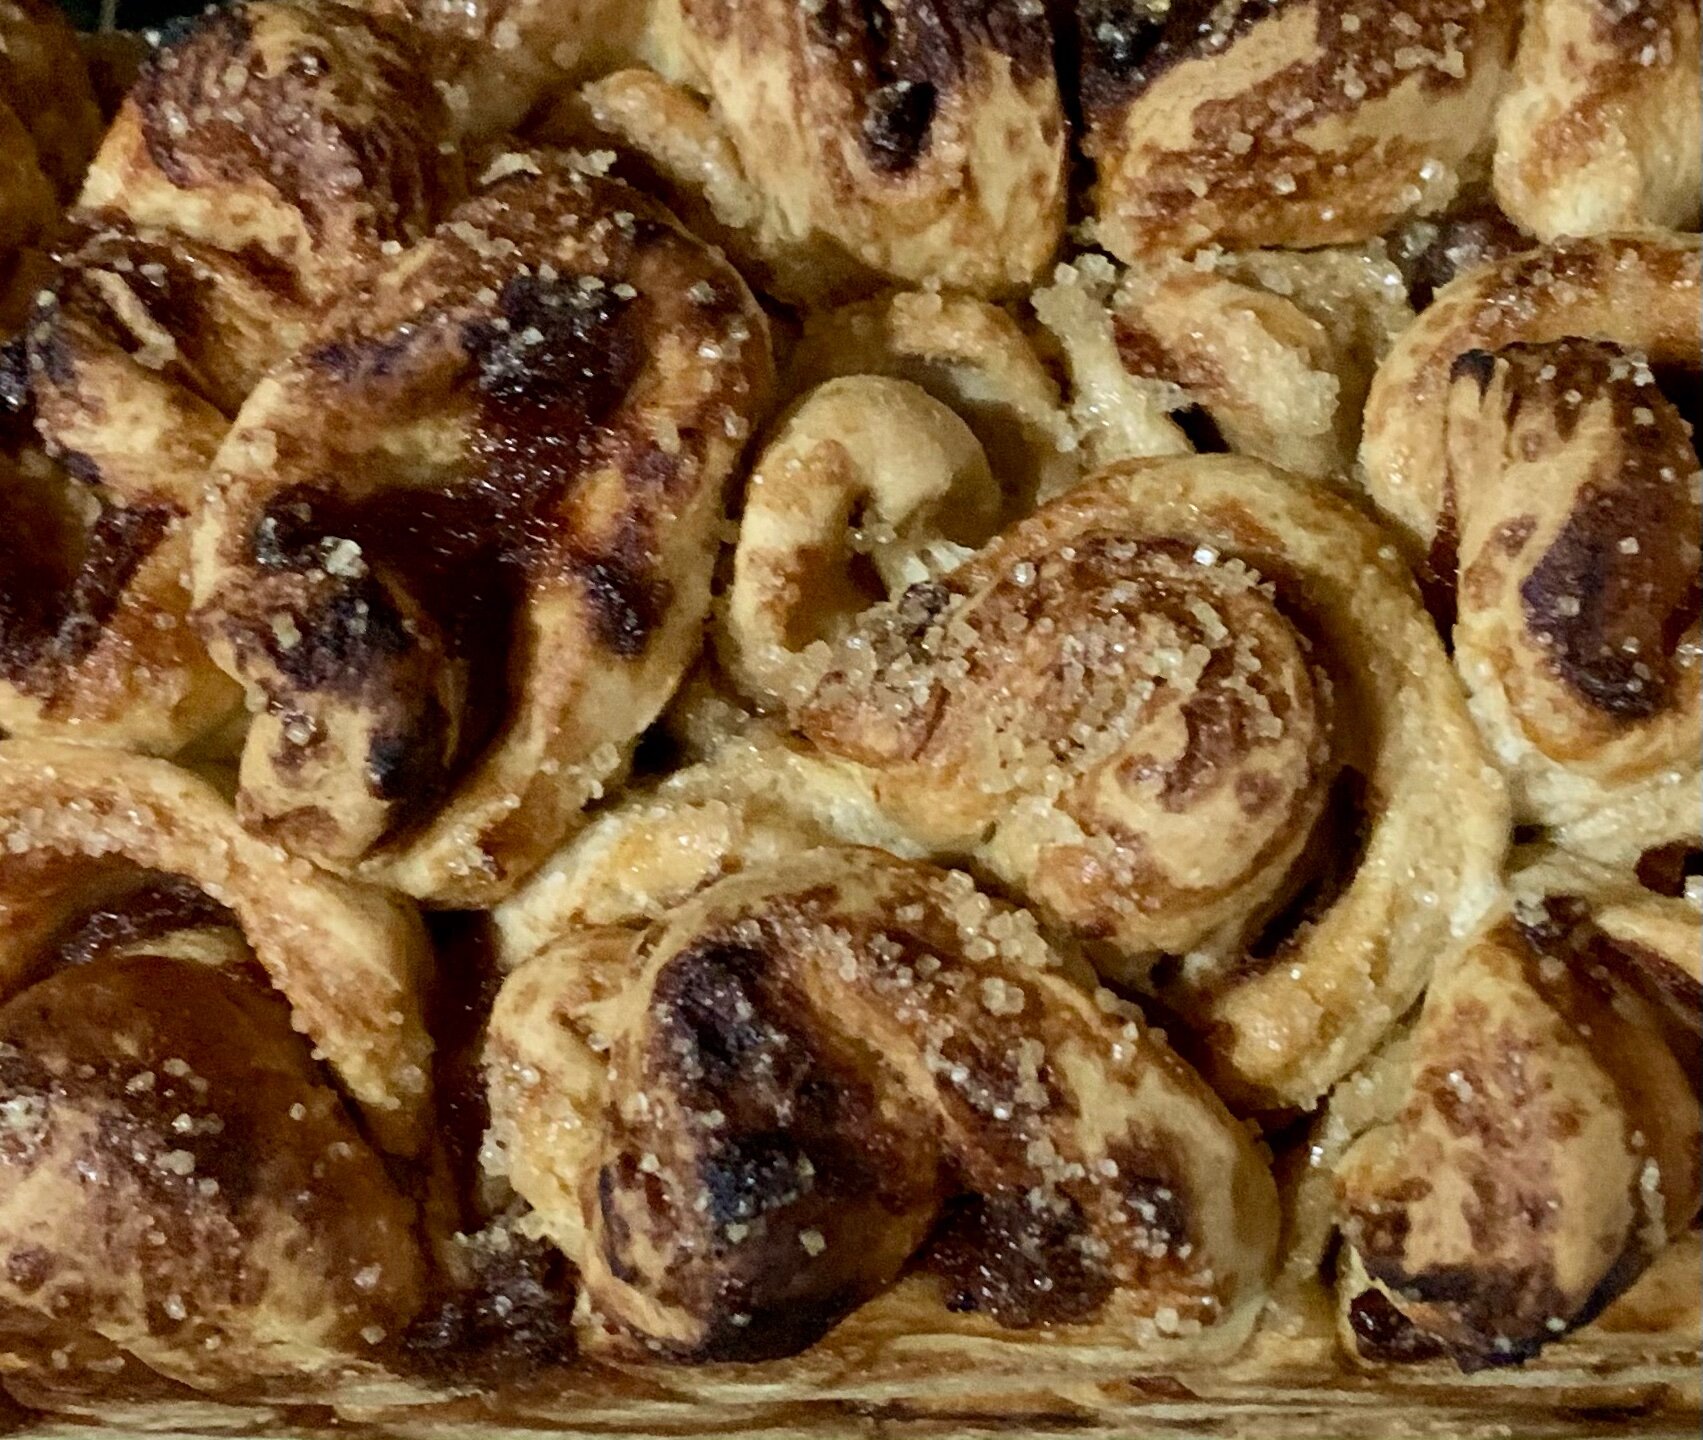
For the pull-apart options, I preferred the rounds folded in quarters. For starters, it is less sloppy to eat. I have dealt with some sensory challenges since I was a child but I think it is pretty typical that individuals don’t usually like to be sticky. It makes nice little packages to pick up and eat and you can add as much or as little apple butter as you wish. So, if you want it an ooey-gooey mess like Monkey Bread is, go for it! Another way to shape it would be to cut squares of dough and paint one side and stack the next on top of it and repeat. Or roll up the dough starting on the long side of the rectangle and then slicing it down the middle 95% of the way and then twisting each of the pieces, then twisting them together, and finally placing in the loaf tin. Alright so maybe that last one needs a better visual for newer bread bakers. In any case, the point is that you can arrange things however you wish. There really is no wrong answer.
Recipe Card
Note: I highly suggest having a digital scale in your kitchen. It takes the guesswork out and makes baking recipes a lot more successful. All of my recipes are written in metric weights. If you do not have a scale and need to convert a recipe or ingredient to volume, you can use the buttons below and copy /paste the recipe into the handy recipe conversion tool or the single ingredient conversion.

Apple Butter Pull Apart Bread
Ingredients
Method
- Combine the flours with the mixed spice in a large bowl.
- Add the salt and yeast and stir to combine.
- Combine the water and milk into a separate bowl or liquid measuring cup,
- Melt the butter and immediately pour it into the milk/water. Whisk rapidly for about 10 seconds. This will warm the liquid up to remove the chill from the cold milk.
- Pour the milk mixture and the beaten eggs into the flour and stir with a dough whisk or wooden spoon.
- As it comes together change over to your hands and begin to kneed the dough inside the bowl.
- Use a small amount of oil to oil your countertop,
- When it has fully come together pour the dough onto the oiled countertop and begin to knead the dough.
- Knead for 15-20 by hand until the dough is smooth and elastic. Alternatively, you can use a stand mixer with a dough attachment and kneed for 7 minutes. *
- Shape the kneaded dough into a ball and place in a bowl and cover with plastic wrap and a tea towel. Set in a warm part of the kitchen.
- Let the dough proof for 1 hour. It should double in size.
- Lightly grease your preferred tin with butter or cooking spray.
- Take your dough and deflate it. You can do the satisfying "punch" or simply take the dough out of the bowl and press it with your fingers.
- Roll the dough out until it measures about 3mm (1/8th inch) thick. Take a 38mm/1.5inch diameter round biscuit cutter and cut out as many rounds as you can.
- Take the scraps and roll into a ball and let it rest for 10 minutes before re-rolling and cutting out more rounds. repeat until all the dough is used.
- While the scrap dough is resting start filling the rounds with apple butter.
- Using a pastry brush or the back of a spoon, spread your desired amount of apple butter over one side of the round. then fold the round into quarters by folding it in half and then in half again. It should look like a pie shape of shorts.
- Please each folded round into the prepared tin.
- Start by filling the bottom layer of the tin and then move to the second layer, nesting each piece between prices from the row below it.
- After the first layer is done, you can brush extra apple butter onto the top of the pieces. Then repeat with each layer you build.
- When all rounds are filled and nested in the tin, cover it with plastic wrap sprayed with some cooking spray so it doesn't stick.
- Allow the dough to proof for the second time for 45 minutes to 1 hour in a warm place. The dough should have nearly doubled in size, growing up above the rim of the loaf tin.
- Lightly grease a standard loaf tin.
- Take your dough and deflate it. You can do the satisfying "punch" or simply take the dough out of the bowl and press it with your fingers.
- Roll the dough out into a rectangle until it measures about 3mm (1/8th inch) thick.
- Spread the desired amount of apple butter over the entire rectangle with a pastry brush or the back of a spoon.
- Starting at the short end, roll the dough up and seal the end by pressing it into the dough beneath it.
- Place the roll into the prepared tin with the seam side down.
- Cover with greased plastic wrap and allow to proof for 45-60 minutes until it is nearly doubled in size.
- Preheat oven to 350 degrees Fahrenheit
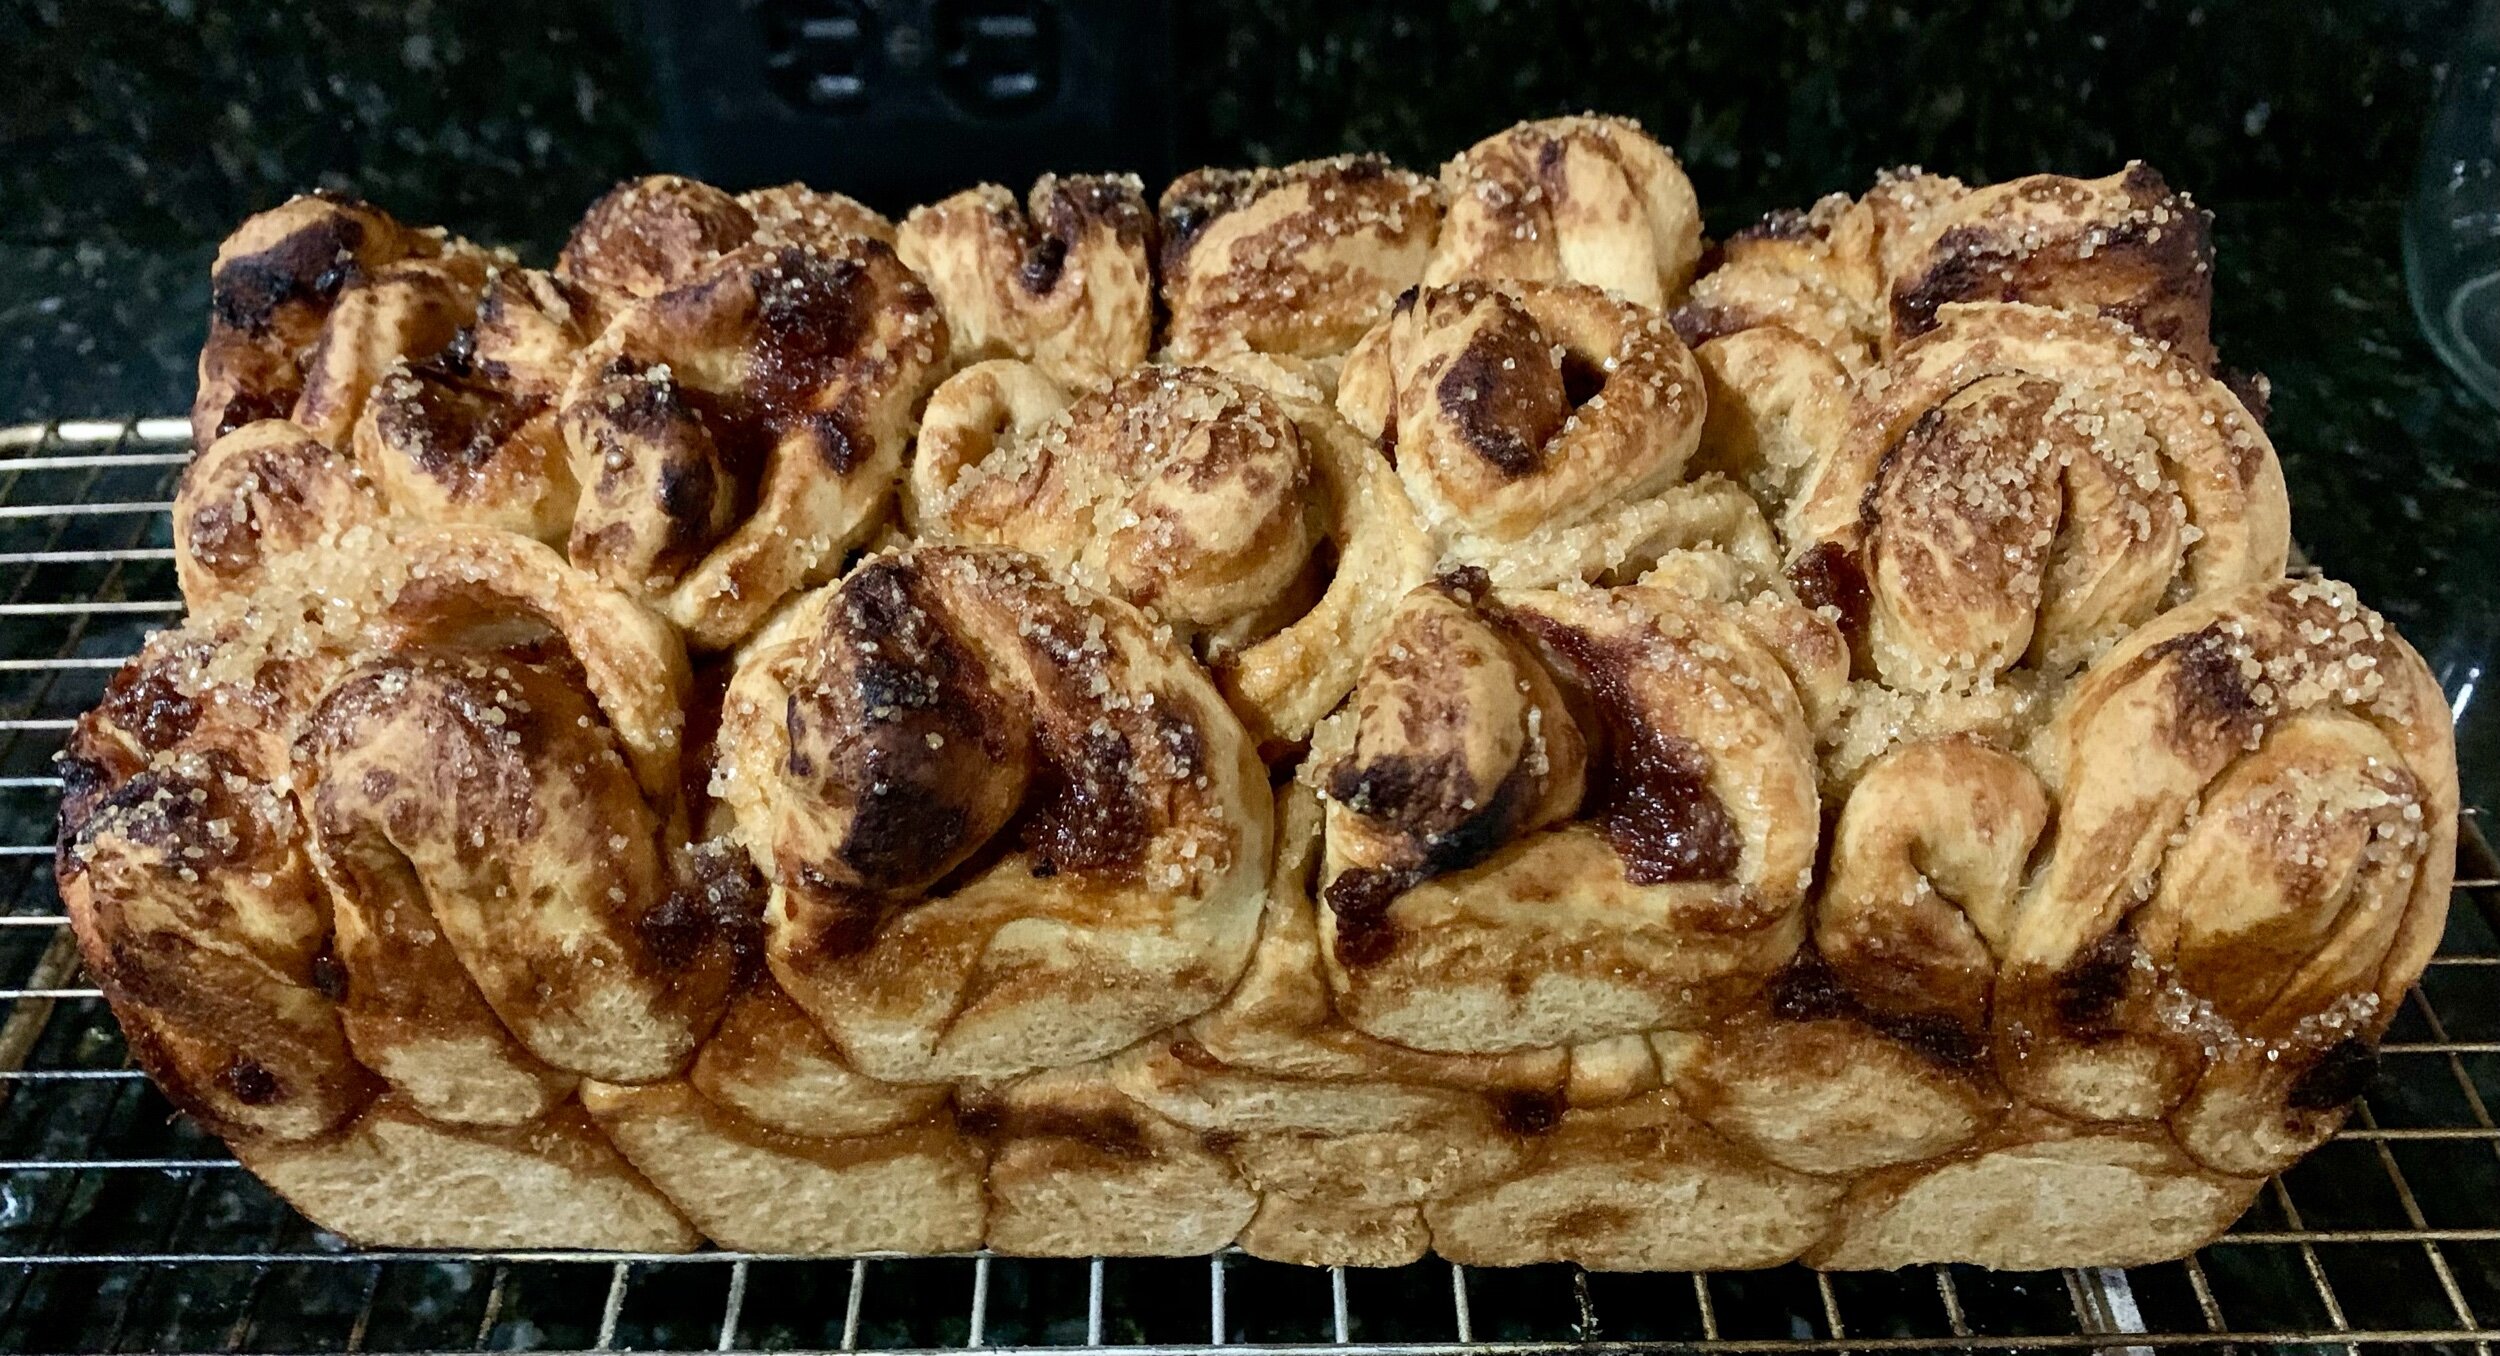
- When the dough is nicely proofed, pour or brush the melted butter over the entire loaf.
- Sprinkle the top with the coarse sugar.
- Bake for 45-50 minutes.* After 25 minutes, place foil loosely over the top so it doesn't get too brown or burn.
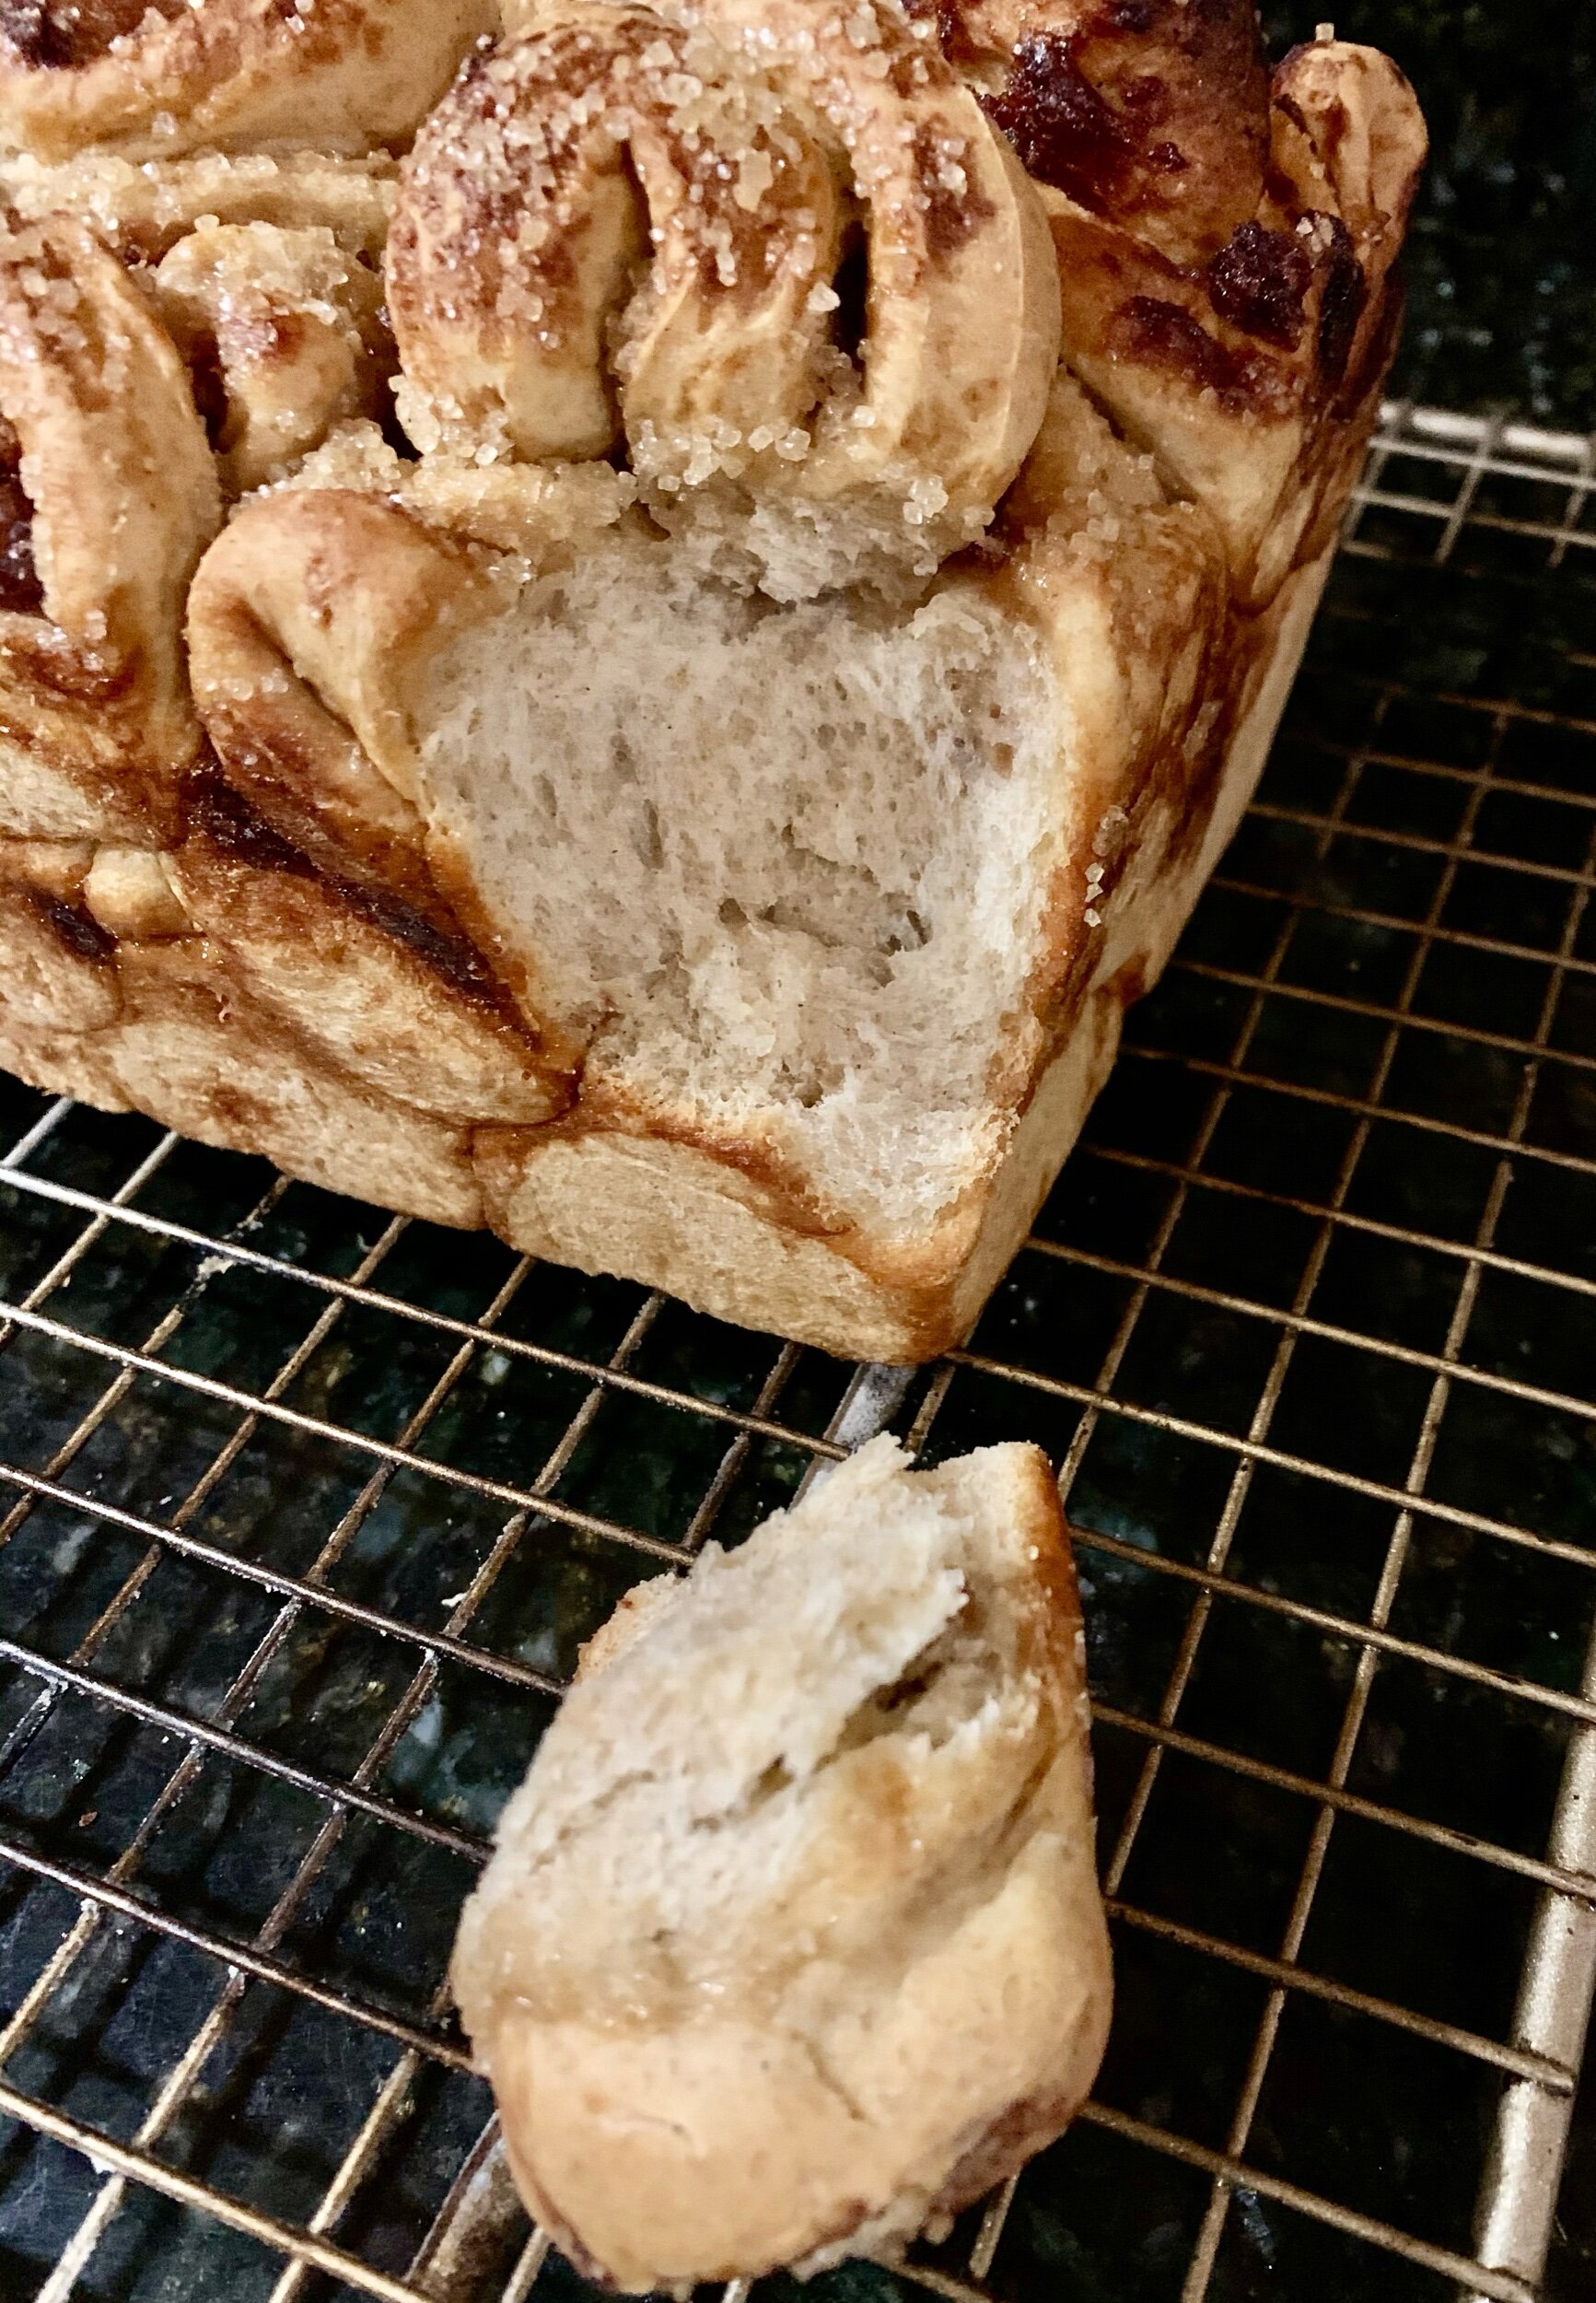
- Remove from the oven and let it cool for 15-20 minutes before removing it from the tin.
- Let the loaf cool completely before eating*
Notes:
- If you are using a stand mixer with a "J" hook such as a Kitchen Aid, be sure to turn your dough a few times, so it can be kneaded uniformly.
- The loaf is done when it reaches an internal temperature of 195 degrees. I highly suggest a digital thermometer as it takes out the guesswork!
- The cooling process is part of the baking process. After it is cooled, you can warm it back up again if you wish to eat it warm.