Sourdough Starter
Being that my focus is on making recipes from scratch, I could not, not mention sourdough bread. It is one of the ultimately hyper-scratch recipes that is having a sort of renaissance currently thanks to people all over the world being subjected to quarantines and stay-at-home orders. It’s great that the world is taking an interest in a process that has endeared many.
There are countless recipes and opinions about how to make a sourdough starter out there and it can get extremely confusing. Many popular baking websites have you thinking that you will have a workable yeast-based starter in 5 days and I’ll tell you, you won’t. I actually wrote my undergrad thesis on the bacterial effects on bread yeast for my biology degree. I’ll spare you all the finer points about why on day 5 you won’t have an active yeast starter, but I’ll share that any activity you get in raising dough from a starter that early on would be from the bacterias respiration activity. There is a technique called “Salt raised dough”, but that is for another time.
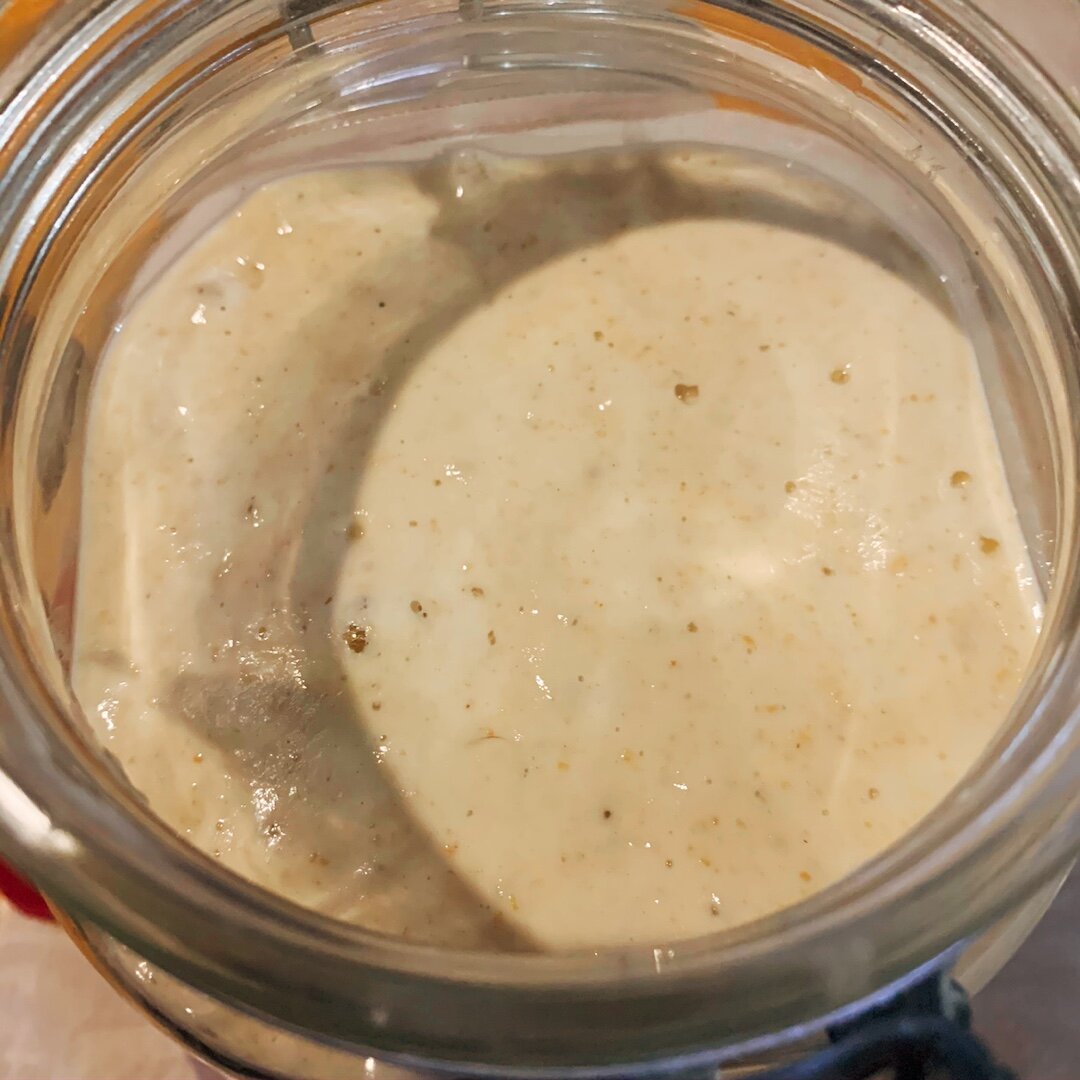

I have used this recipe (or slight variations of) for well over a decade. and have passed it on to eager bakers who had success. I have a few tips that are crucial. The first? Patience! It takes time, roughly 14-21 days on average. Secondly, everything you need is right in the flour. The flour is filled with yeast in their stationary (sleeping if you prefer that imagery) state that once you add water and give it time, it will emerge and become an active, bubbling substance to raise beautiful loaves of bread. To dispel a myth of sorts, there is no need to “catch yeast” from the environment to create a starter. However, as it sits on your counter, wild yeast will mold its flavor profile.
Third, the starter is responsible for about 50% of your bread’s flavor. The other 50% is built during the fermentation process as well as that type of flour used in the loaf. Do not worry too much about the strength of the starter in terms of scent and flavor as you can make up for it later. Lastly, if you do not have one, purchase a kitchen scale. There is no way to accurately measure flour by using a volume measurement. The weight of the flour changes day to day, even hour by hour, not only because everyone fills their measuring cup differently, but due to the environmental fluctuations, particularly the humidity. The weight of the flour changes depending on how much water it has absorbed. Volume measurements for baking are why so many recipes fail from person to person. Buy a scale, your baking will thank you.
As for the flour to use…..use whatever you wish. While certain flours taste different, have more or less activity, or take longer to mature, it still doesn’t change that you can use any wheat flour you wish. With that said, I am going to recommend using unbleached flour. Bottom line? It’s just easier to be successful. I have several starters going in our home, but I suggest folks start off with one made from bread flour or a combo of bread flour and either rye or whole wheat.
Once your starter is doubling in the required time frame consistently, you can store it in the refrigerator so you only feed it when you use it. I keep 25 grams of starter on hand in the refrigerator. This way I don’t have to be discarding unwanted starter at all. To maintain it, simply weigh the amount of starter you have and add an equal weight of flour and water to it. Ok, I’ll be honest, once the starter is healthy and creating loaves, I don’t worry about the amounts I’m feeding it. I just give it what it needs. Once one is comfortable with the process let the dough be your guide but until then, the scale is your trusty friend. If you feed it straight from the fridge, it is going to take longer than 2-4 hours to double. The clock should start when the starter gets close to room temp and you see activity starting.
To wrap this up, I do not have my own recipe for a standard sourdough loaf. To be honest I have been making it so long that I do not pay attention to measurements and I like to just throw different things in the mix on a whim. However, I have a lovely friend, Elaine, from England who has dedicated herself to Sourdough and created a method that is fantastic for beginners and seasoned bakers. She actually recently had a cookbook published and has become one of the authorities in the global sourdough world. So once you get your starter going, head over to her site and explore her master recipe and all that you can do with it. You'll be making yummy, wholesome bread from scratch in no time.

Sourdough Starter
Ingredients
Method
- Take 15 grams of flour and mix it with 15 grams of water in a jar or another glass container. Leave it undisturbed for 18-24 hours, loosely covered.
- Add 30 grams each of flour and water again, and leave it loosely covered and undisturbed for 2 days.
- Then add 50 grams each of flour and water and leave it loosely covered and undisturbed for 2 more days.
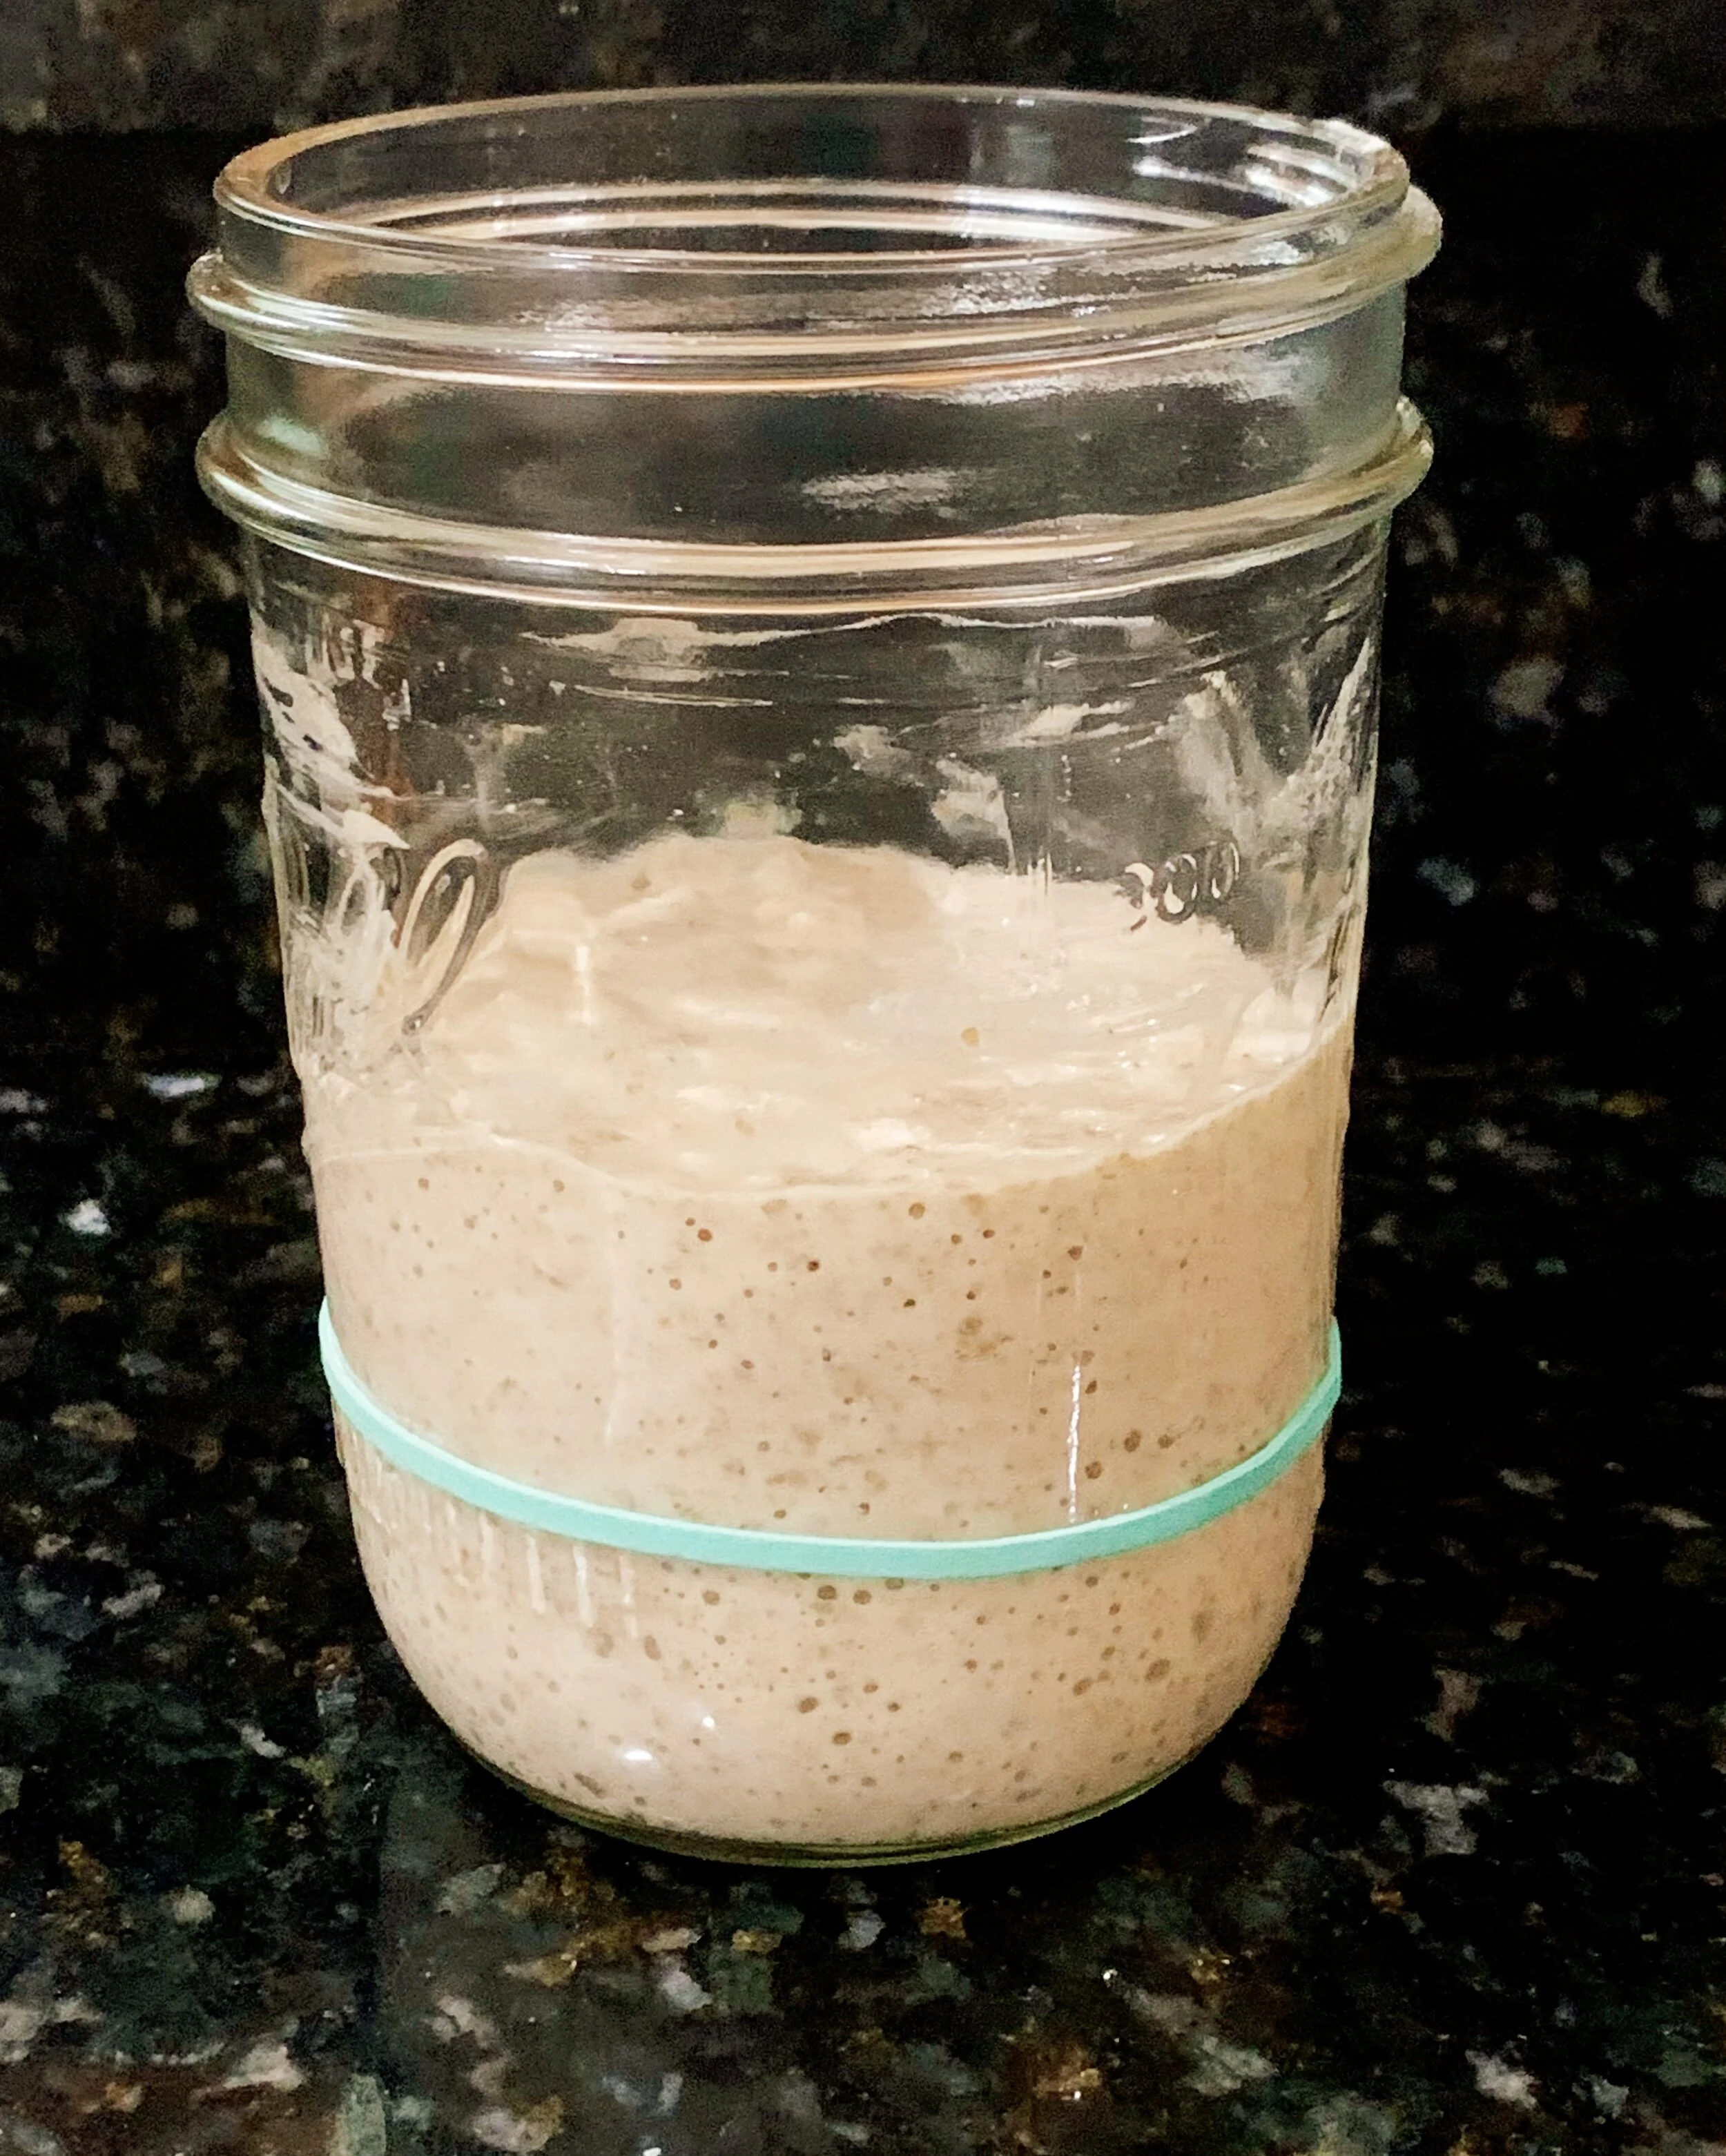
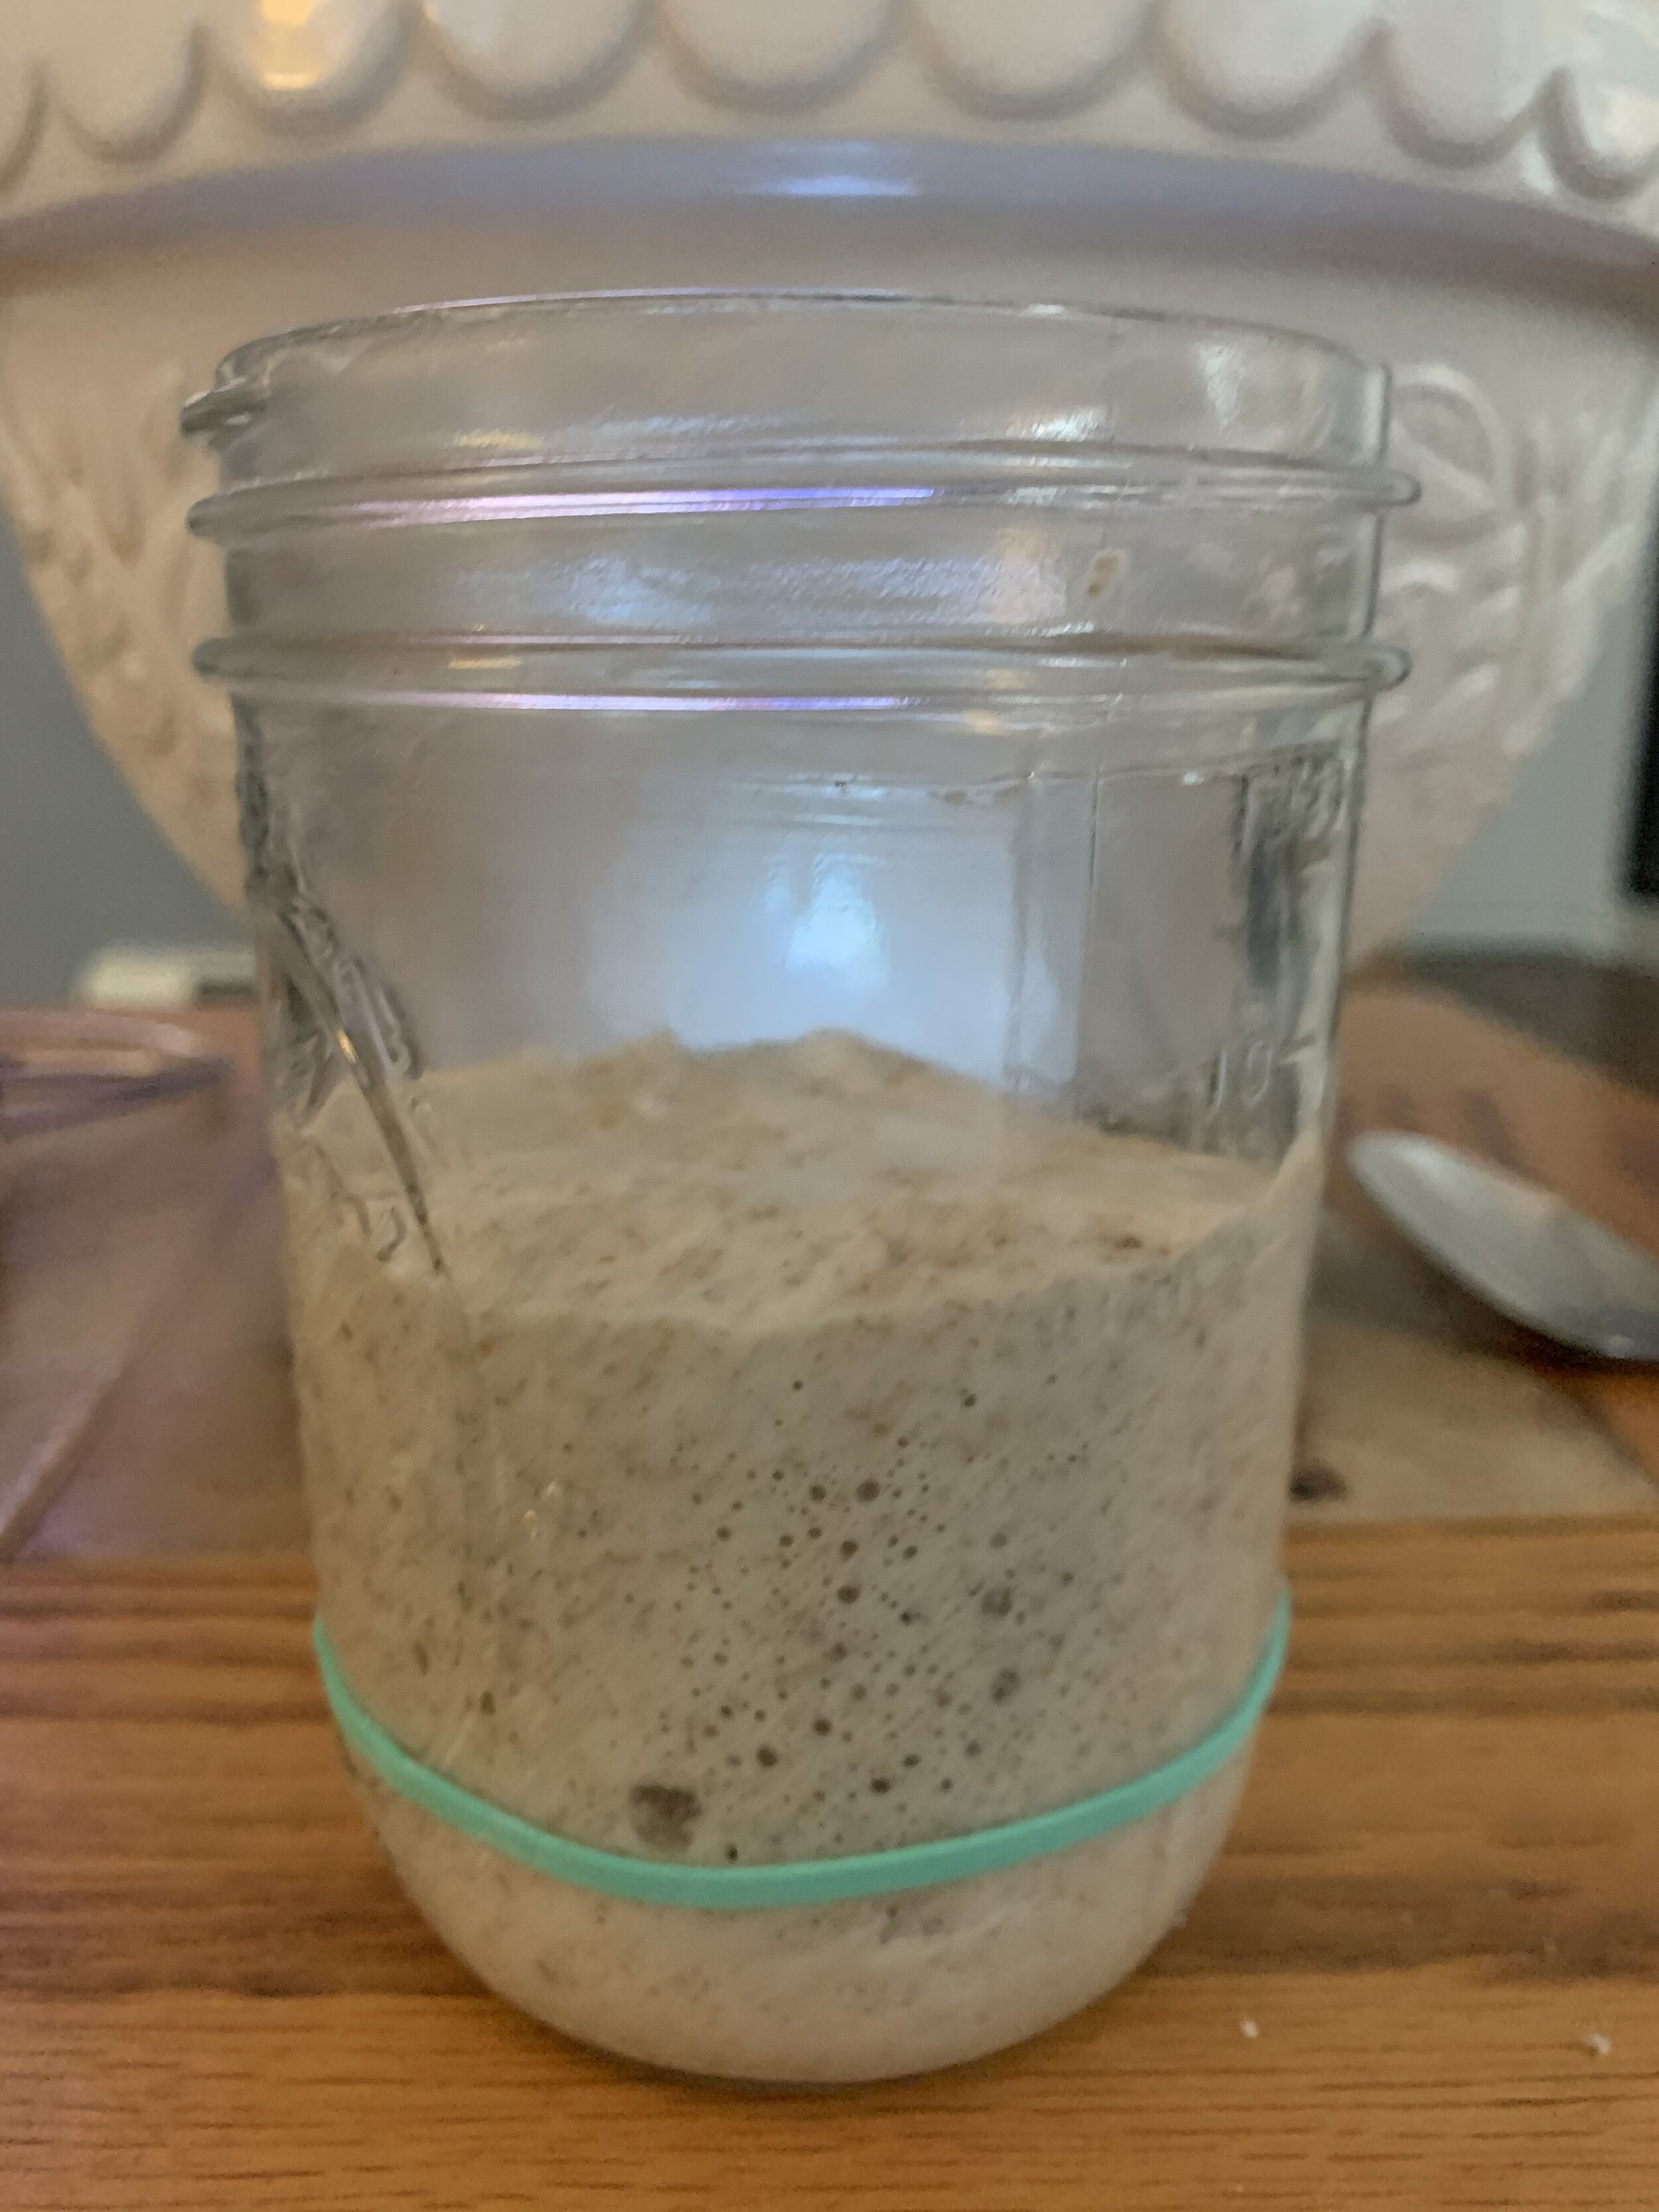
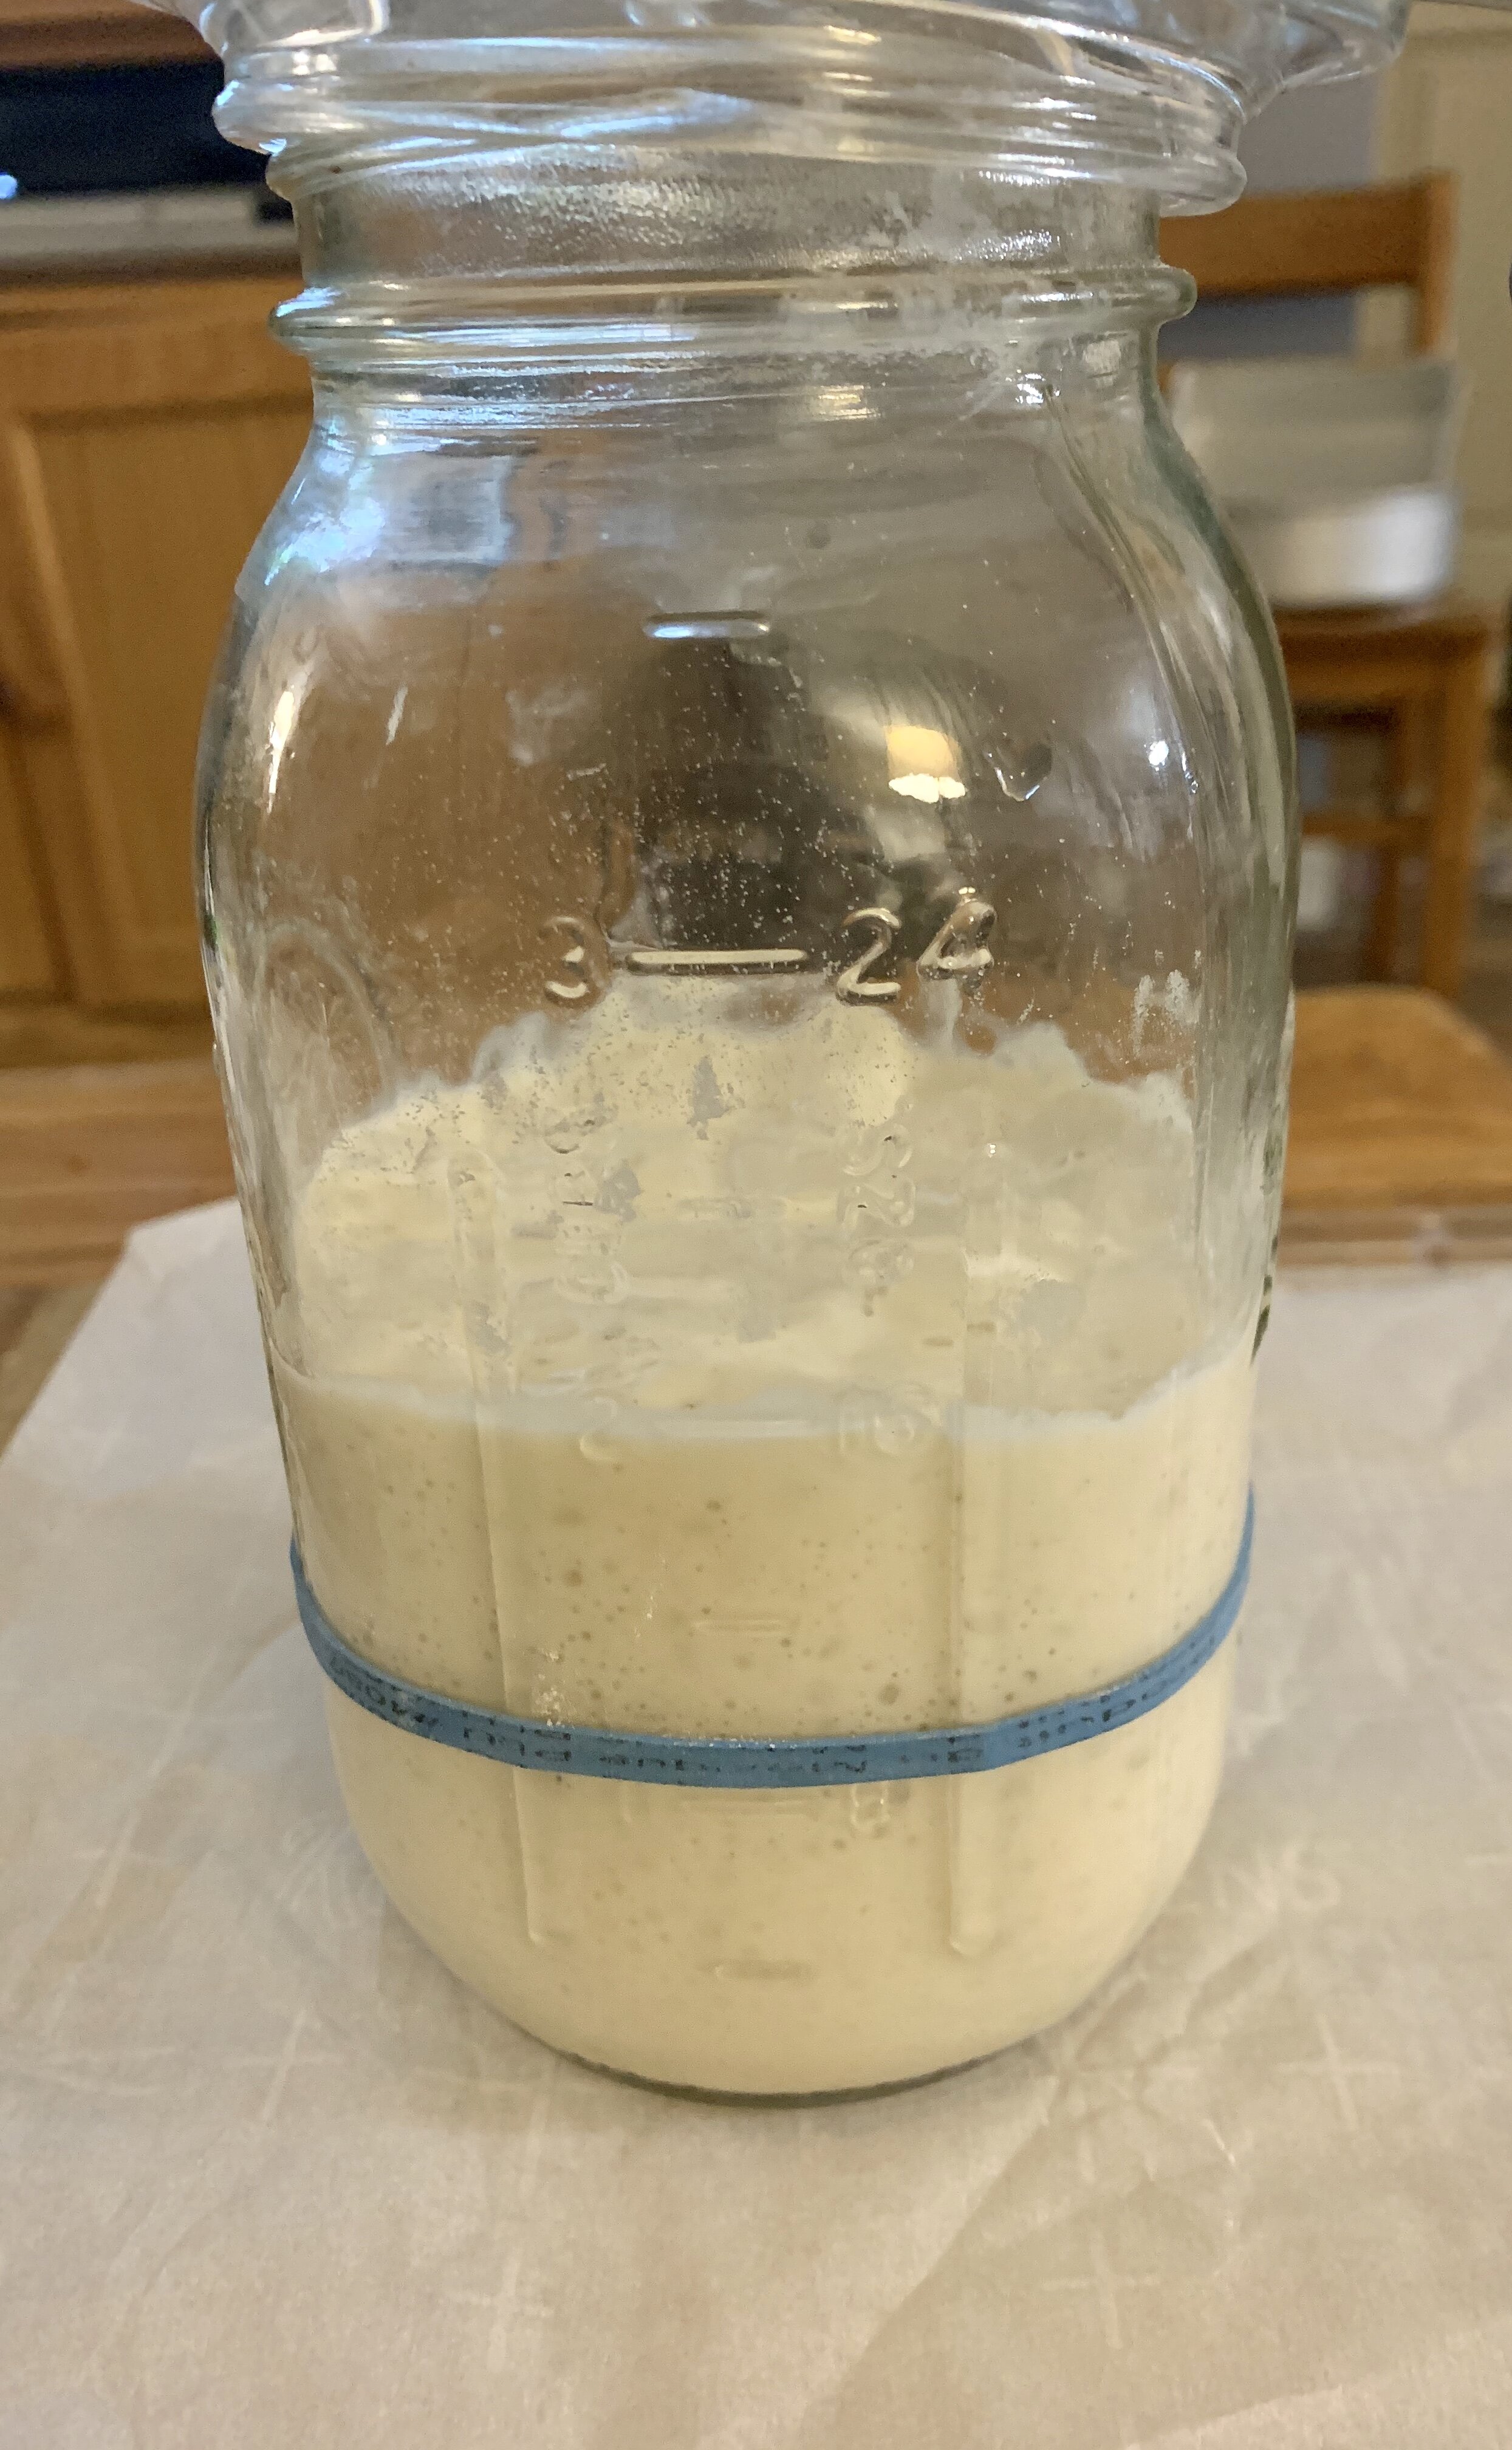
- Discard** all but 50 grams of the starter and add to that: 50 grams of flour and 50 grams of water. Mark a mark on the container to show where the starter level is***
- Repeat step 4 every day until the starter doubles in size in 2-4 hours for at least 2 days in a row.**** Once it’s doubling (or more) in that time frame for 2 consecutive days you're ready to try a loaf. If the recipe you use calls for more starter than you have, give it a double feed before you're ready to start your dough.
* Notes (if you see an * please check here)
- * This is the starting amount only. You will be adding the same amount on all feeding days.
- ** At this point dispose of the discard, do not use it. For future discards you can use it in discard recipes, just not this initial discard.
- *** I use a rubber band around the glass jar to mark the starters, starting level. You can easily move it up and down if needed.
- **** If you live where it’s really chilly in your kitchen (under 68° F) you can expand that time to 6 hours.