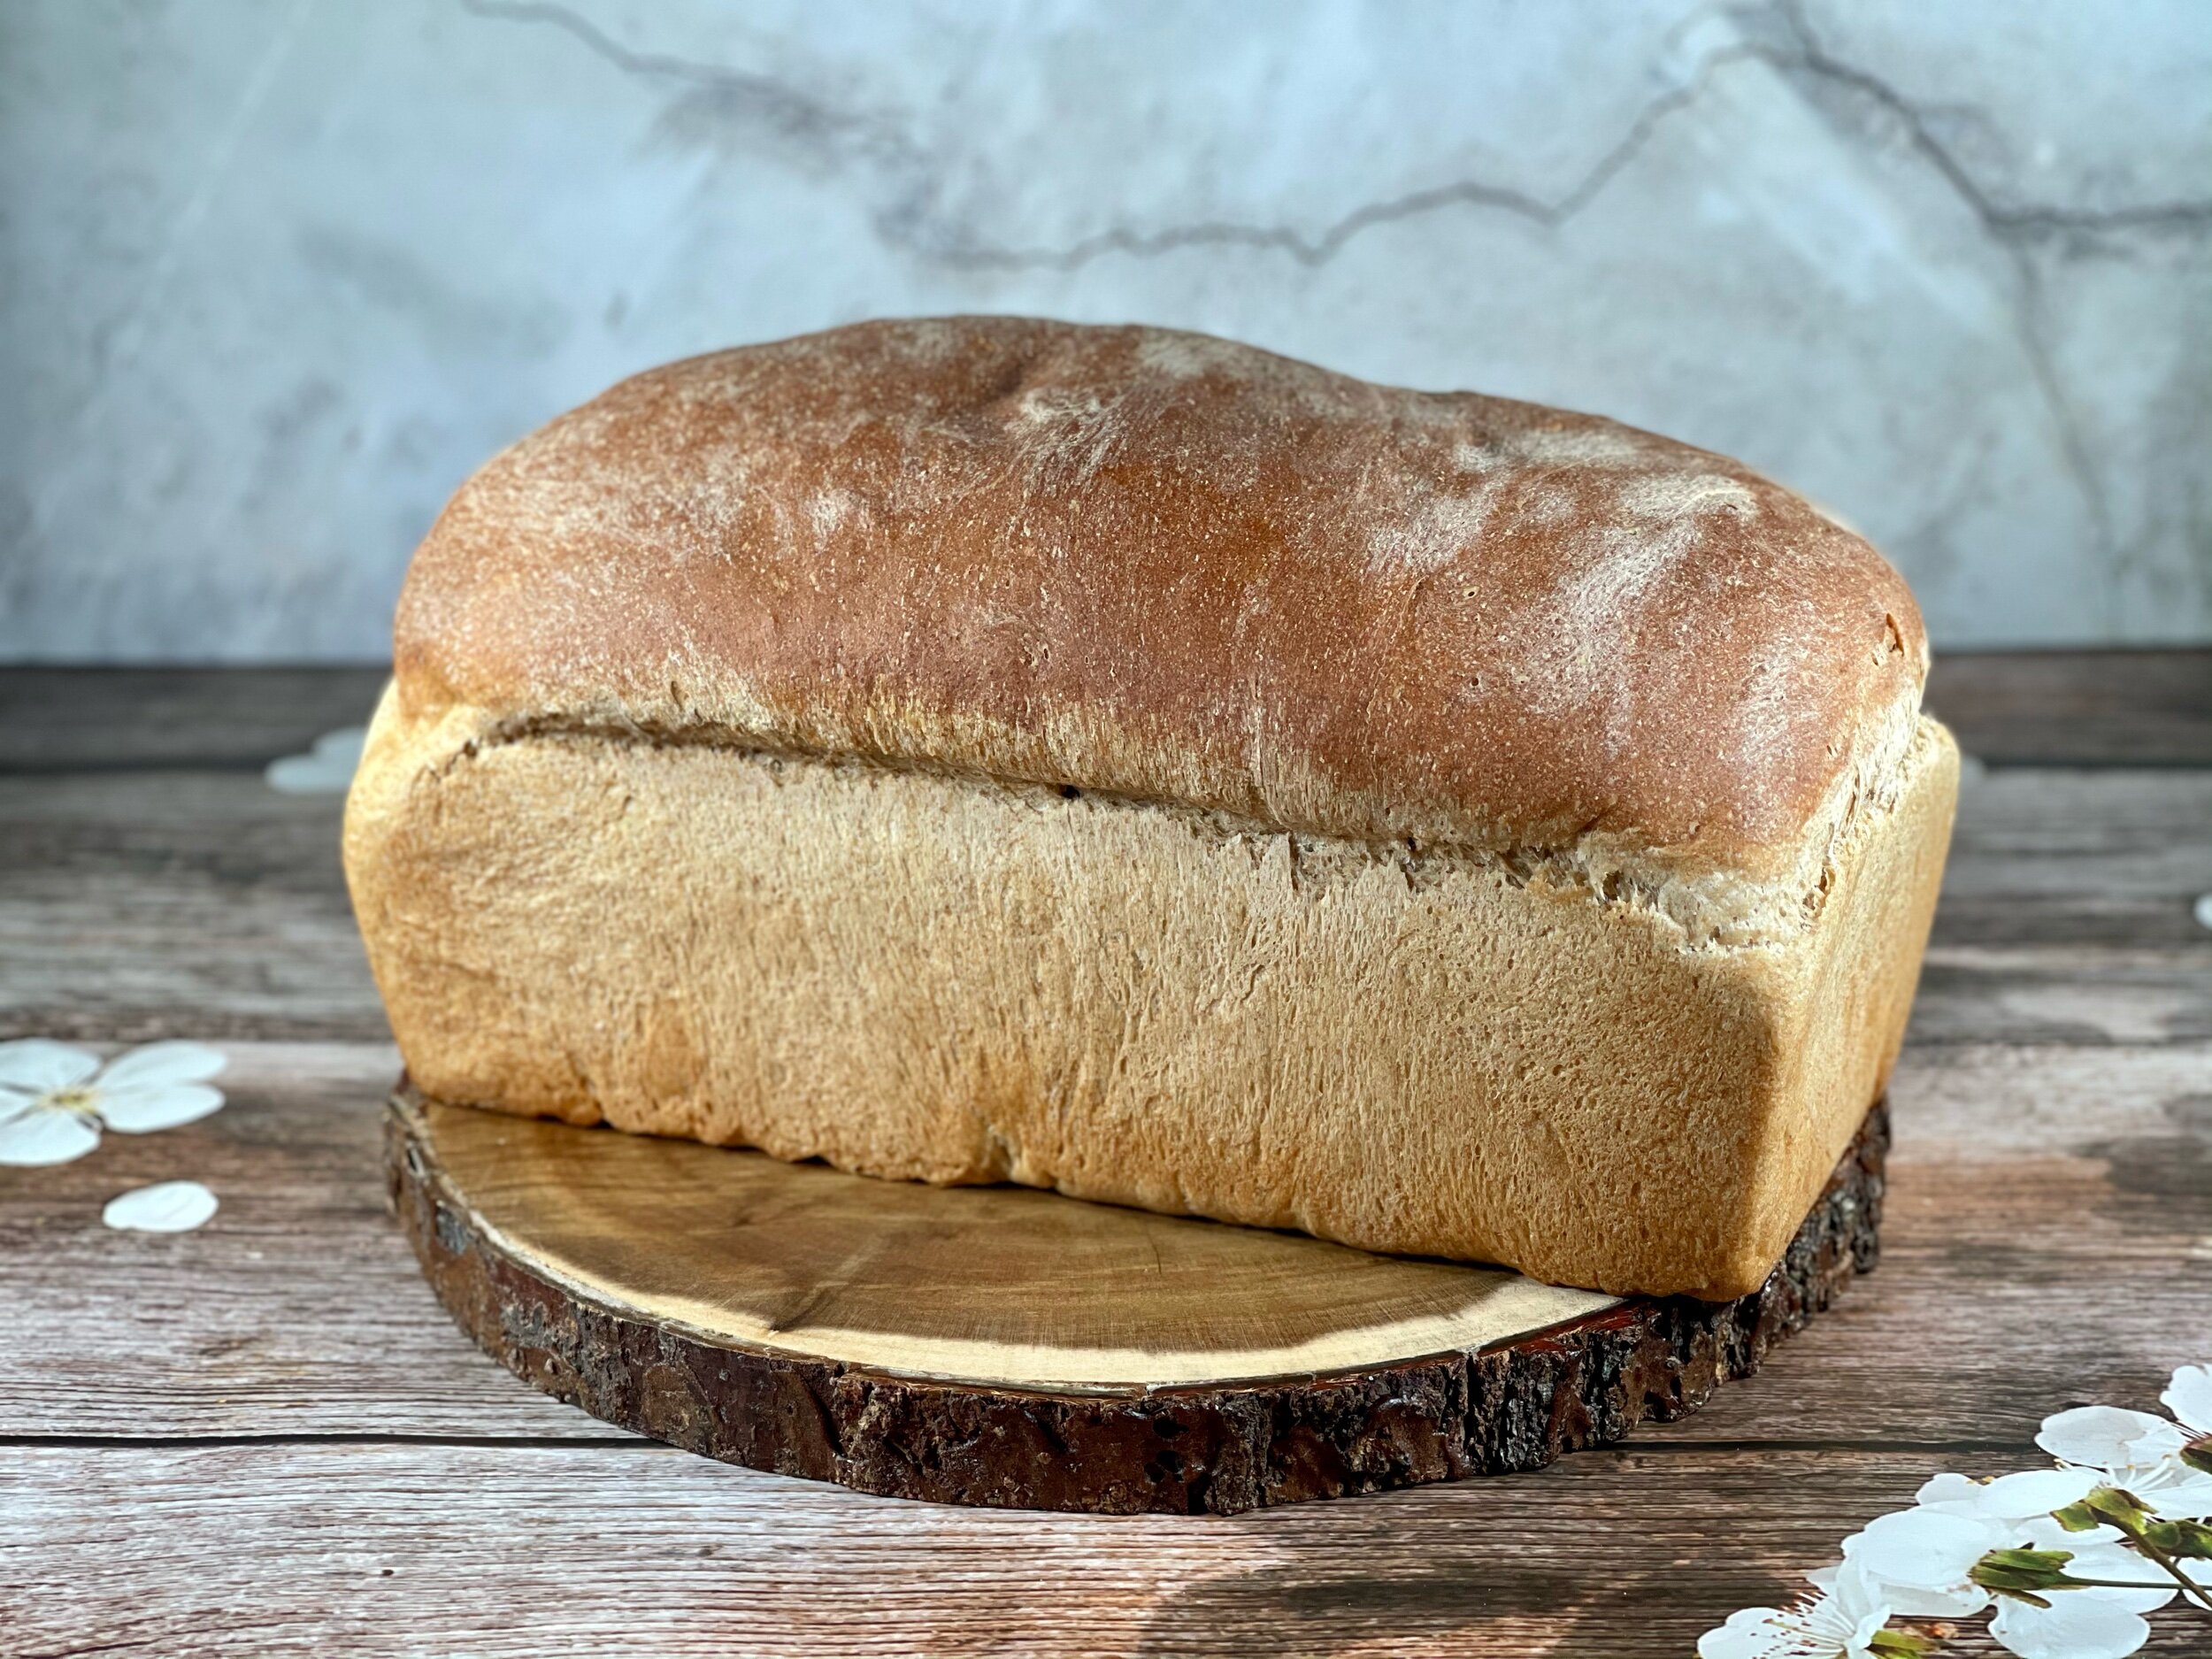
Honey Wheat Sandwich Bread
When you have a significant amount of food allergies it can be hard to balance nutrition especially since many of the foods I can safely consume, while very nutritious, also are high in oxalates. Rob and I both have trouble with kidney stones and I have a significant iron absorption problem and oxalates are a problem for both. We met with a nutritionist for both targeted issues as well as overall health in order to have a sounding board during our journey. In the end, we had a plan which included adding in fermented foods, which is fine by me as it actually allows me to eat some foods that typically I react to, as well as some whole grains.
Unfortunately, the “whole” in whole grains is particularly a problem for me. In many foods, I have a reaction to the germ and or bran of certain grains, and others I can’t eat at all. For instance, I can only consume white rice. Brown rice is a complete itch and hives fest! So I decided to experiment with bread as I have had success putting a small amount of whole grain into my white flour and keeping the reactions at bay. I kept adding more and more as I tested the recipes and stopped at a 50/50 mix as it was successful both allergy-wise as well as flavor-wise!
Another factor, which shouldn’t affect having a positive outcome of a great loaf if you use whole wheat flour from the grocery store, was that I milled my own whole wheat flour. It’s actually really simple to do if you have the right equipment. Working with fresh-milled or “green” flour in and of itself has some differences from aged flour and those differences show themselves in different recipes. But, the nutritional and health benefits of using green flour far outweigh any potential finickiness of it.
Why is Green Flour “Better”?
To start it’s more nutritious. Unfortunately, the commercial flour milling process is on a scale where the flour can lose a good portion of its antioxidant, basic nutrients, vitamins, and minerals. Ironically it’s the bran and germ that hold those nutrients and that’s what I react to when in larger amounts but it’s exactly what is being preserved by milling your own. Why do they remove it? Because it’s where the oils are that make flour go rancid more quickly so they enrich the (synthetically produced) flours with various vitamins and minerals but it doesn’t match what they removed in the first place. The benefit of those oils other than the nutrients it contains is that it helps the bread stay light and fluffy.
Milling your own flour is also really cost-effective! The wheat berries last a long time if properly stored and you can grind them on demand. Also, if you experiment with various types you can find ones that you like and make your own combinations which especially shine in bread. Currently, I am loving using hard red spring wheat which is high in protein and has a great flavor.
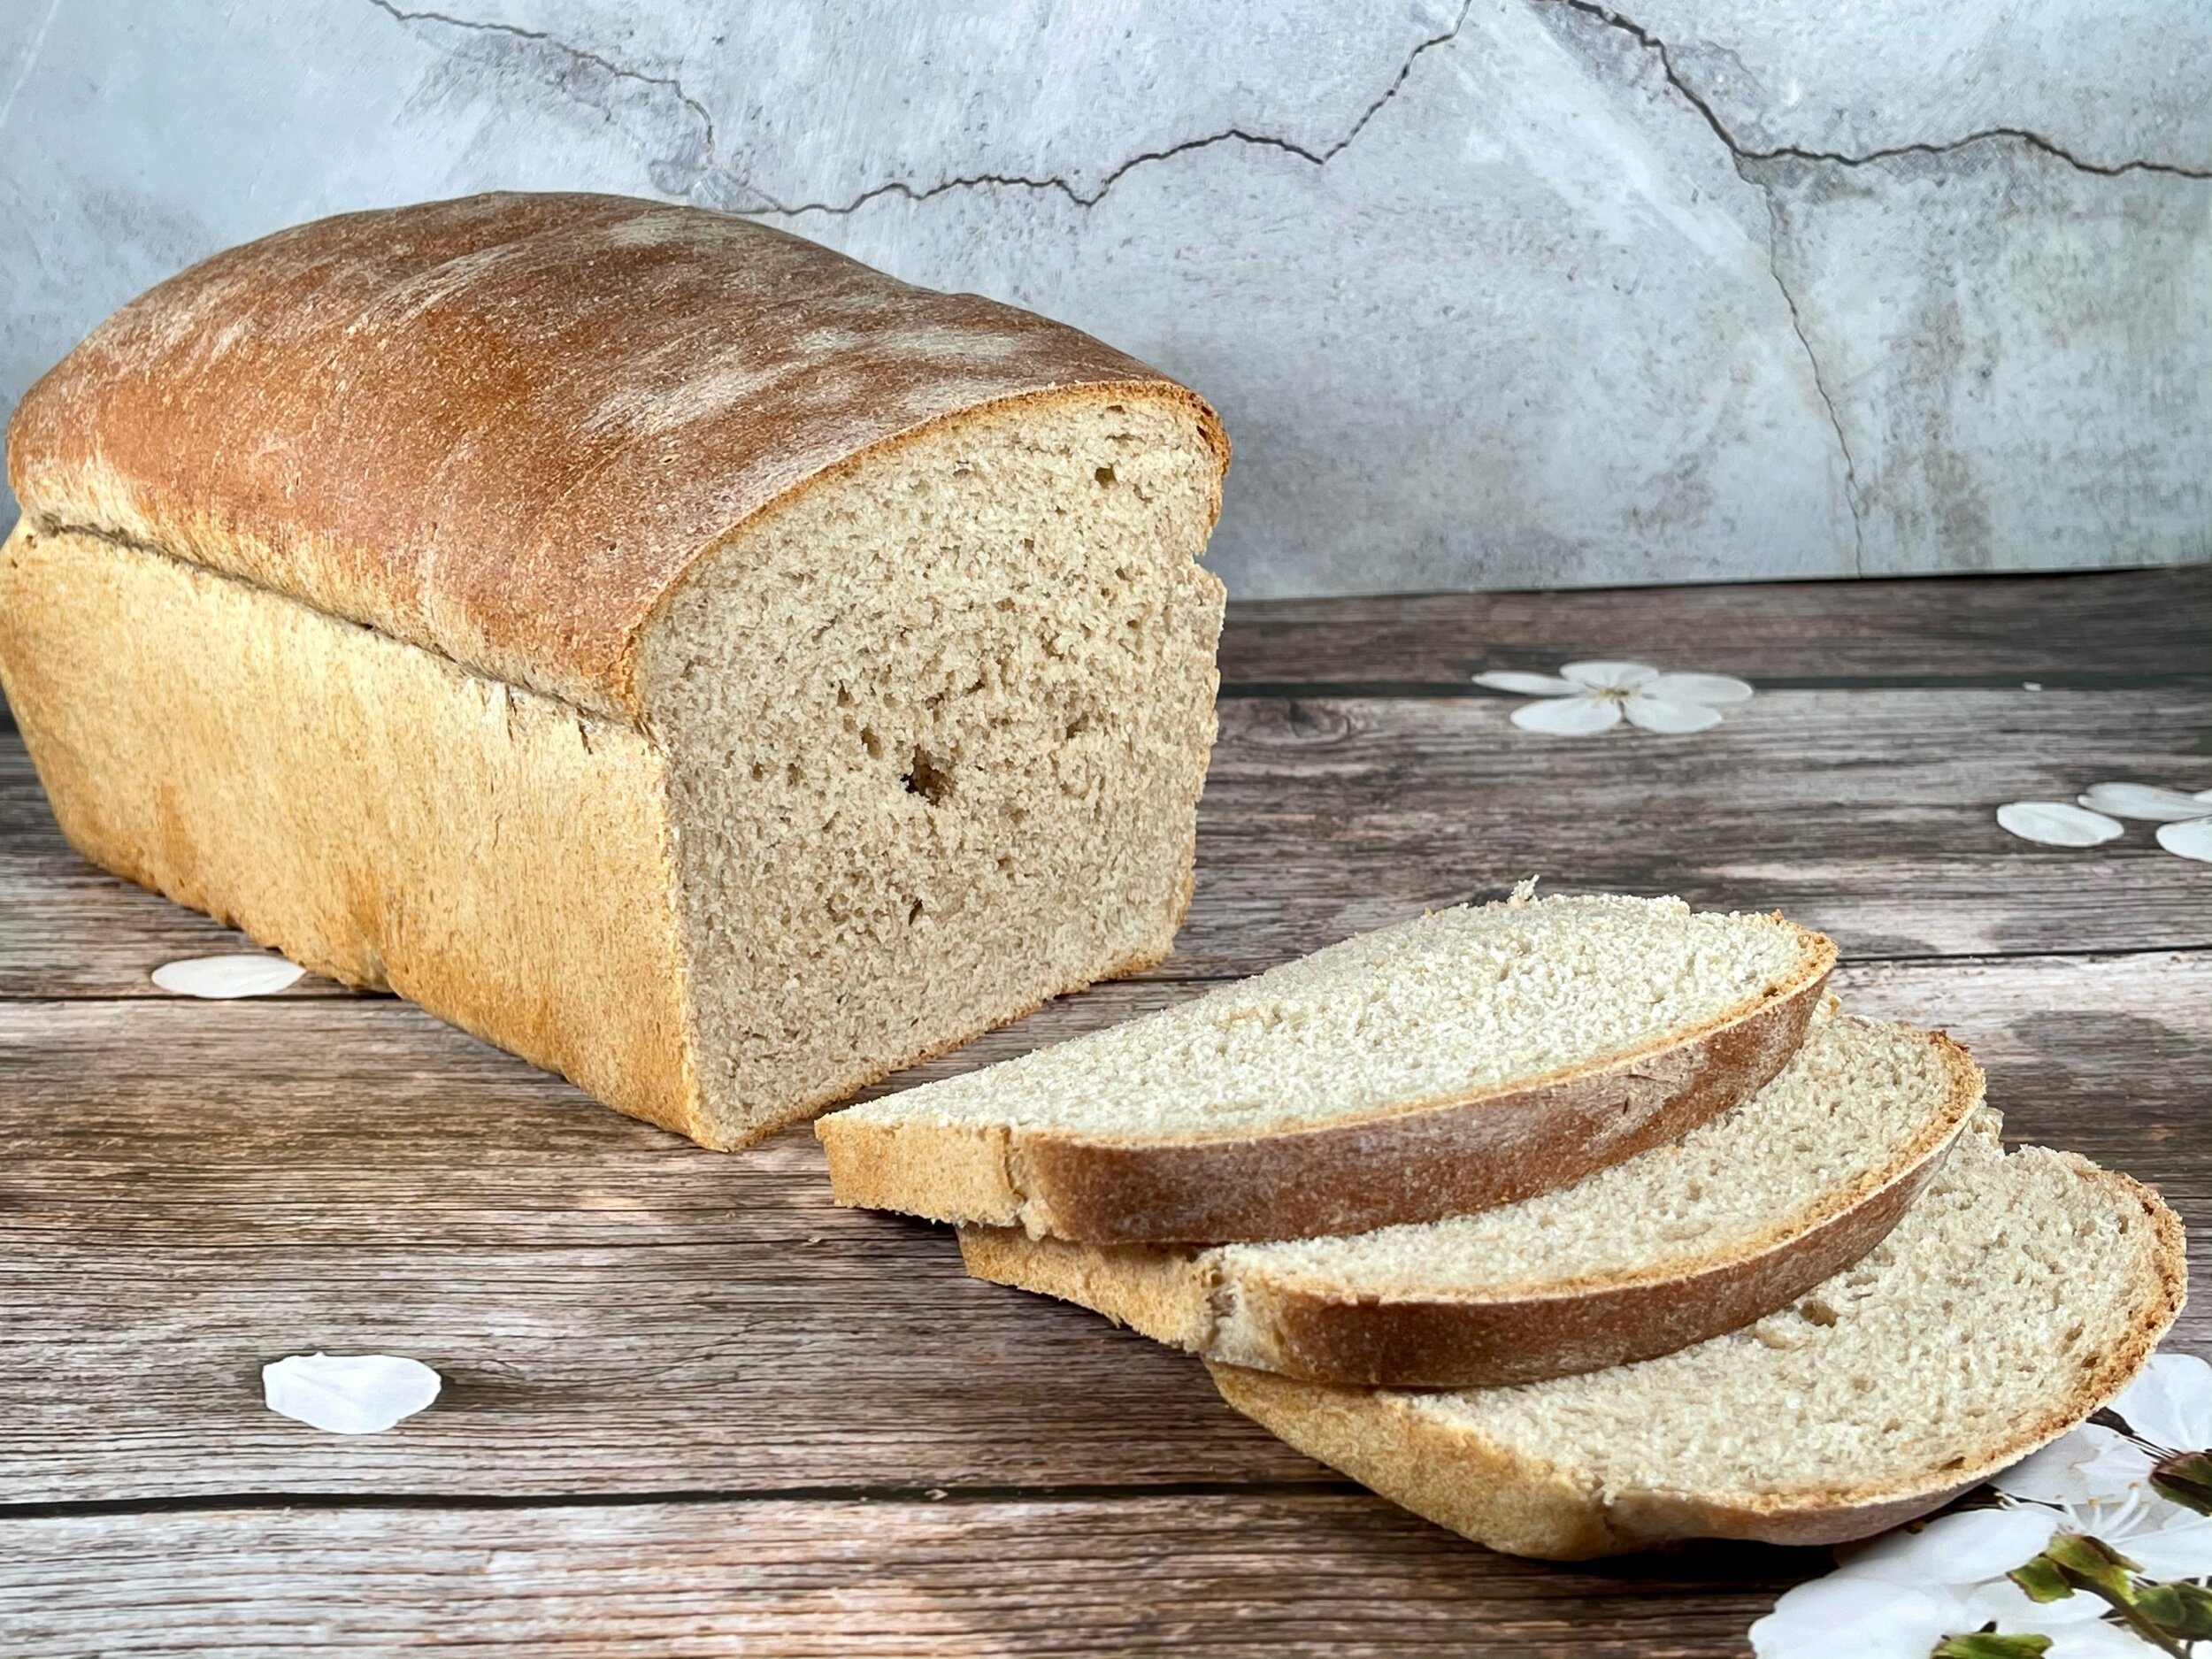
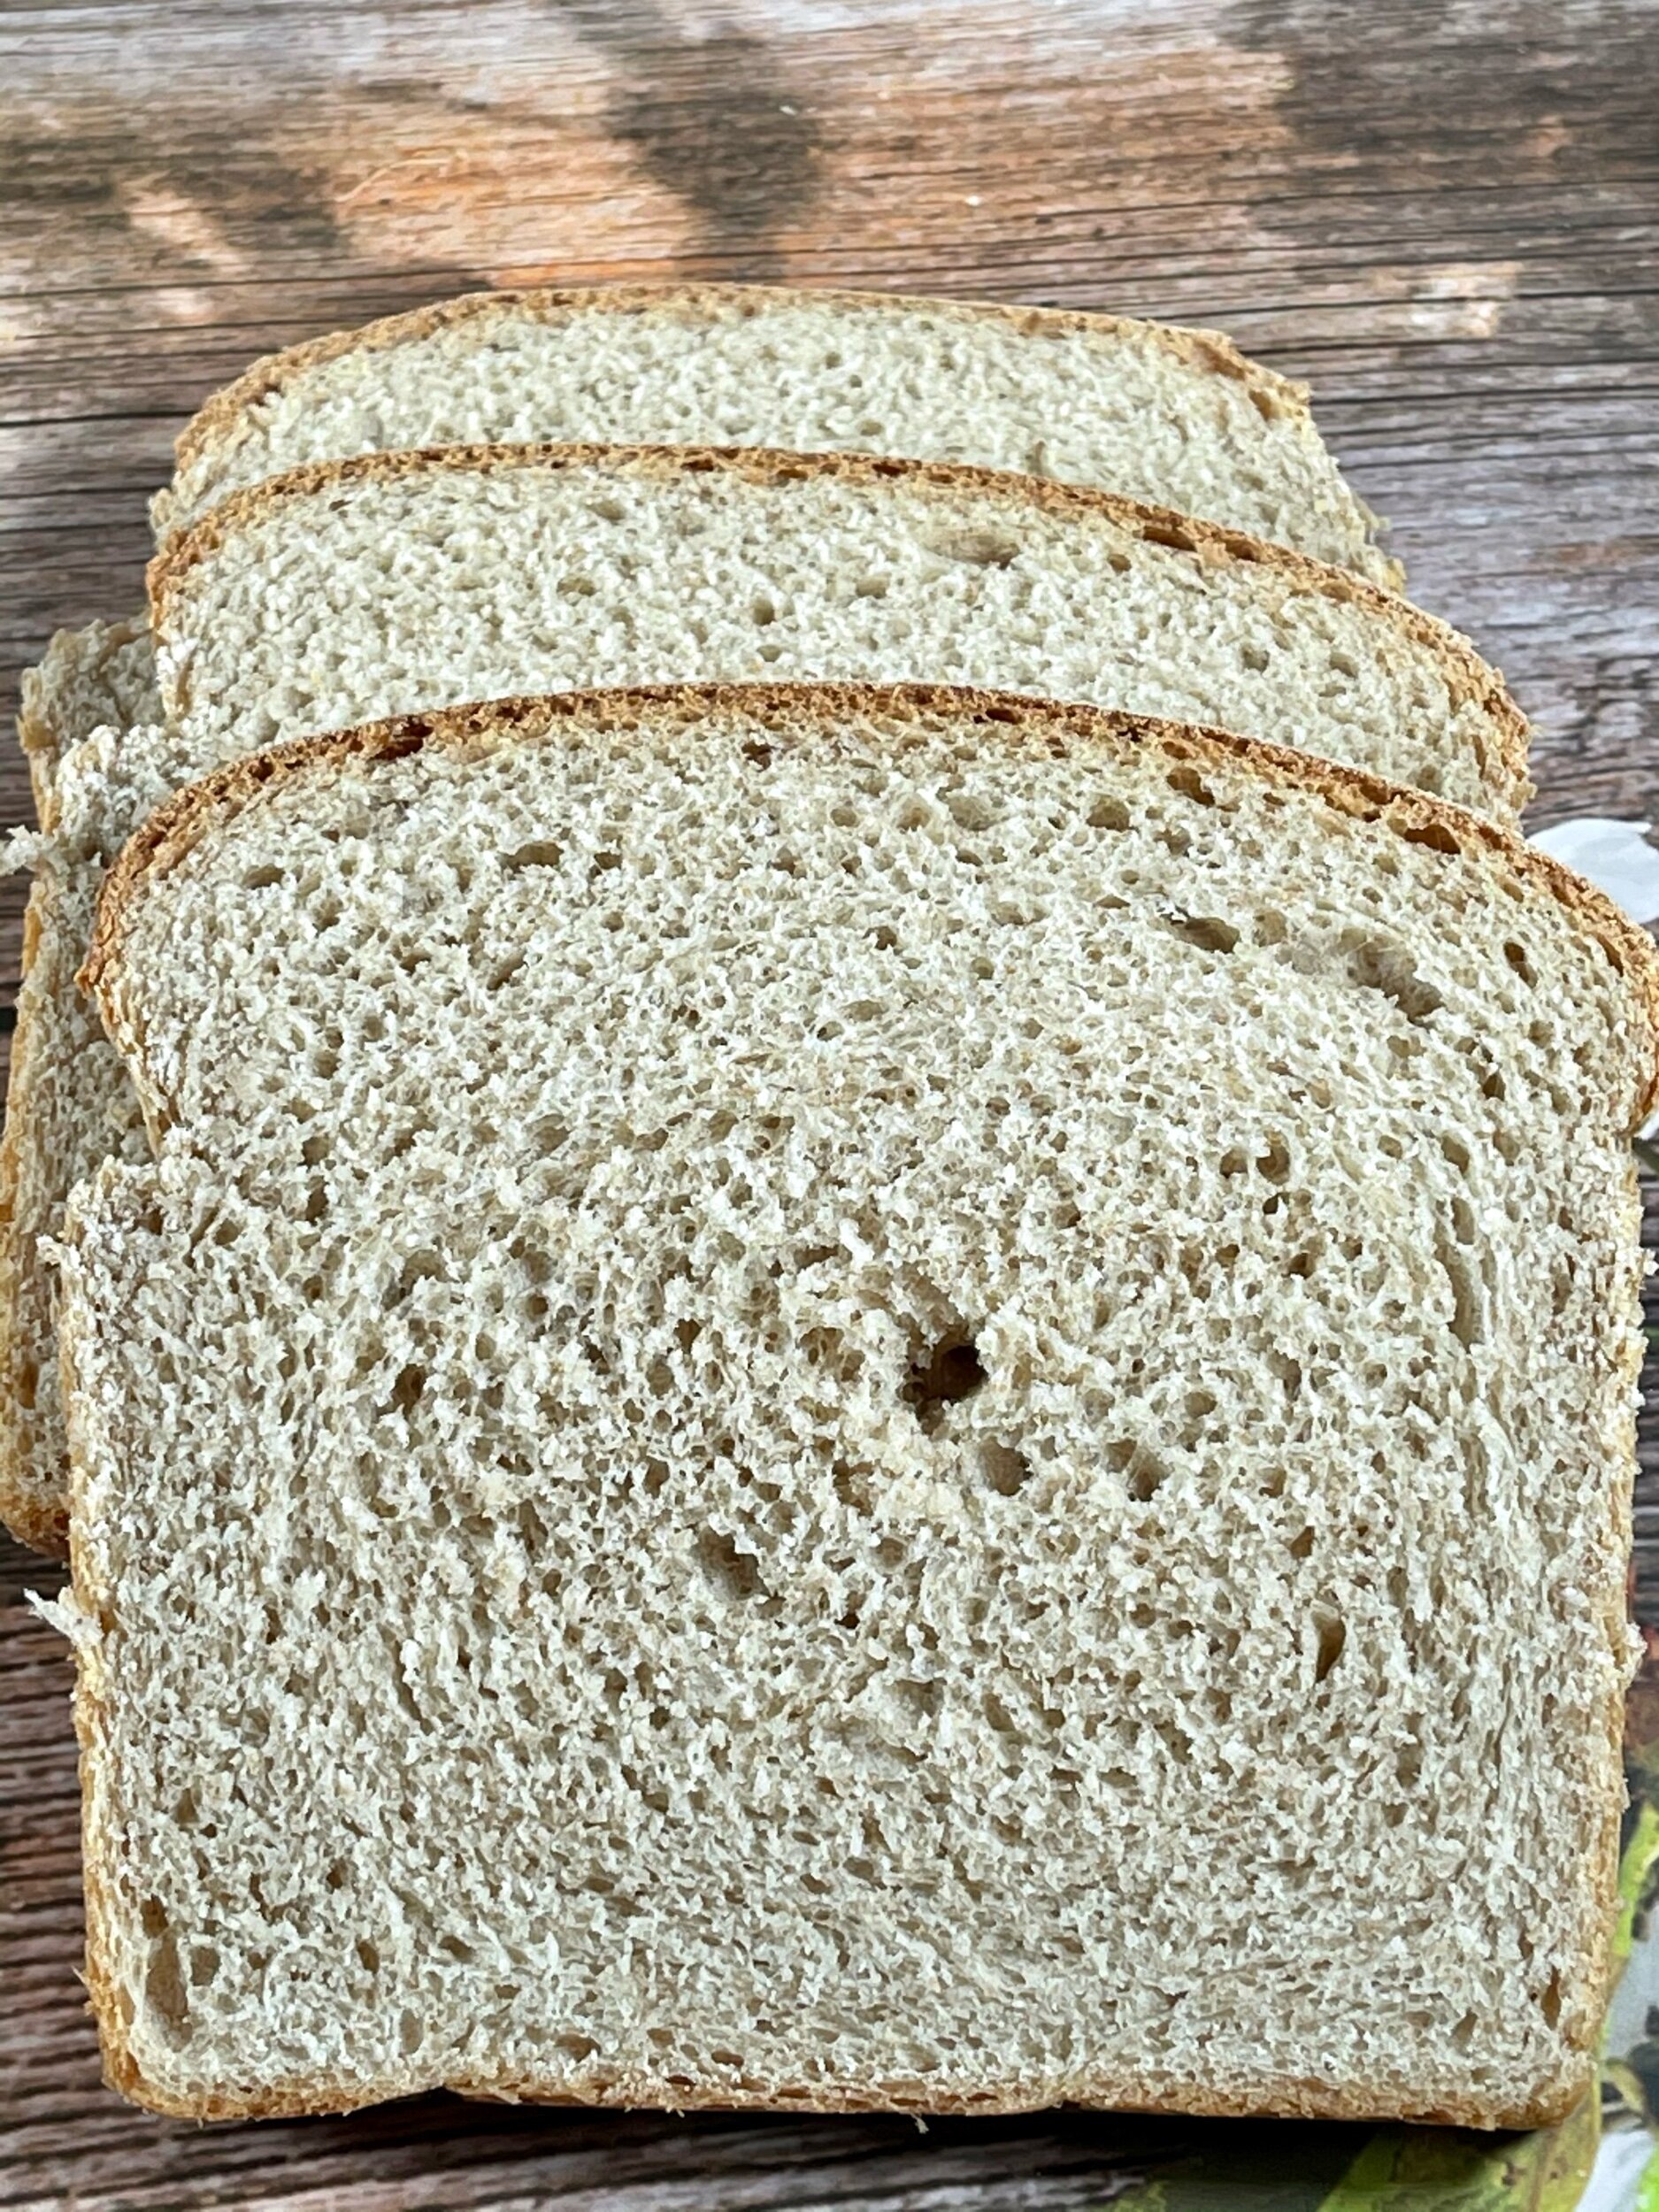
Anyway, back to the recipe. I wanted to create a honey wheat loaf that would be versatile to use for any type of sandwich or even just as toast and also have the texture that many times is described as “store-bought.” I’ll say that I was thrilled with the outcome for myself but was even happier when the rest of the family raved about it! So, if you are looking for a universal sandwich bread but aren’t thrilled with the “stronger” flavors from a 100% whole wheat that many have an issue with, especially children, this is a great compromise.
Tips for working with Whole Wheat
Using whole grains makes it harder to build the gluten structure of the bread. Since this recipe also uses bread flour, this helps it along but don’t skimp on the kneading.
If you adjust the recipe and use all whole wheat flour, add a tablespoon of vital wheat gluten so you can get a beautiful light structure.
If you have an internal digital thermometer, make sure the internal temp reaches at least 195 ℉ but you can go up to 200 ℉ on average (which I prefer)
If you have never worked with whole wheat before, you can start out using less of it in the recipe and replace it with bread flour as you get used to working with it.
Whole Wheat flour can take time to absorb the water. If the dough seems sticky, allow it to sit for 10 minutes and then continue to knead it. As the gluten develops the dough will firm up.
Enjoy!
Recipe Card
Note: I highly suggest having a digital scale in your kitchen. It takes the guesswork out and makes baking recipes a lot more successful. All of my recipes are written in metric weights. If you do not have a scale and need to convert a recipe or ingredient to volume, you can use the buttons to the right and copy /paste the recipe into the handy recipe conversion tool or the single ingredient conversion.

Honey Wheat Sandwich Bread
Ingredients
Method
- Melt the butter and immediately add it and the honey to the water and set it aside. Alternatively, you can use hot water and add cold butter and honey and allow it to melt, and thus reduce the water temp to a usable temperature.
- Add the flours to a large mixing bowl or the bowl to a stand mixer, stirring to combine them.
- Add the salt and yeast to the flour and mix to combine.
- Stir the water mixture to make sure the honey has dissolved and there are no lumps of butter before adding it to the flour.
- Mix the contents until the dough forms and comes together.
- If you are using a mixer with a dough attachment, turn it on low and allow the dough to knead for 5 minutes. After 5 minutes, turn it onto a work surface and hand knead for another 1-2 minutes.
- If you are kneading by hand, lightly oil your kneading surface and turn the dough onto it. Knead it by hand for 12-15 minutes.*
- When thoroughly kneaded place in a lightly oiled bowl and cover with plastic wrap (or reusable cover) and set in a warm place of your kitchen for 1 hour.
- After the hour, punch down the dough and turn it out onto a work surface.
- Using your hands and fingers, pat out the dough into a rectangle that is as wide as your bread tin. Starting at one end, roll the dough up and pinch the ends into the dough, smoothing out the seam.
- Lightly grease the bread tin and place the roll, seam side down into it.
- Cover it with greased plastic wrap (cooking spray makes short work of this) or put it in a proofing bag and set it in a warm location for about 35-45 minutes until it is about 1/2 inch above the rim of the tin.
- In the meantime, preheat your oven to 400℉
- .
- Place the bread tin in the oven and lower the temp to 375℉
- and bake for 35 minutes. The internal temperature should reach 200℉and the bottom should sound hollow when tapped.
- Turn the bread out on a rack and cool completely to room temperature before slicing.*
* Notes (if you see an * please check here):
- If you prefer 100% whole wheat flour, use 22 ounces of whole wheat flour plus a tablespoon of vital wheat gluten.
- I prefer to use hard red spring wheat berries and grind my own flour.
- If needed you can use a single envelope of yeast (7 grams) and adjust for slightly longer proofing times.
- Depending on the flour you use will dictate how much water you will need. For regular store-bought whole wheat flour use the lower amount of water. For freshly milled flour, use the higher amount.
- Make sure to be thorough in your kneading, especially with whole grains as they do not build gluten strands as well. If desired you can add a tablespoon of vital wheat gluten for extra strength.
- Please make sure the bread is completely cooled to room temp. This can take a few hours. It is part of the baking process and cutting it early will create a gummy center.