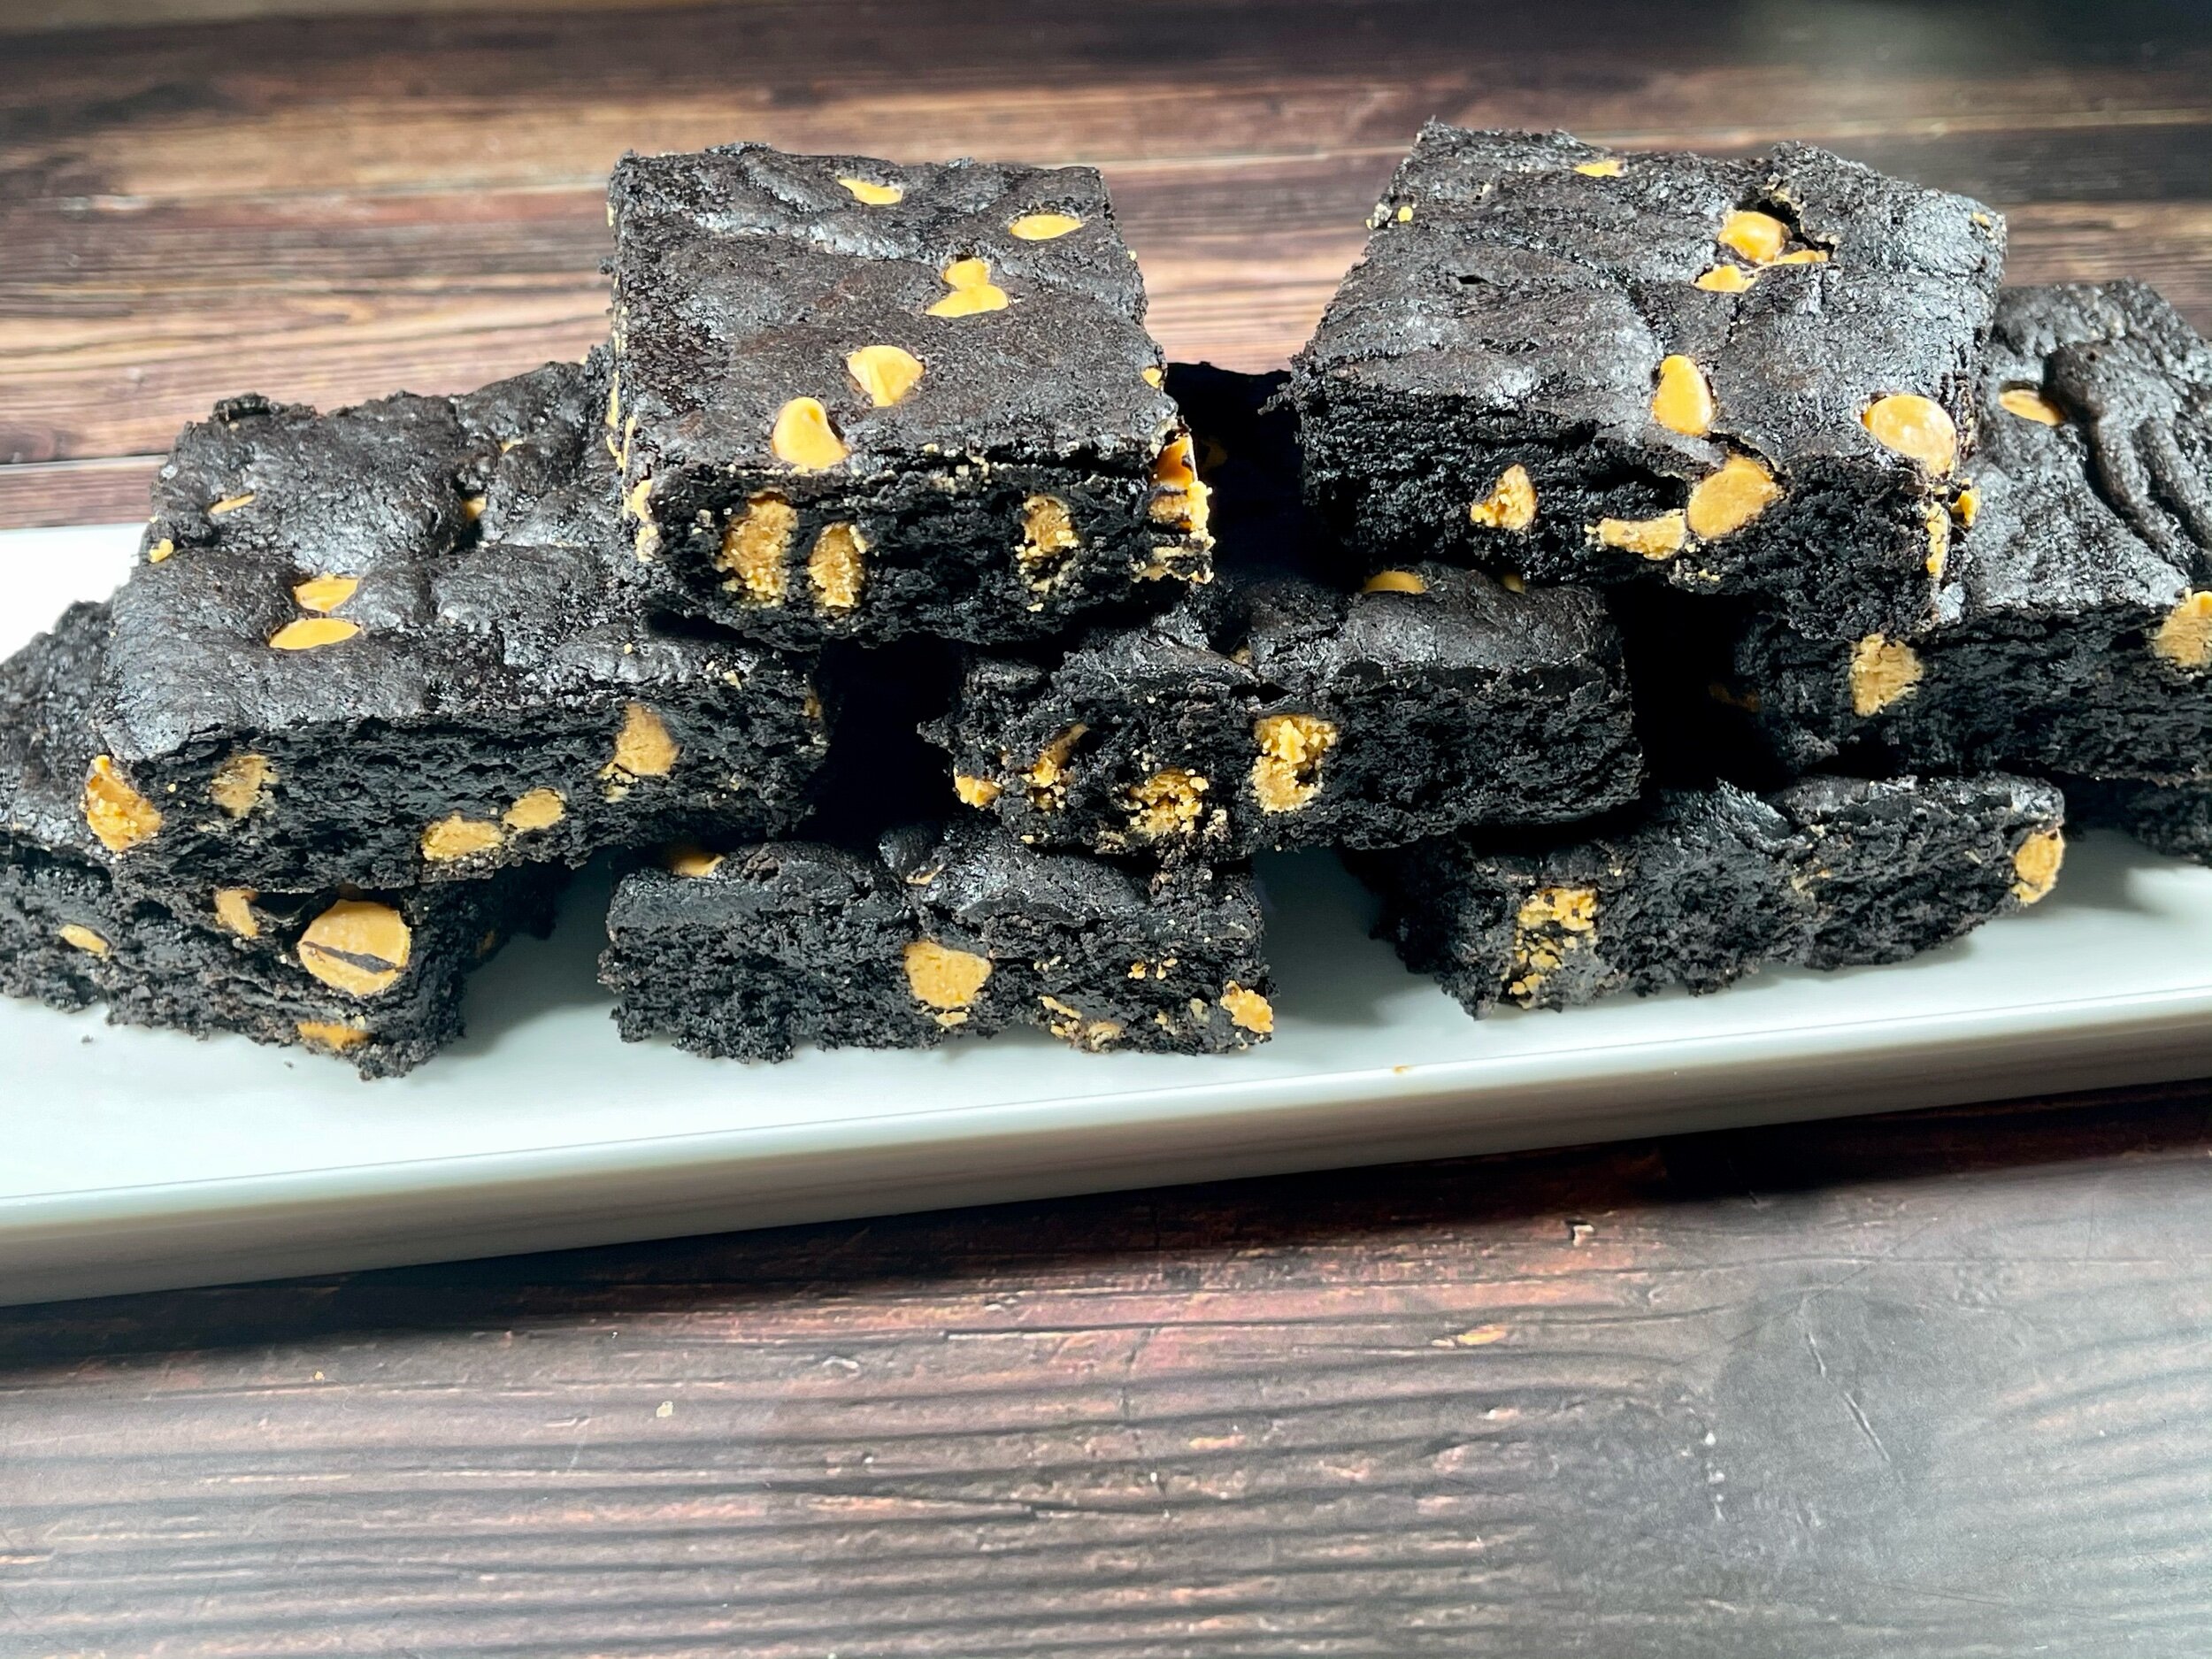
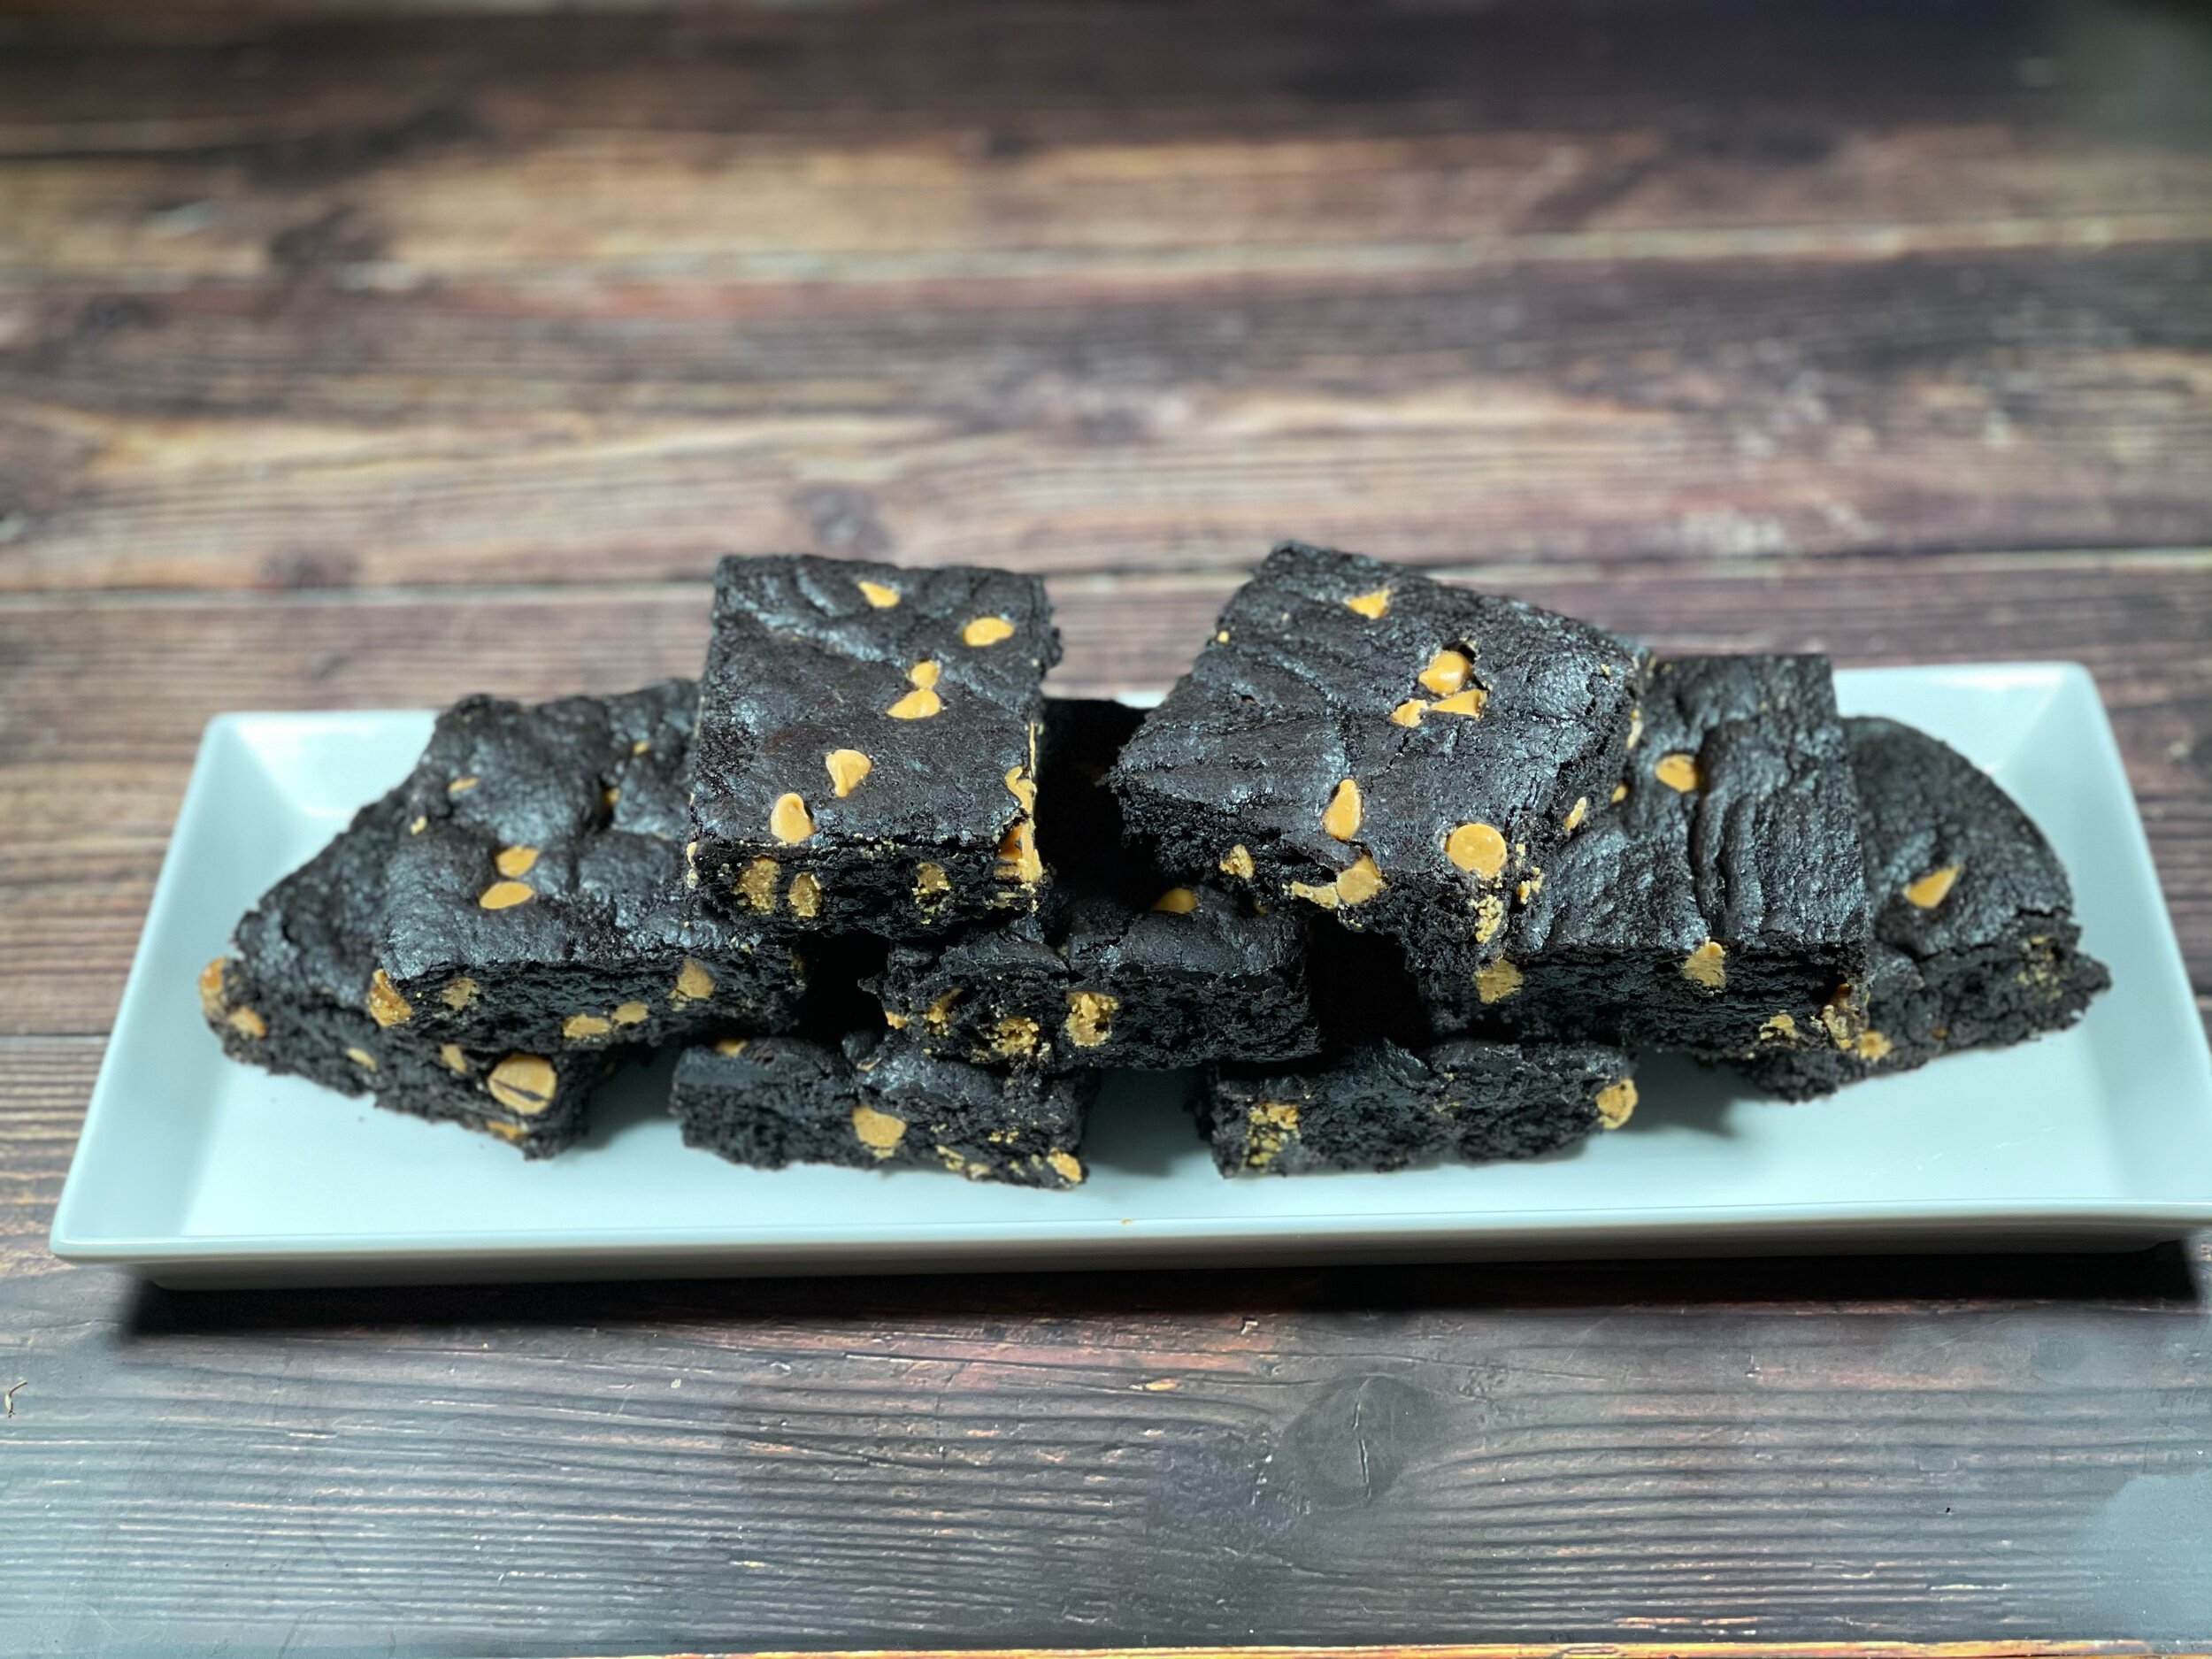
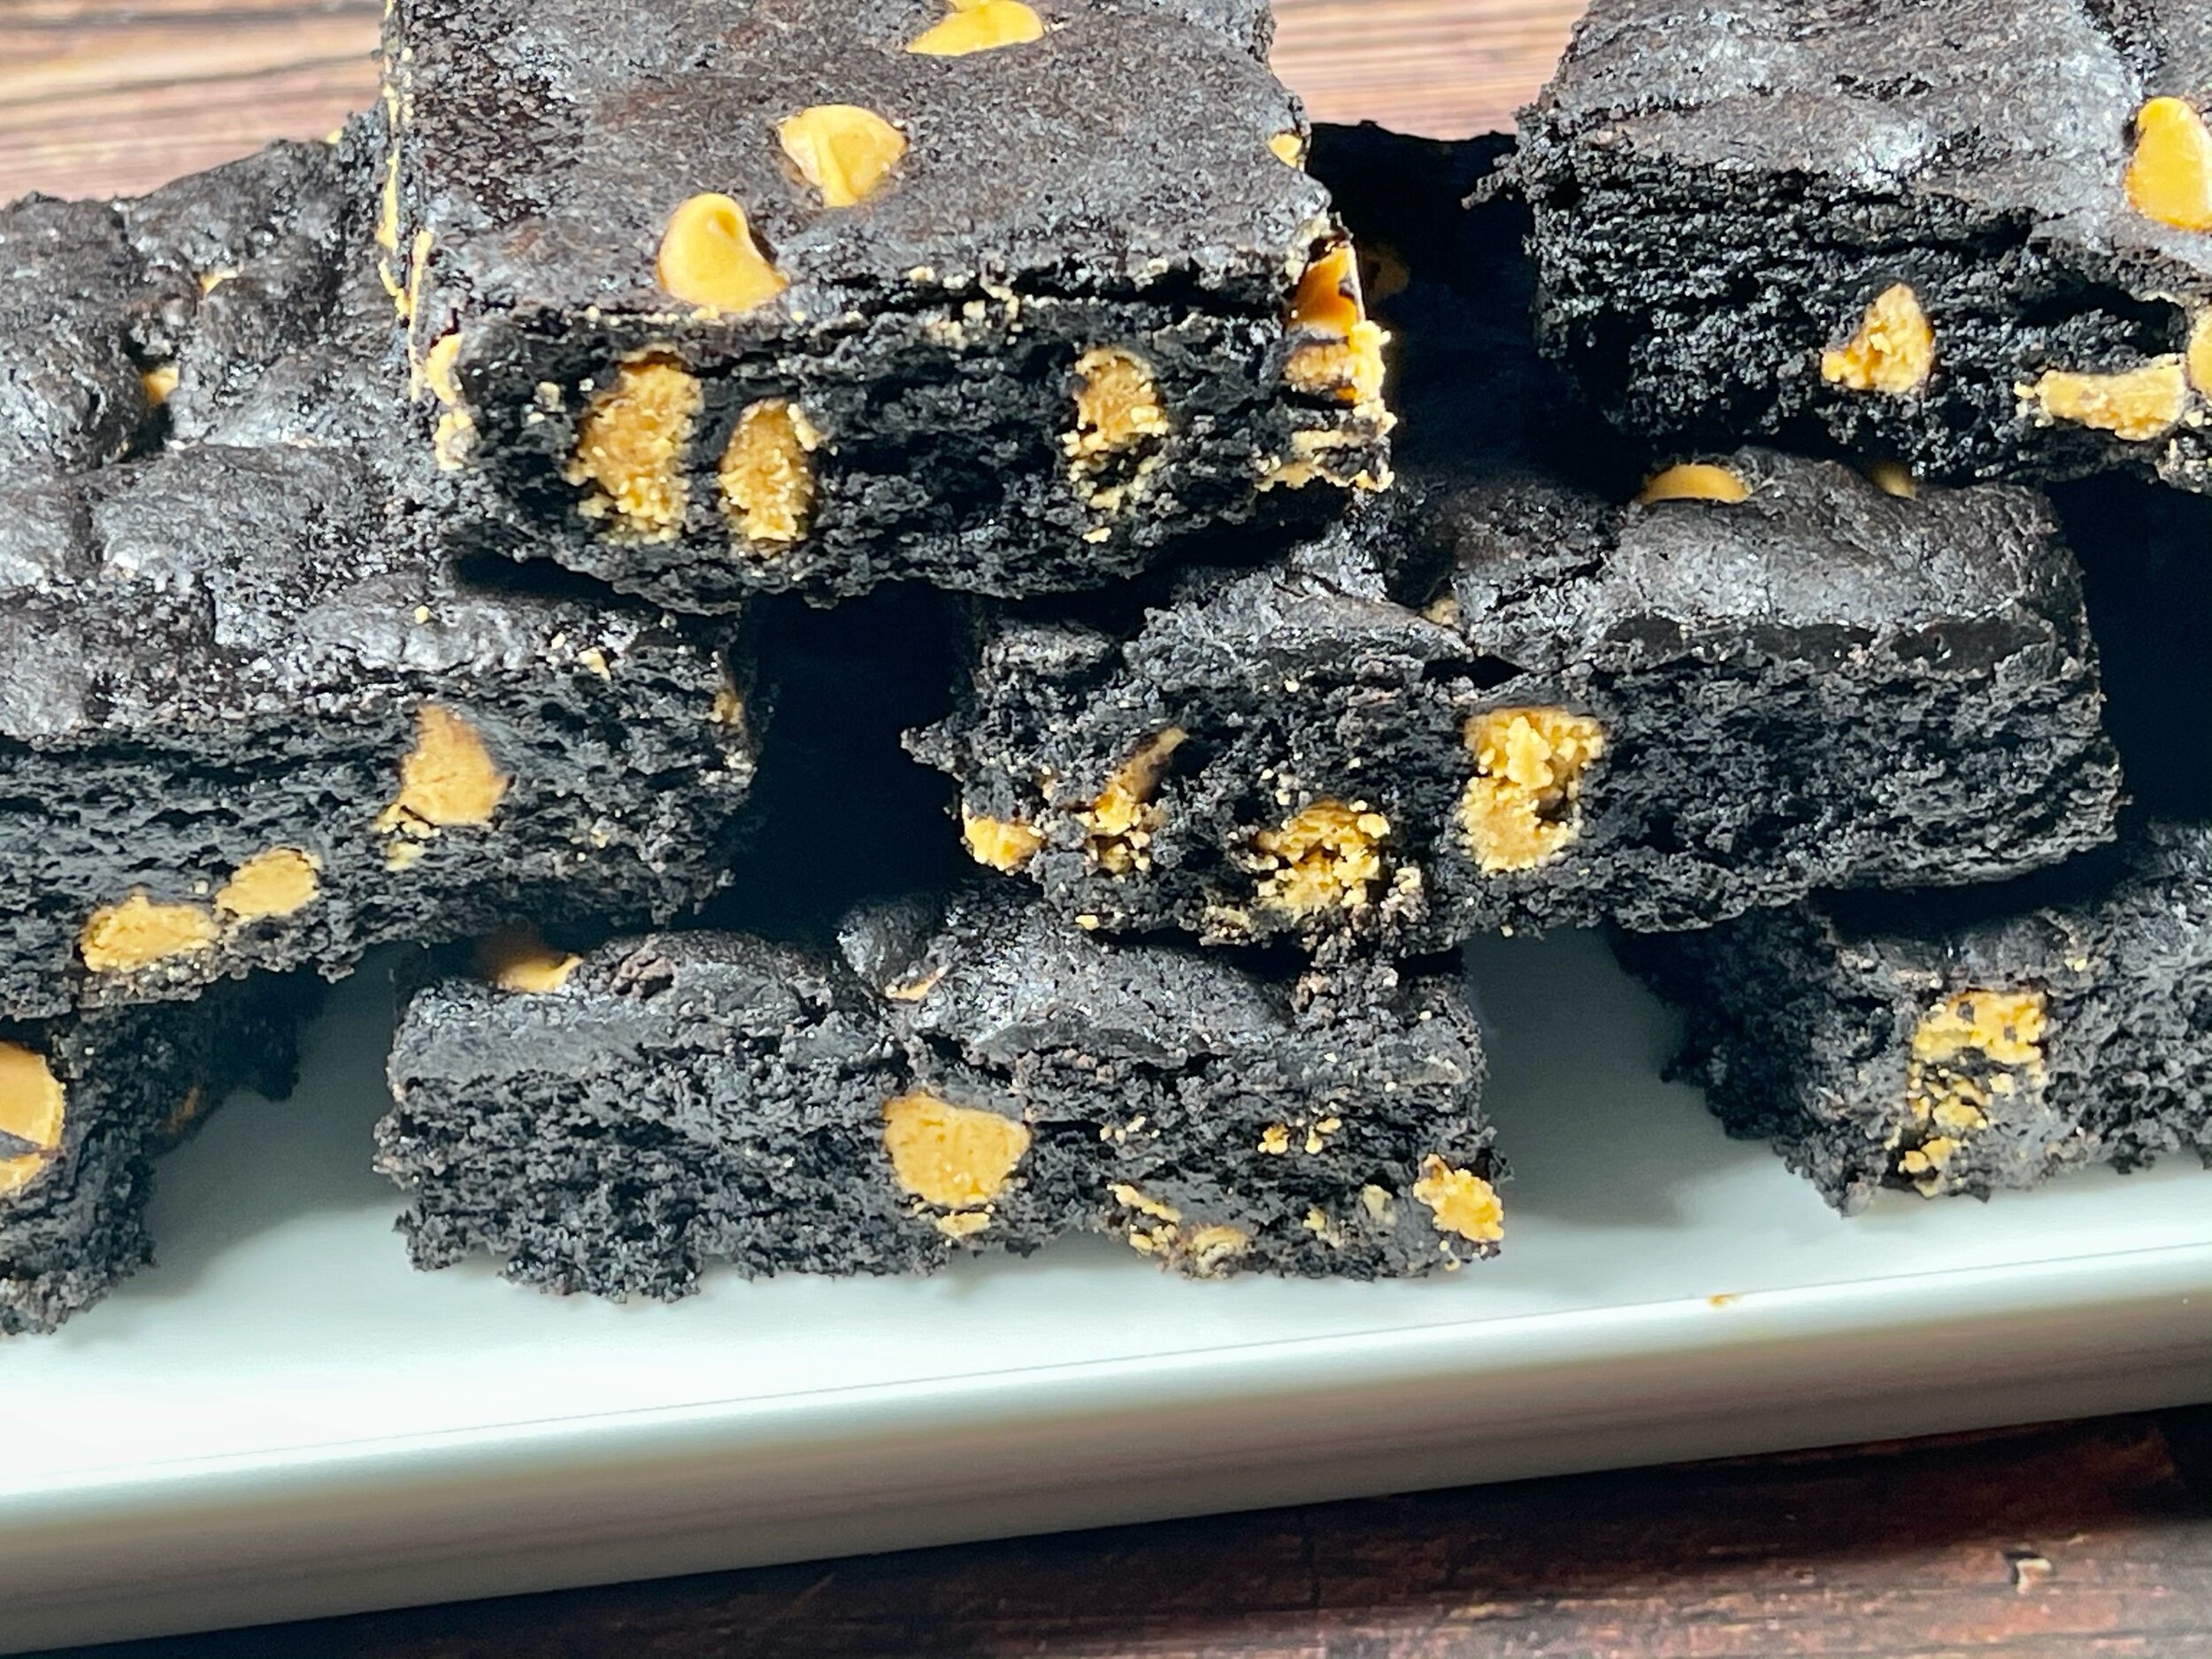
Butterscotch Chip Brownies

Several years ago there was no such thing to me as “too sweet”. The sweeter the treat, the better. But when I needed to seriously take a look at cutting calories as taking the weight off as I got older wasn’t as easy, I stopped drinking my daily ginger beer that had been my only source of beverage since I became pregnant with Remy in 2011. Before that wasn’t much different as I still had been drinking soda every day except it contained caffeine. I switched over to making homemade lemonade which I would sweeten to my liking. Over that summer, since I was counting every calorie, I reduced the sugar in the lemonade, bit by bit. In doing so I realized that other things started tasting a bit overwhelming in the sugar department. When I would have an occasional coffee, which used to taste no different than a dessert, I only needed a teaspoon to enjoy a small cup.
That experience forever changed how I enjoy my sweets coupled with the natural changes that happen as one gets older. Did you know that it is not a myth that our tastes do indeed change as we age? It’s a complex topic covering evolution, instinct, and your actual taste buds but Bon Appétit magazine did a great piece on this very topic so I am going to simply refer you to the article here.
What does this all have to do with brownies? Well a few months ago I was making Rob a treat and he requested brownies. I had asked my friend Sally if she had a beloved recipe and she pointed me to one from her fellow tent baker,, Helen, from the Great American Baking Show. I made the recipe, which through my searching was pretty standard but it ignited me to add butterscotch chips, Rob’s favorite, to them. Rob, whose sugar tastes have not seemed to change with age at all, loved them! However, to me, they were way too sweet, especially with the butterscotch chips. This made me want to tweak things a bit to balance the flavor profile a bit and make them a little more “adult” while still having that fudgy goodness that he loved. My thought was to add black cocoa powder to the mix and see how things went.
What is black cocoa powder?
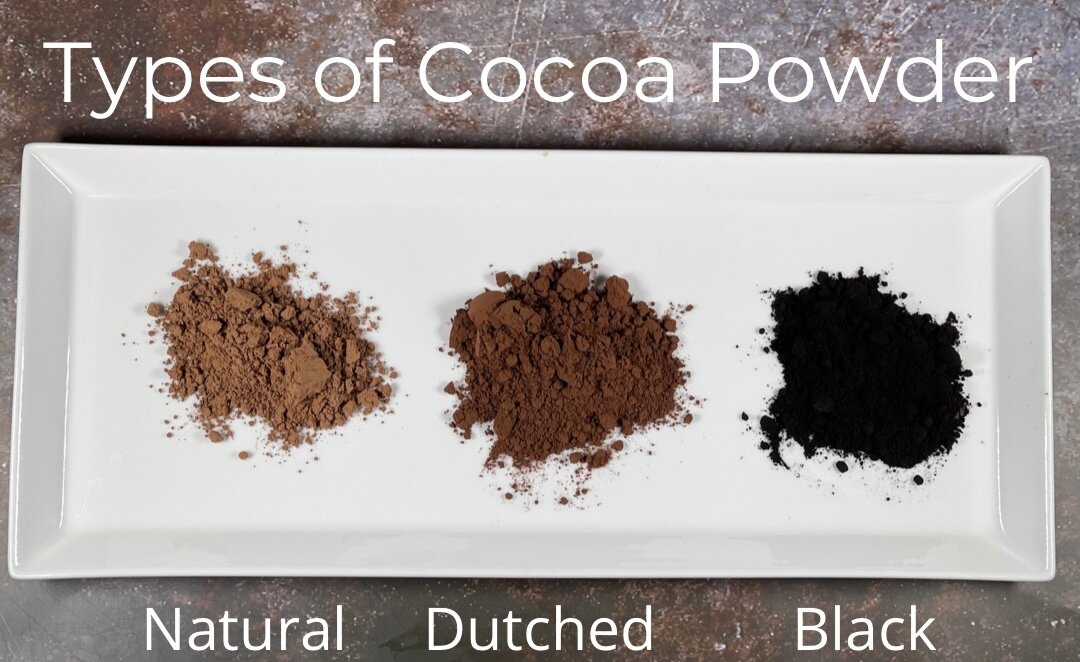
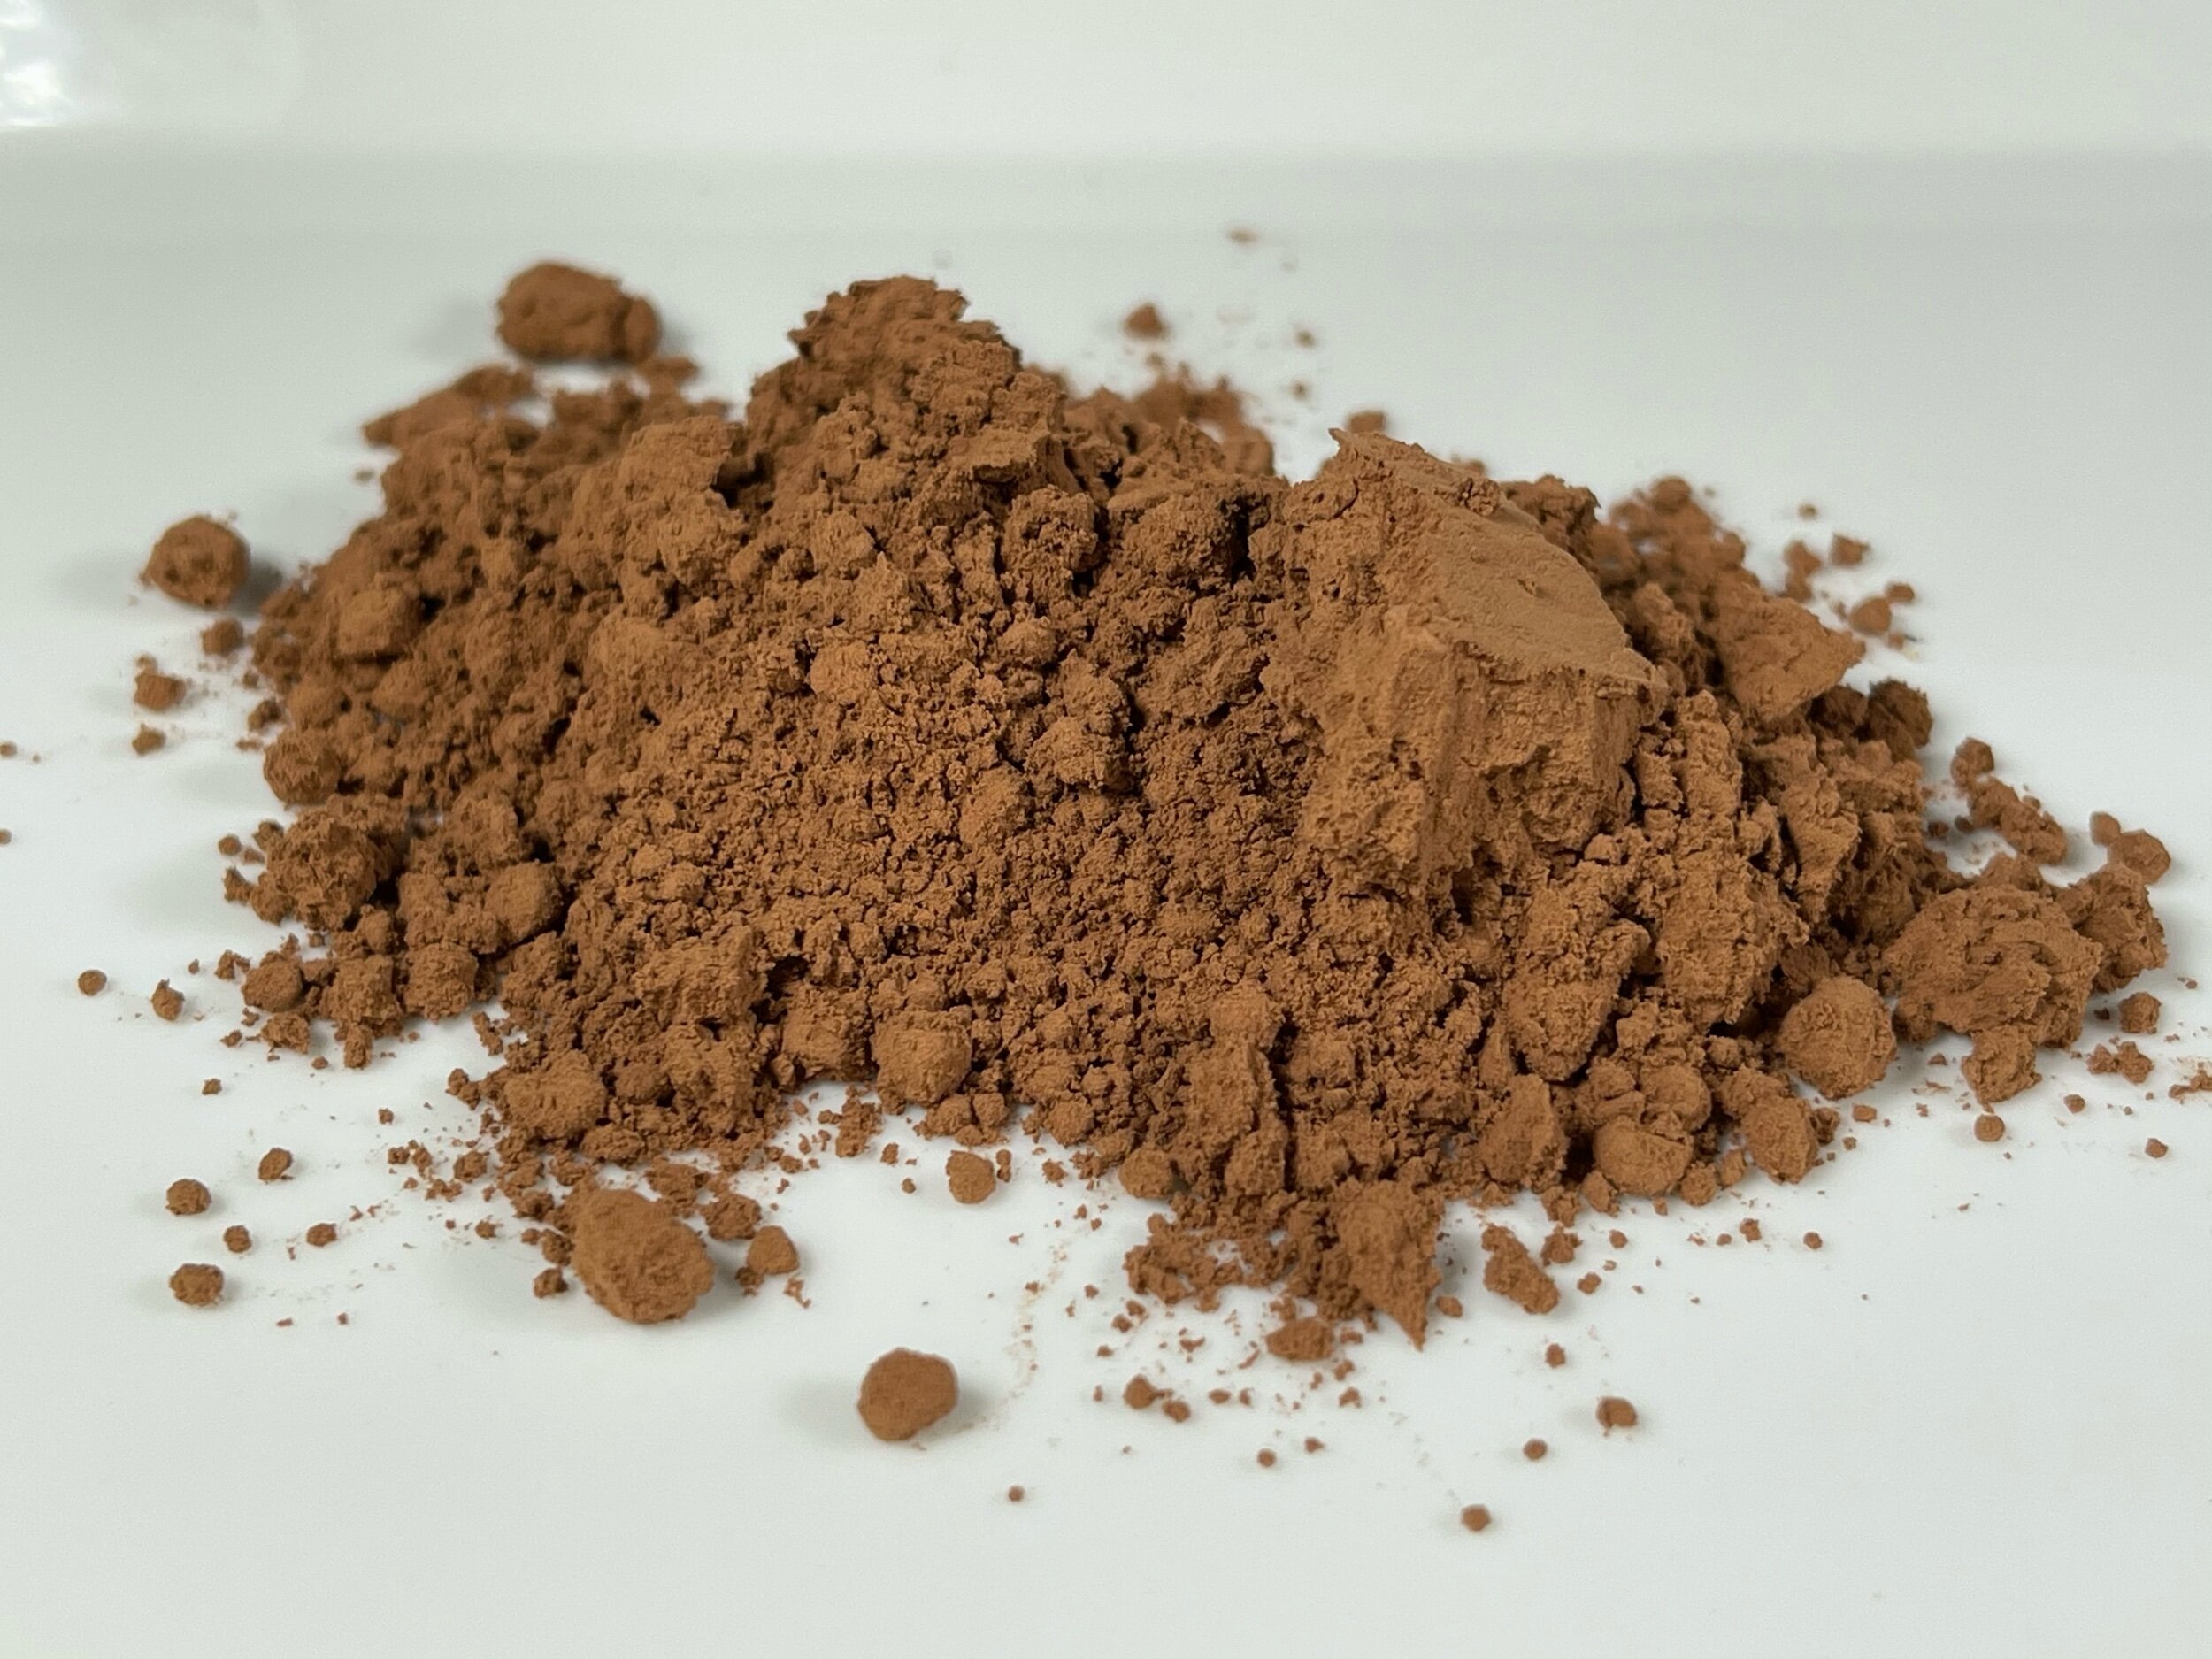
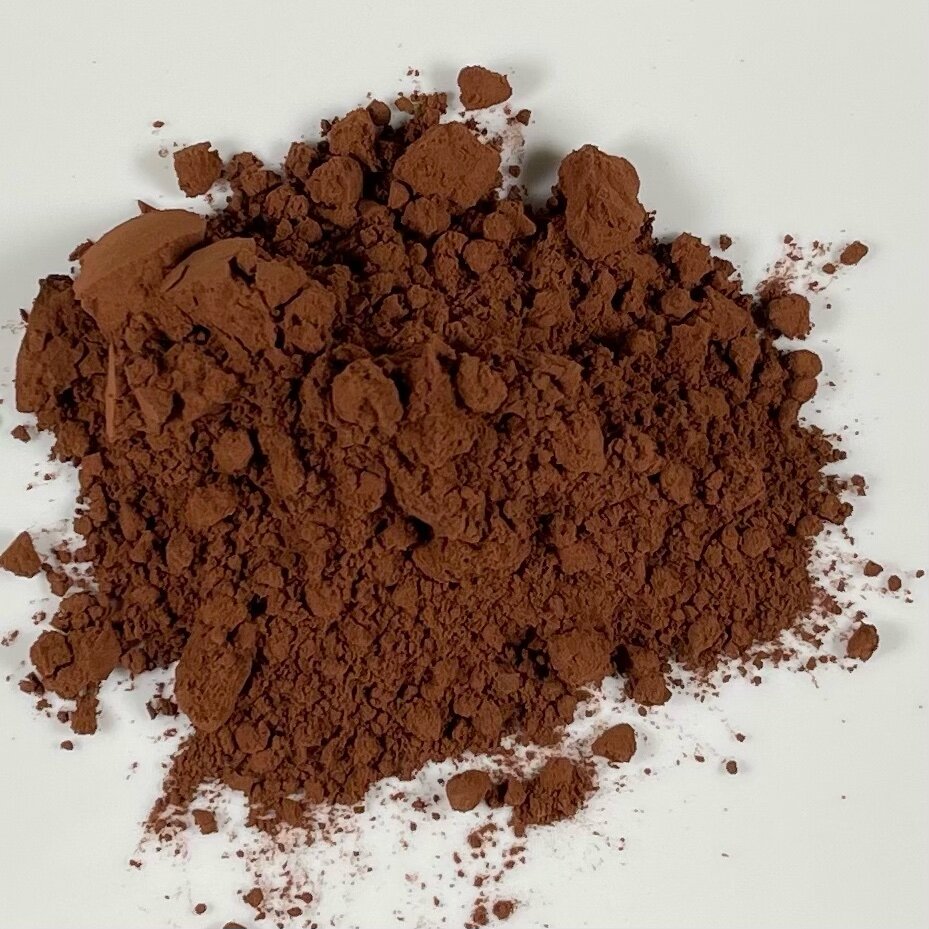
Well, first we need to back up a bit and answer the question: What is the difference between Natural Cocoa Powder and Dutch-processed cocoa powder? Natural (regular) cocoa powder is simply cacao beans that have been roasted and then ground into the powder we are all familiar with. Dutch-processed cocoa powder (which has nothing to do with the Netherlands) is made from washing cacao beans with a potassium solution in order to neutralize their acidity before being roasted and ground into a powder. The result is a cocoa powder with is milder in flavor as well as darker in appearance. Because of the high acidity of the natural powder, most recipes pair it with baking soda, which has a two-fold impact. The acidity activates the baking soda, while the baking soda neutralizes the cocoa. When using dutch processed powder, on the other hand, recipes pair it with baking powder which doesn’t need an acid to activate. Can they be used interchangeably? Yes and no. In general, they can but you do need to look at the leavening agent of the recipe to make sure it' has what is needed to be activated.
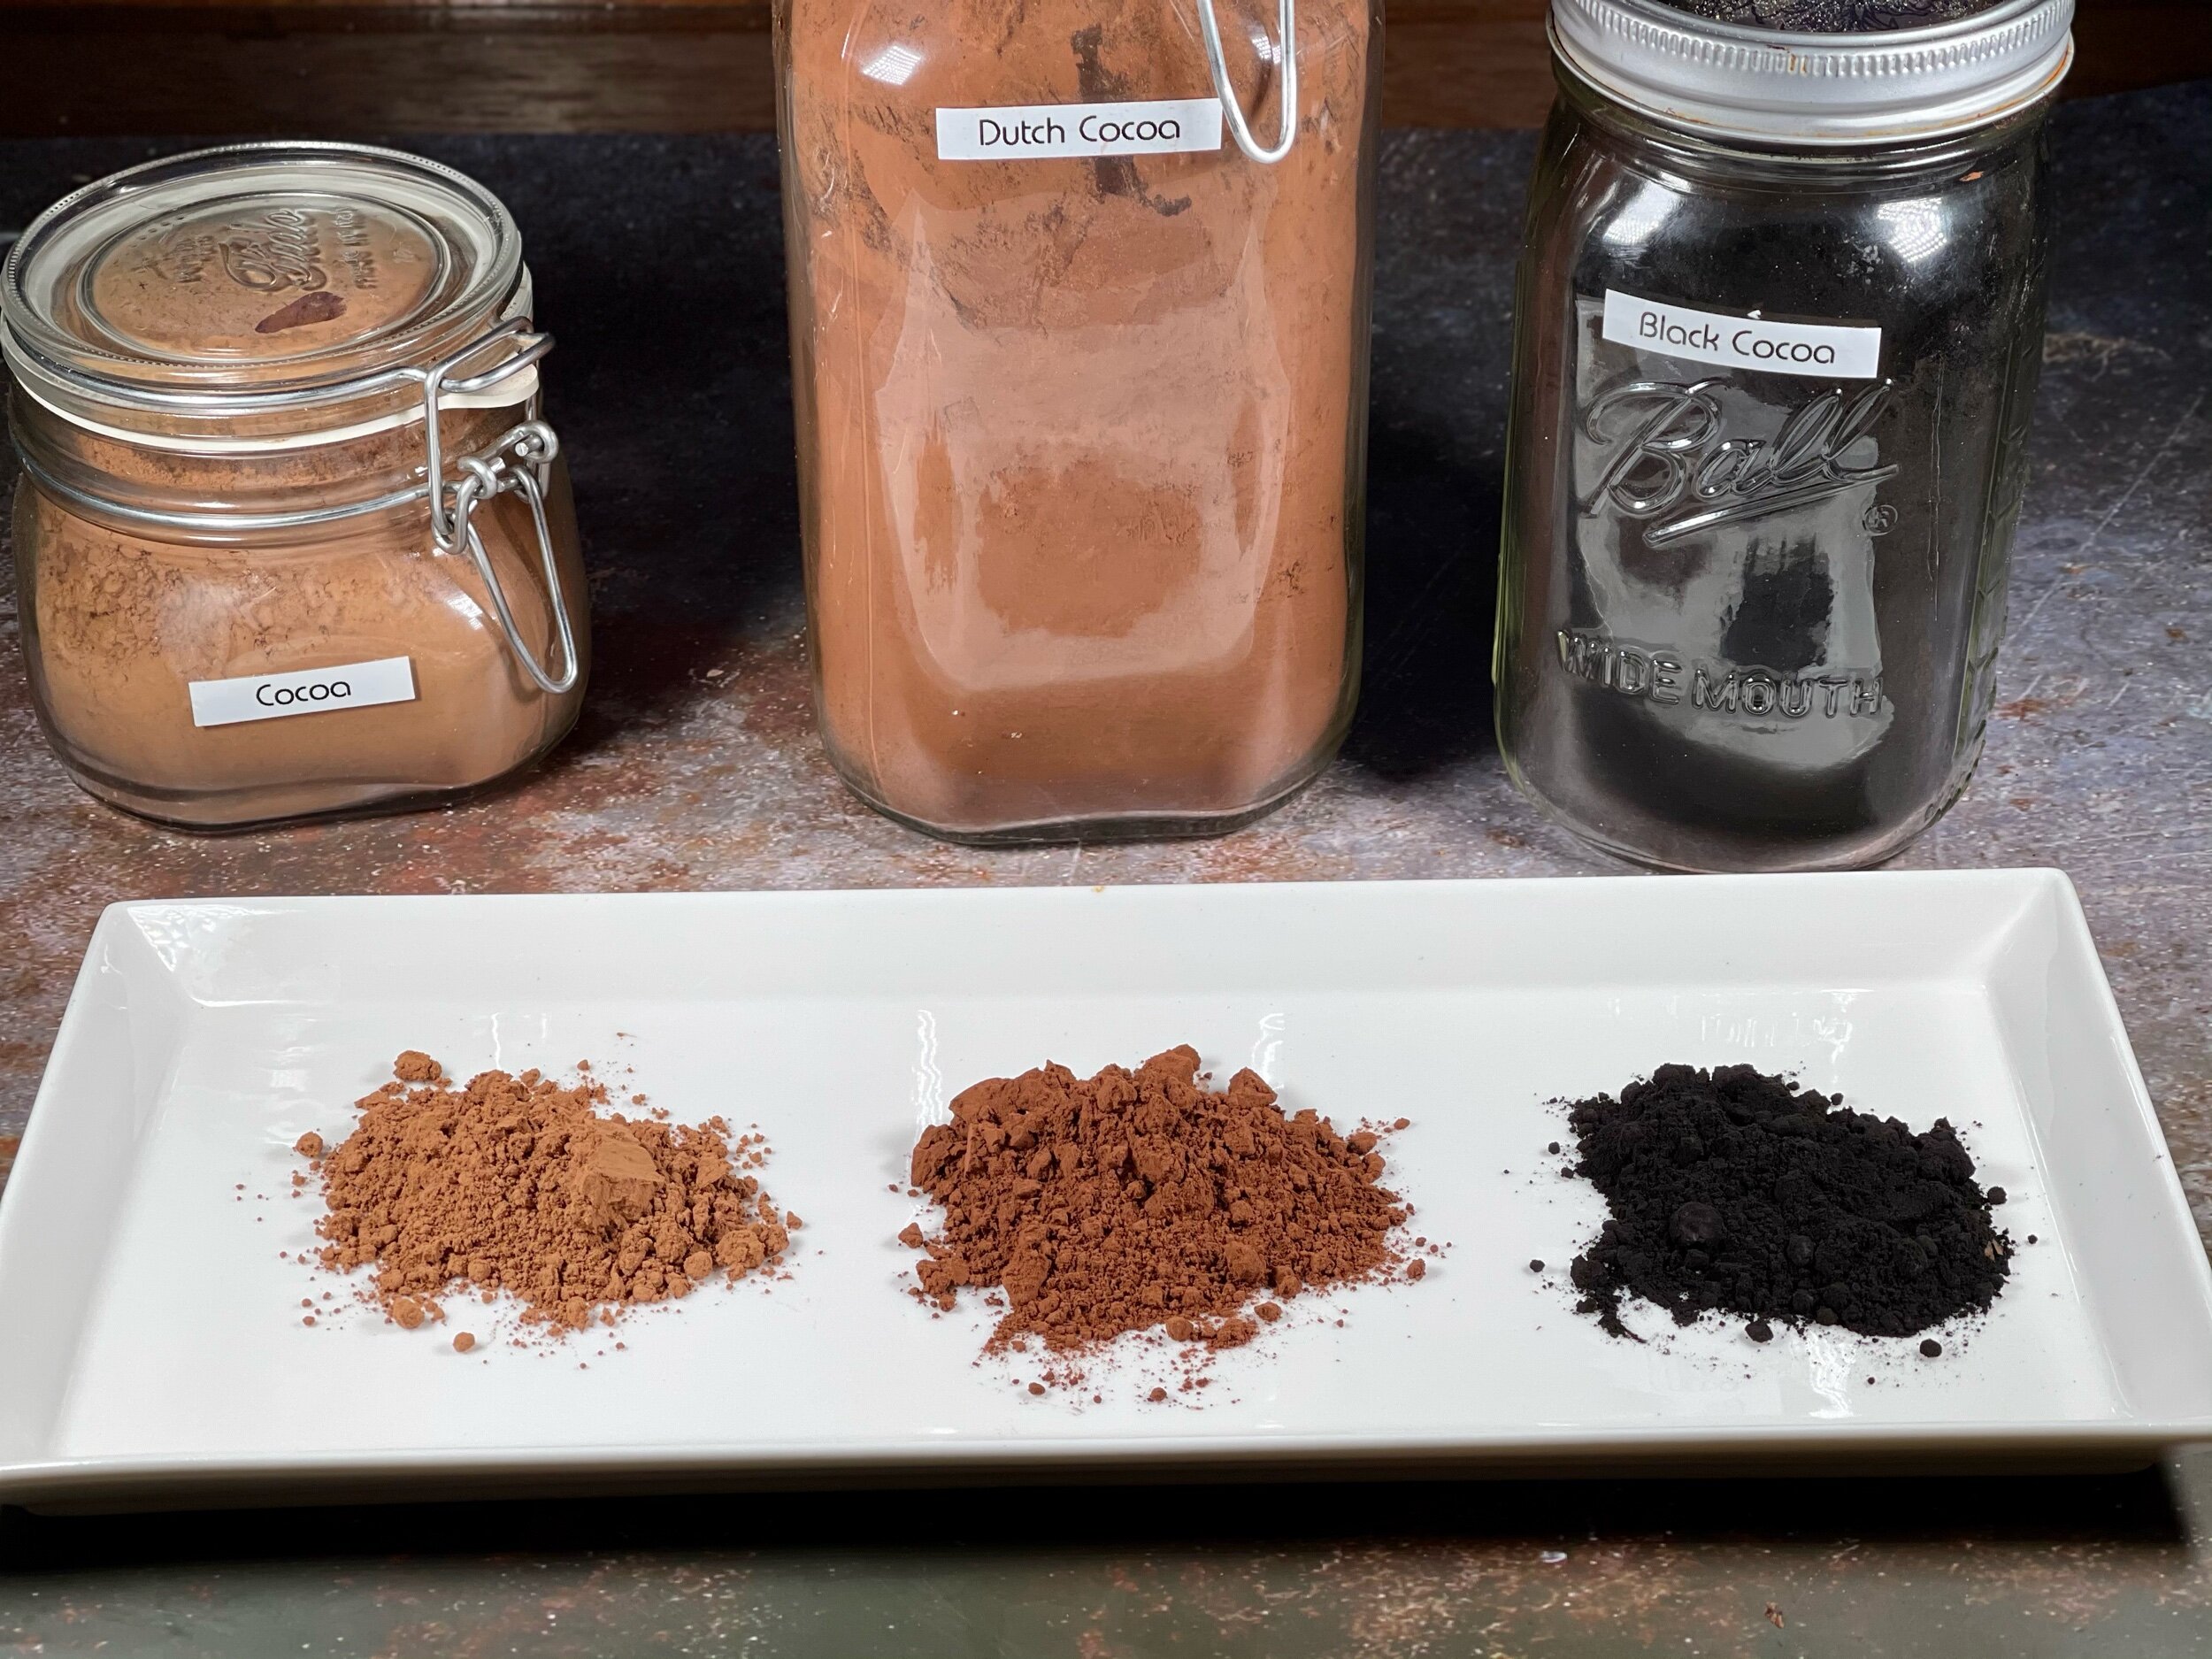
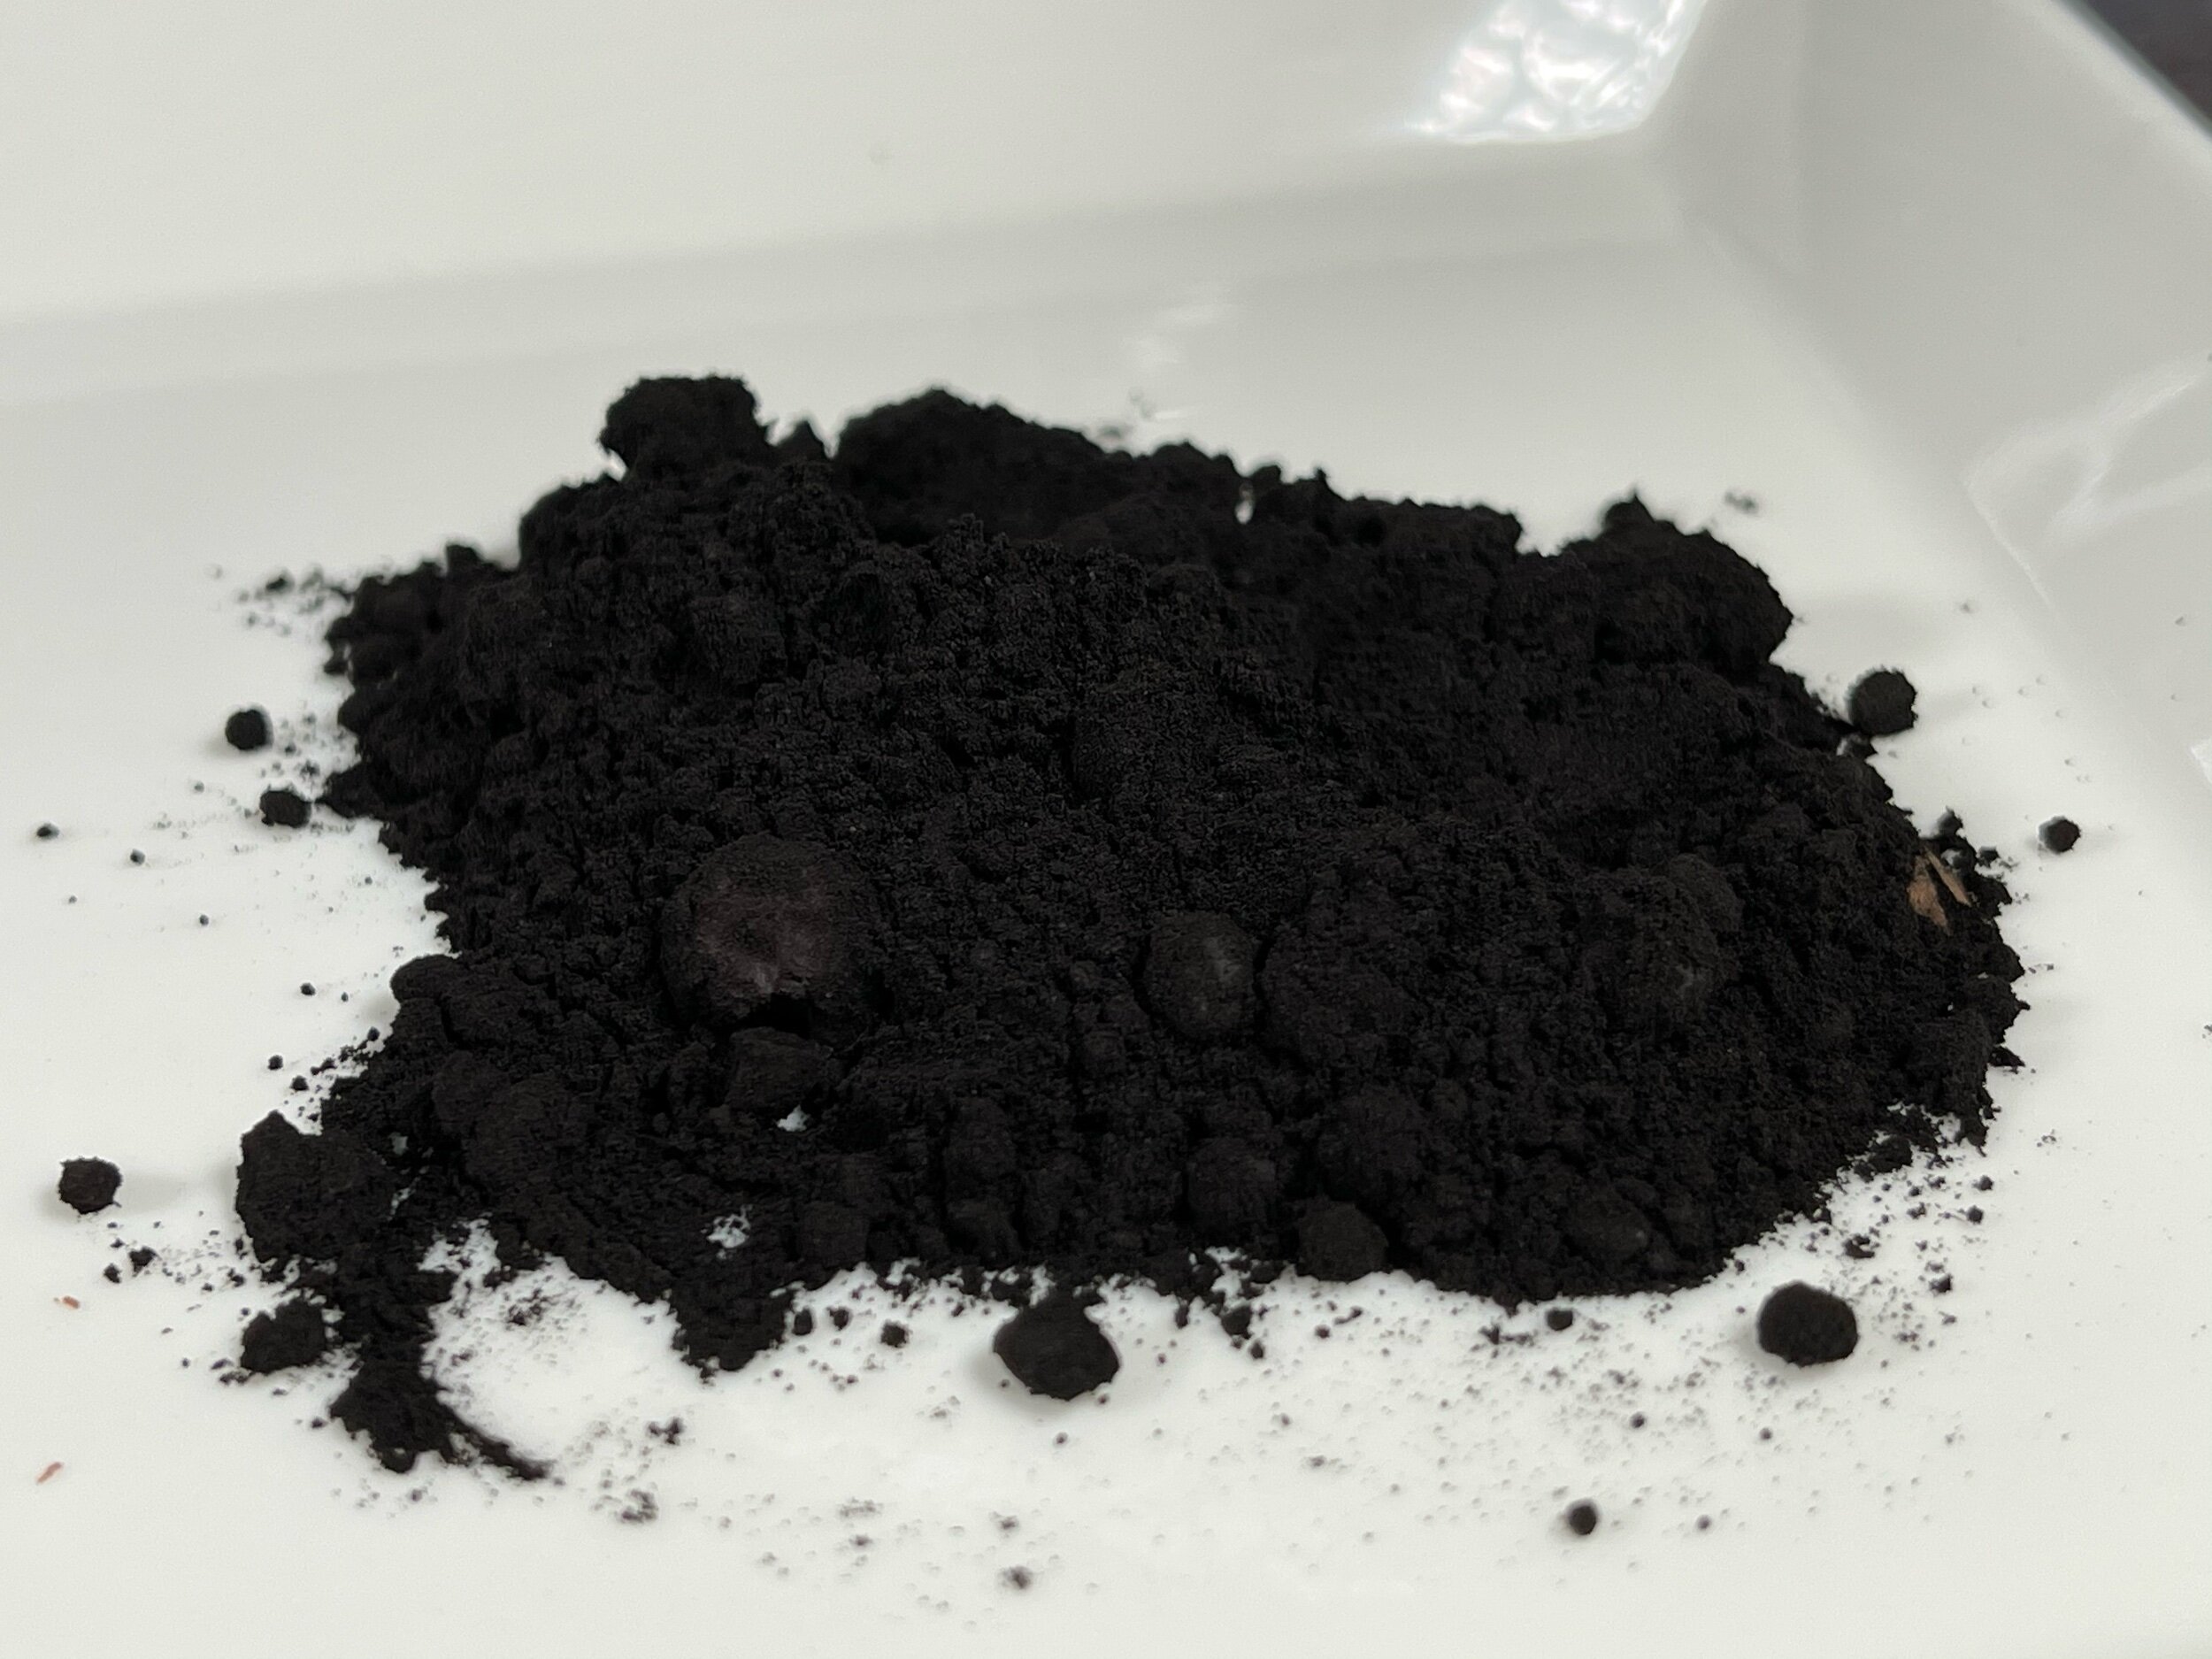
Black cocoa is a heavily “Dutched” cocoa. Whereas typical Dutched Cocoa has a milder, smoother flavor than in its natural state, black cocoa powder has a very strong and brusque flavor. It is usually used to color the baked good and is almost always paired with the other cocoa types to create the desired flavor combo. The use of black cocoa for home use is relatively new, but to most people today, we have experienced it since childhood. Black cocoa is what is responsible for the oreo cookie! So, while you may not find it on the shelves of your local supermarket chain, it is easily found online and at specialty stores.
In the end, adding the black cocoa as well as using some brown sugar, accomplished my task of balancing the sweetness and flavor of the brownie, except, it worked too well. Enter Mom into the equation. One thing she liked about me making the butterscotch brownies is that she wasn’t a fan of them. This allowed them to be in the house without tempting her, keeping her diet intact. Unfortunately, since I made the new version instead of a cake for Rob’s recent birthday, she ate a small one to celebrate and, well, the changes made her enjoy them very much. Sorry, not sorry?
Recipe Card
Note: I highly suggest having a digital scale in your kitchen. It takes the guesswork out and makes baking recipes a lot more successful. All of my recipes are written in weights. If you do not have a scale and need to convert a recipe or ingredient to volume, you can use the buttons to the right and copy /paste the recipe into the handy recipe conversion tool or the single ingredient conversion.

Butterscotch Chip Brownies
Ingredients
Method
- Preheat oven to 350℉
- Prepare a 9"X13" baking tin with a sling of parchment paper or aluminum foil with at least 2" of overhang on each side and grease the two exposed ends of the pan.*
- Melt butter in a saucepan and whisk in the sugars.
- Heat for 1 minute while continually whisking but don't allow it to come to a boil.
- Remove from the heat and add both cocoa powders, salt, baking powder, and vanilla extract. Whisk to fully incorporate.
- Add the eggs, one at a time, whisking between each addition until all are fully incorporated.
- Add 6 oz of the butterscotch chips and the flour, stirring until just combined.
- Pour into the prepared baking tin using a spatula to level the top.
- Sprinkle the remaining 2 ounces of chips on top of the mixture.
- Bake for 25-30 minutes until the middle is set.
- Let cool for 10 minutes before using the sling to remove them from the pan, lifting straight up, and placing the slab on a wired baking rack.
- Allow it to fully cool before slicing into desired sizes.
* Notes (if you see an * please check here):
- Using a sling makes for easy removal of the brownies from the pan.