Coconut Citrus Dreams

Back in 2019, I was looking to make a bunch of different types of cookies to give as part of holiday gifts for teachers and staff at my son’s school. I also wanted to use ingredients that I had on hand. I had a bunch of mixed peel leftover from my Christmas Cake from that year. Other than my love for cherries, I also love coconut and lemon. I did a bit of research and while I found some recipes for lemon-coconut baked items, none of them were hitting the spot. This lead me to create my first cookie recipe!

What I wasn’t planning on, was my family liking them so much. The unfortunate part of that was not having enough to give to all the intended recipients, but what they don’t know won’t hurt them! The difference in this recipe is the use of mixed peel which isn’t a common item in the US like it is in the UK. When you see it in the stores, or on Amazon, here in the US, it is the “holiday fruit blends” of fruit pieces with unnatural colors and it tastes horrible. It is what gives “fruit cake” a bad name. But it is so much more than the bitter, squishy, and “I’m not sure if this is real fruit” store-bought product. It’s simply a mixture of candied peel.
I use this recipe from the “From the Larder” website and get great results. It is a week-long process, but well worth it to have on hand. Not only can you make several recipes with it, but you can also just eat it like candy. However, if buying or making mixed peel isn’t your thing, you can rub lemon peel, with its pith trimmed off, with the sugar in the recipe and use that instead. Lastly, if you want to leave it out altogether, you can use the zest of a large lemon in its place. It will be a similar, but a different cookie, but still yummy nonetheless!
Because it was my first time creating a recipe, I wanted to make sure that it not only could be replicated by myself but also for other people. I sent the recipe to my friend Sally, to see how she fared, but I was also hoping she would like it. Sally didn’t have any mixed peel on hand so she used Meyer lemon peels and rubbed them into the sugar as stated above. Not only was I happy that the recipe worked as intended, but I was also pleased as Sally is a wonderful baker, with her own blog, and she gave it two thumbs up. If you have a moment, check out her blog, you’ll be glad you did.
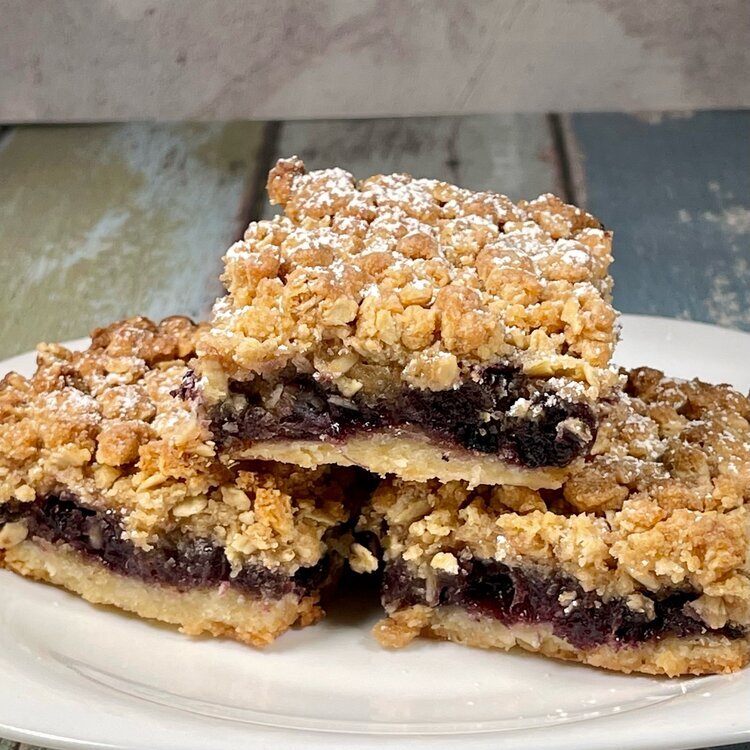
Check out my other cookies and sweets:


Recipe Card
Note: I highly suggest having a digital scale in your kitchen. It takes the guesswork out and makes baking recipes a lot more successful. All of my recipes are written in metric weights. If you do not have a scale and need to convert a recipe or ingredient to volume, you can use the buttons to the right and copy /paste the recipe into the handy recipe conversion tool or the single ingredient conversion.

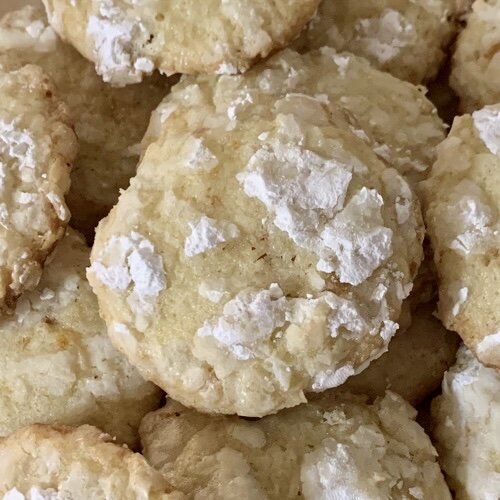
Citrus Coconut Dream Cookies
Ingredients
Method
- Take the mixed peel and blitz it in a food processor to make small pieces.
- Sift flour, baking powder, baking soda, tapioca starch, and salt in a small bowl and set aside.
- In a large bowl or the bowl of your stand mixer*, cream together the butter with the sugar for 4-5 minutes until it nearly doubles in volume and is pale in color.
- Add the egg and one tsp of the flour mixture and continue to beat until well combined.
- Add the extract and lemon juice and beat until well combined.
- Add the coconut and mixed peel and stir in with a wooden spoon.
- Add the flour mixture and stir until just combined. Do not over mix the dough.
- Chill the dough for 20-30 minutes while you preheat the oven to 375℉.
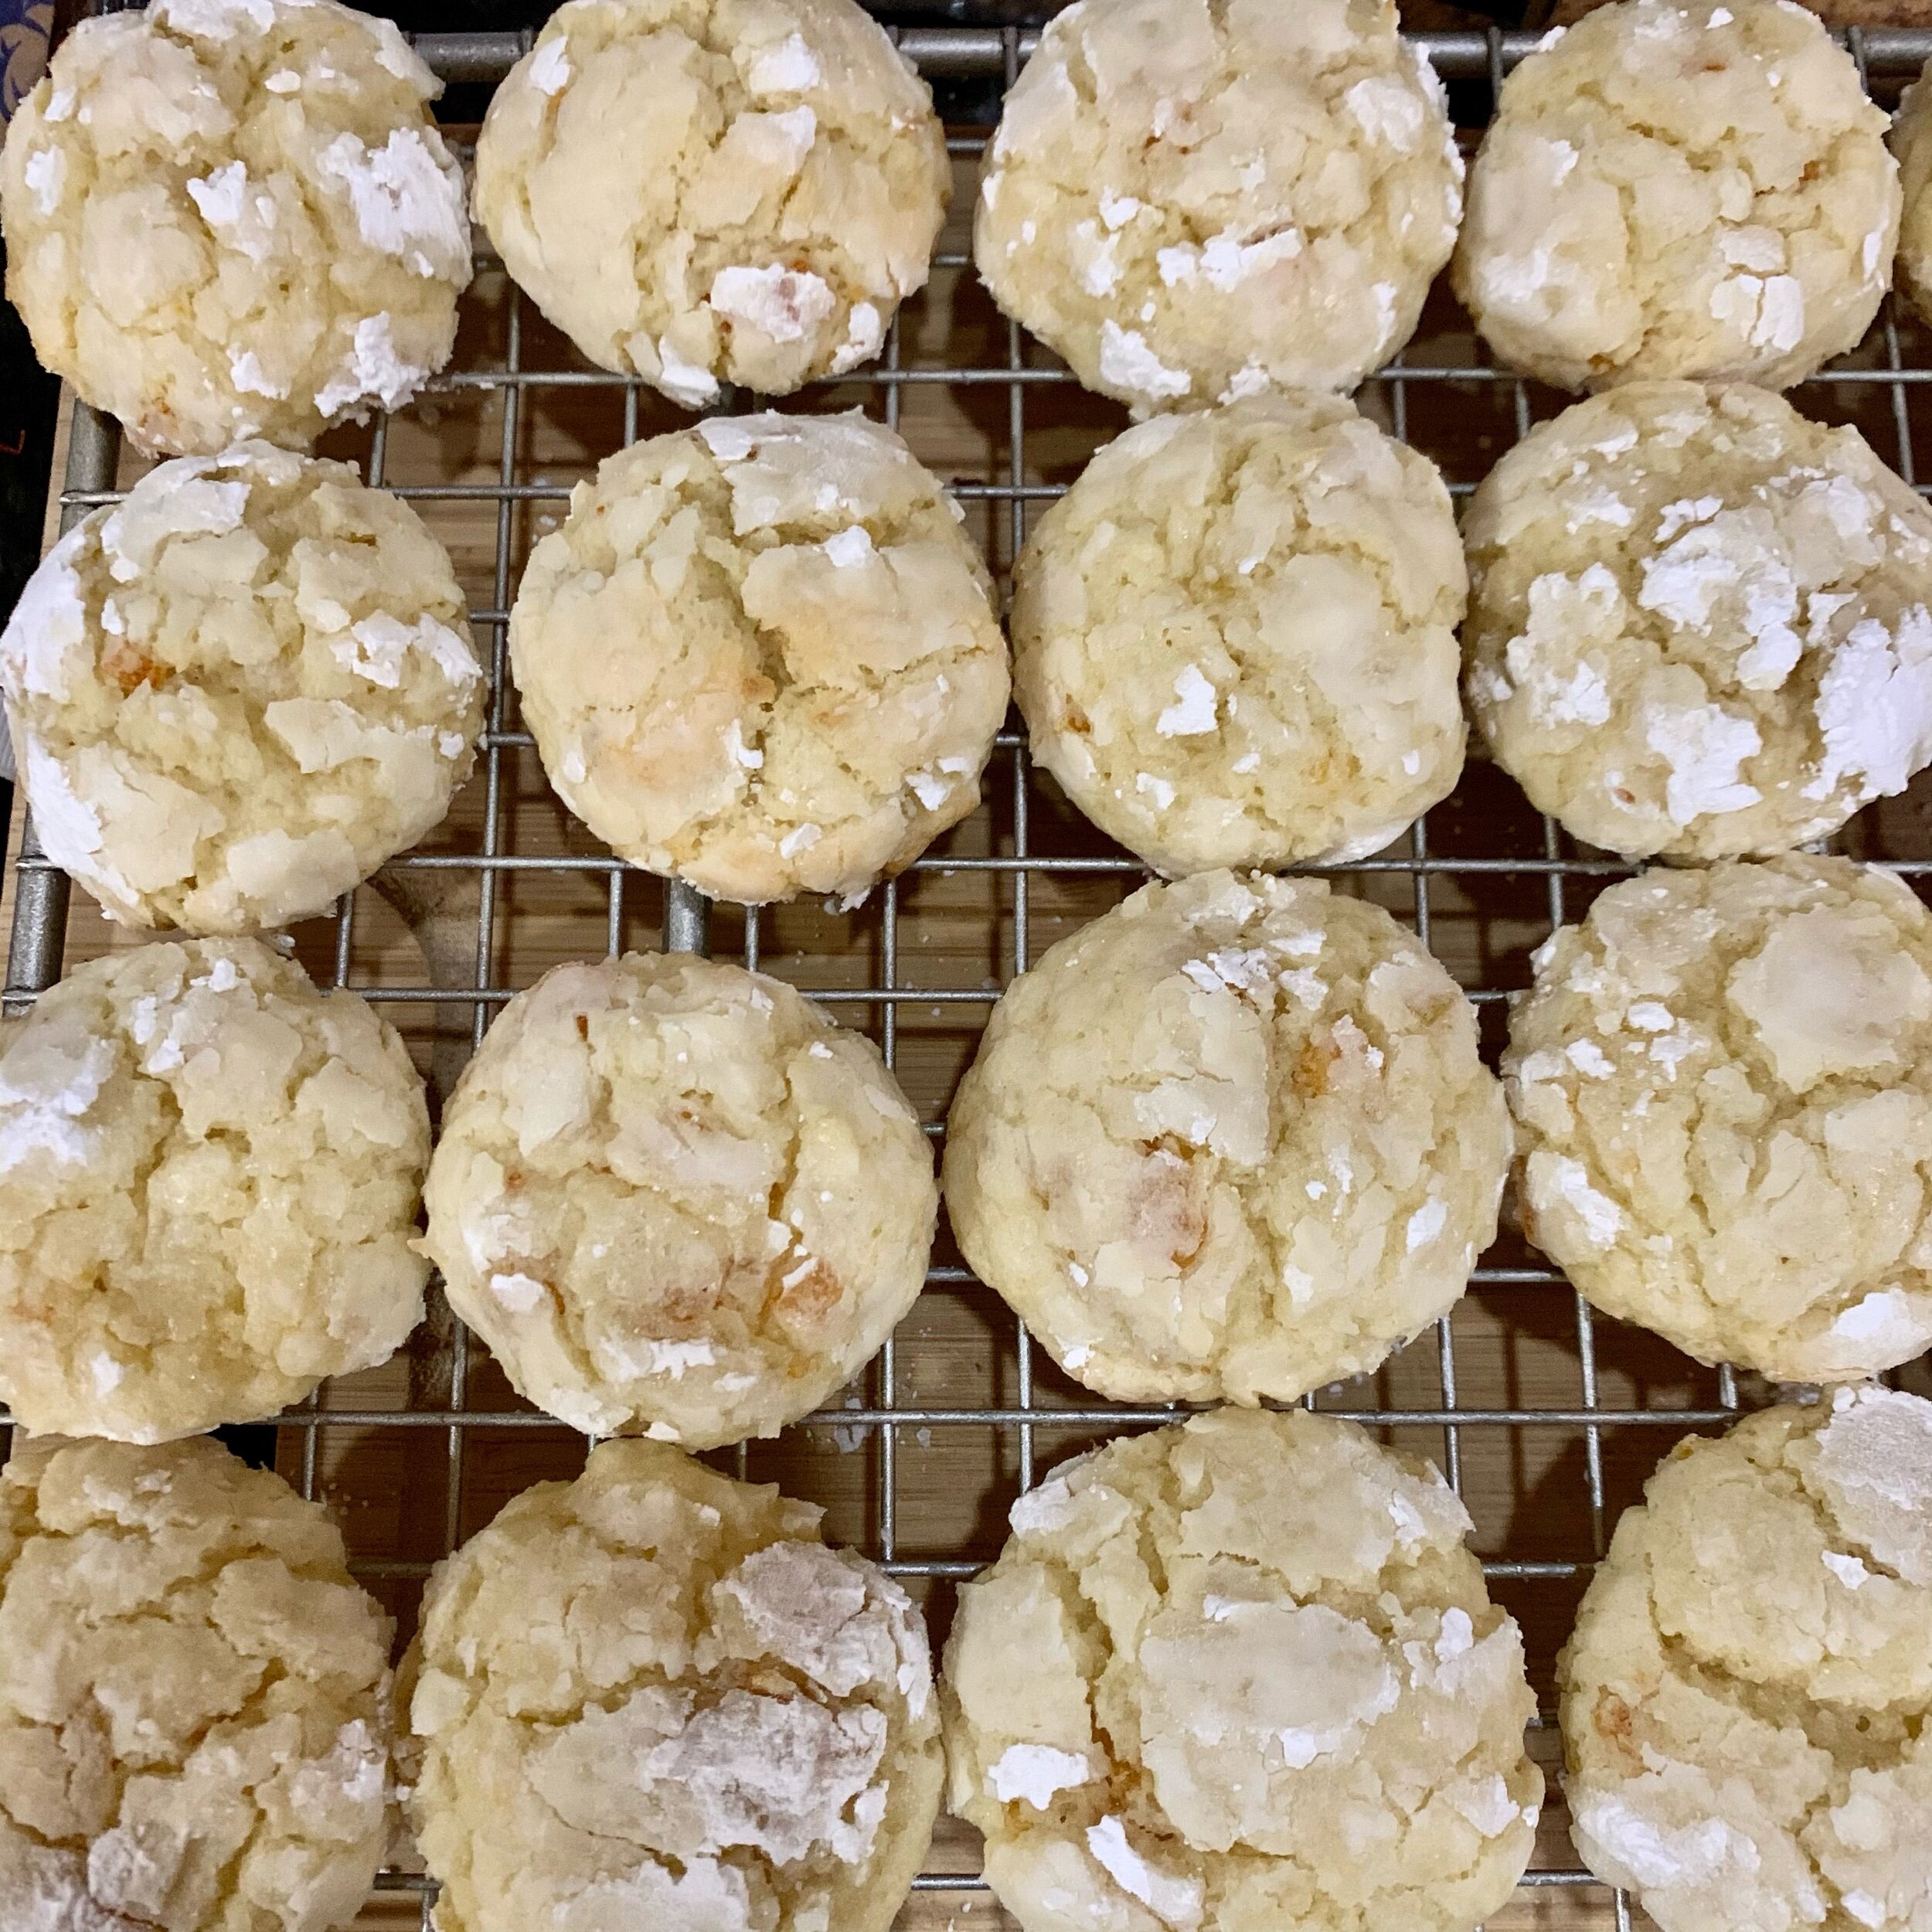
- Scoop dough with a medium (1.5 tablespoons) cookie scoop and roll them each into the confectioner's sugar.
- Arrange them on a cookie sheet, 2 inches apart.
- Bake the cookies for 10-12 minutes until the edges just start to brown, but the centers are still soft.
- Wait 2 minutes after they come out of the oven before transferring them to a cooling rack.
- Cool completely and enjoy!
* Notes (if you see an * please check here):
- Use the paddle attachment for a stand mixer.